In the realm of computer optimization, managing startup programs is crucial for improving system performance, reducing boot times, and optimizing resource utilization. Windows XP, like its successors, allows users to control which programs launch automatically during system startup, ensuring a smoother and more efficient computing experience. However, an abundance of unnecessary startup programs can bog down system performance, prolong boot times, and consume valuable system resources. In this exhaustive guide, we’ll delve deep into the intricacies of disabling unnecessary startup programs in Windows XP, empowering users to streamline their system startup and enhance overall performance with confidence and precision.
Understanding Startup Programs in Windows XP:
Before we explore the methods for disabling unnecessary startup programs, let’s understand the significance of startup programs within the Windows XP operating system. Startup programs are applications, utilities, or processes that are configured to launch automatically when the system boots up. These programs reside in various locations, such as the Startup folder, system registry, and system configuration settings. While some startup programs are essential for system functionality or user convenience, many programs may run unnecessarily in the background, consuming system resources and slowing down the boot process. Disabling unnecessary startup programs can significantly improve system responsiveness, reduce boot times, and optimize resource utilization.
Step-by-Step Guide to Disabling Unnecessary Startup Programs:
Now, let’s explore a systematic approach to disabling unnecessary startup programs in Windows XP:
Step 1: Accessing System Configuration Utility (msconfig):
- Click on the “Start” button located at the bottom-left corner of the screen.
- Navigate to “Run” and type “msconfig” in the Run dialog box.
- Press Enter or click “OK” to launch the System Configuration Utility.
Step 2: Navigating to the Startup Tab:
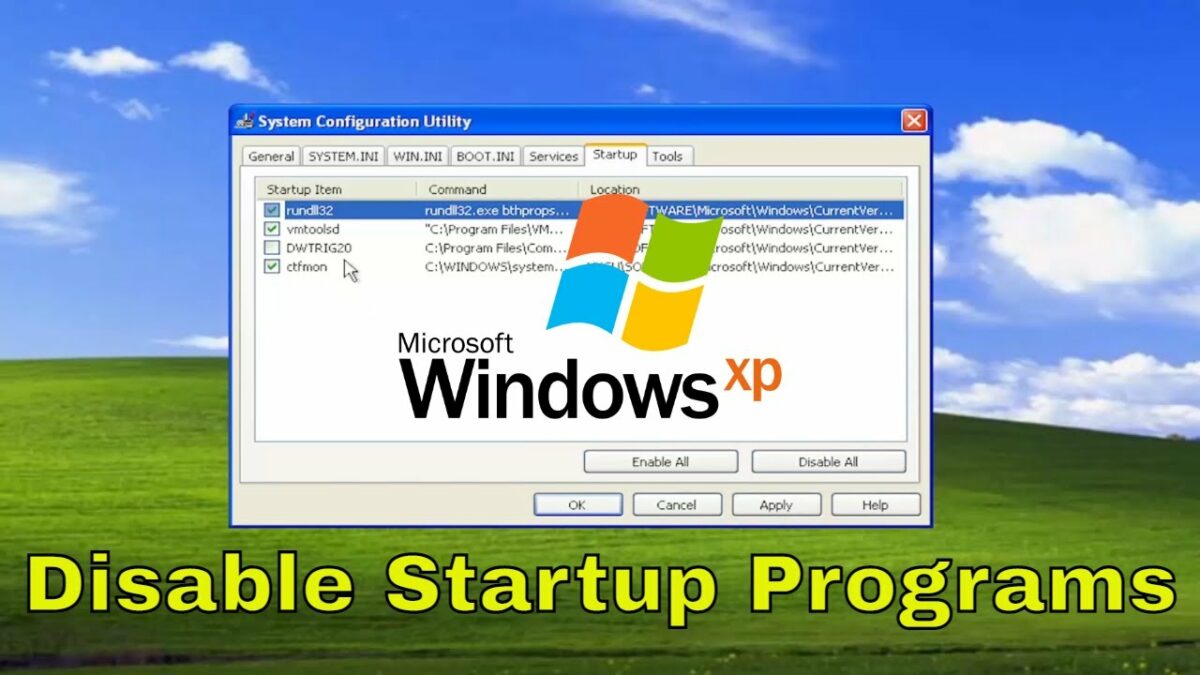
- In the System Configuration Utility window, navigate to the “Startup” tab.
- Here, you’ll find a list of programs configured to launch during system startup, along with their corresponding startup impact.
Step 3: Reviewing Startup Programs:
- Review the list of startup programs carefully to identify unnecessary or unwanted entries.
- Pay attention to the names of the programs, their publishers, and the startup impact (High, Medium, or Low).
Step 4: Disabling Unnecessary Startup Programs:
- To disable a startup program, uncheck the box next to its entry in the list.
- Alternatively, you can select the program and click the “Disable” button at the bottom of the window.
- Exercise caution when disabling startup programs, ensuring that you only disable programs that are unnecessary or unwanted.
Step 5: Managing Startup Services (Optional):
- Click on the “Services” tab in the System Configuration Utility window.
- Here, you’ll find a list of services that are configured to start automatically with Windows.
- Similar to startup programs, review the list of services and disable any unnecessary or unwanted entries by unchecking the box next to their names.
Step 6: Saving Changes and Restarting:
- Once you’ve finished disabling unnecessary startup programs and services, click on the “Apply” button.
- Click “OK” to close the System Configuration Utility window.
- You’ll be prompted to restart your computer for the changes to take effect. Click “Restart” to reboot your system.
Step 7: Verifying Startup Changes:
- After restarting your computer, observe the system startup process to ensure that the changes have taken effect.
- Monitor the boot time and system performance to gauge the impact of disabling unnecessary startup programs.
Advanced Techniques and Tips:
For advanced users or those seeking additional optimization techniques, consider the following tips:
- Using Task Manager: In addition to the System Configuration Utility, you can also manage startup programs using the Task Manager. Right-click on the taskbar and select “Task Manager.” Navigate to the “Startup” tab to view and manage startup programs.
- Manually Editing Startup Entries: Advanced users can manually edit startup entries in the system registry or Startup folder to add, remove, or modify startup programs. Exercise caution when editing the registry, as incorrect changes can cause system instability.
- Using Third-Party Software: There are many third-party software applications available that offer advanced startup management features, including startup program analysis, optimization recommendations, and automatic startup program management.
Conclusion:
In conclusion, disabling unnecessary startup programs in Windows XP is a fundamental step towards optimizing system performance, reducing boot times, and streamlining resource utilization. By following the step-by-step guide outlined in this article and leveraging advanced techniques and tips, users can effectively manage startup programs with confidence and precision. Whether using the System Configuration Utility, Task Manager, or third-party software applications, mastering the art of startup program management empowers users to customize their computing experience and ensure peak performance on their Windows XP systems. So take control of your system startup today, disable unnecessary startup programs, and unlock the full potential of your Windows XP experience.
