Introduction:
In the realm of digital design, the presentation of an image plays a pivotal role in conveying mood, style, and overall visual impact. Adobe Photoshop, with its extensive set of tools and features, empowers artists to enhance images creatively. One such technique that adds sophistication and depth to images is creating a drop shadow photo border. This comprehensive guide will walk you through the step-by-step process of crafting a drop shadow photo border in Photoshop, exploring various methods, adjustments, and stylistic choices to elevate your images with a touch of elegance.
I. Choosing the Right Image:
1.1 Image Selection:
- Begin by selecting an image that complements the desired aesthetic for your drop shadow photo border.
- Consider the subject matter, composition, and color palette of the image.
1.2 High-Quality Image:
- Opt for a high-resolution image to ensure clarity and detail in the final result.
- A high-quality image serves as a strong foundation for creating a polished and refined drop shadow border.
II. Launching Adobe Photoshop and Opening the Image:
2.1 Opening Photoshop:
- Launch Adobe Photoshop on your computer to embark on the creative process.
- Create a new document or open an existing one where you want to add the drop shadow photo border.
2.2 Importing the Image:
- Import the chosen image into Photoshop as the base layer.
- Ensure the image layer is positioned at the bottom of the layer stack, serving as the canvas for your drop shadow border.
III. Creating a Border Layer:
3.1 Adding a New Layer:
- Create a new layer above the image layer to build the drop shadow border.
- Use the Rectangular Marquee Tool (M) to select the entire canvas, then fill the selection with the desired border color.
3.2 Adjusting Border Thickness:
- Modify the thickness of the border by adjusting the size of the selection before filling.
- Experiment with different thicknesses to find the balance that complements your image.
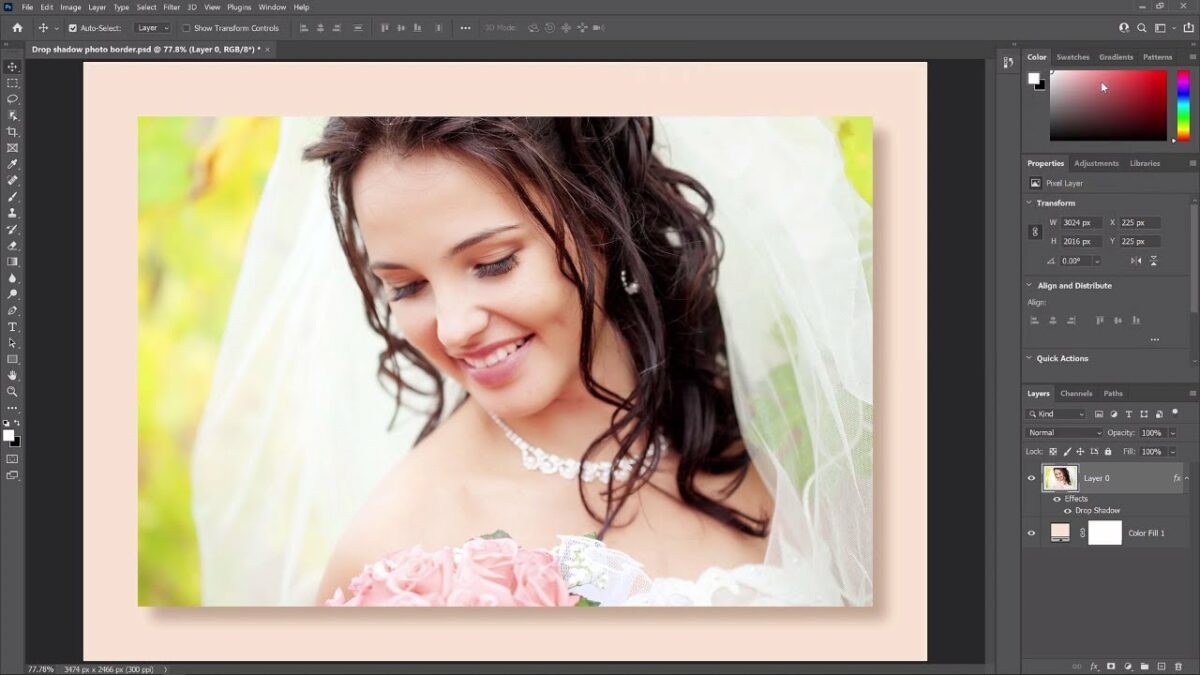
IV. Applying Layer Styles for Drop Shadow:
4.1 Accessing Layer Styles:
- With the border layer selected, navigate to the bottom of the Layers panel and click on the “fx” icon.
- Choose “Drop Shadow” from the menu to open the Layer Styles options.
4.2 Adjusting Drop Shadow Settings:
- Experiment with the settings in the Drop Shadow dialog box to customize the appearance of the shadow.
- Modify parameters such as opacity, angle, distance, and size to achieve the desired drop shadow effect.
V. Softening the Drop Shadow:
5.1 Feathering the Border:
- Create a smoother transition between the border and the drop shadow by feathering the border edges.
- Use the Feather option or apply a Gaussian Blur to soften the border edges.
5.2 Adjusting Shadow Opacity:
- Fine-tune the opacity of the drop shadow to control its intensity.
- Strive for a subtle and elegant shadow that enhances the overall presentation of the image.
VI. Customizing with Inner Shadows:
6.1 Adding Inner Shadows:
- Enhance the depth and dimension of the border by adding inner shadows.
- Access the Layer Styles options, choose “Inner Shadow,” and experiment with settings such as opacity and distance.
6.2 Experimenting with Color Overlay:
- Explore the Color Overlay option within Layer Styles to add a tint or hue to the border.
- This step allows for creative customization and coordination with the image’s color scheme.
VII. Layer Masking for Precision:
7.1 Applying Layer Mask:
- Use layer masking to refine the edges of the drop shadow border.
- Apply a layer mask to the border layer and use a soft brush to paint on the mask, revealing or concealing specific areas for a polished result.
7.2 Gradual Blending:
- Gradually blend the drop shadow into the underlying image by adjusting the layer mask.
- This technique ensures a seamless integration of the border with the image.
VIII. Reviewing and Refining:
8.1 Iterative Review:
- Step back and review the entire composition, considering the balance and visual impact of the drop shadow border.
- Make iterative adjustments to layer styles, opacity, and masking for a refined and elegant finish.
8.2 Saving Iterative Versions:
- Save iterative versions of your project to preserve different stages of the creative process.
- This practice allows for experimentation and easy backtracking if desired.
IX. Exporting the Image with Drop Shadow Border:
9.1 Saving in Appropriate Formats:
- Save the final image with the drop shadow border in the desired format, resolution, and color space.
- Consider the intended use, whether for digital display, print, or further digital manipulation.
9.2 Sharing and Showcasing:
- Share your image with the drop shadow border on social media platforms or within design communities.
- Engage with fellow designers, gather feedback, and celebrate the refined elegance of your bordered creation.
X. Conclusion:
Creating a drop shadow photo border in Adobe Photoshop is a journey into the realm of subtle sophistication, where attention to detail enhances the visual impact of an image. By skillfully applying layer styles, adjusting shadows, and refining with layer masking, designers can elevate their images with a touch of elegance. As you embark on your border design adventure, let your creativity guide you, experiment with different styles, and witness the transformative power of Photoshop in framing your images with shadows that dance gracefully around the edges.