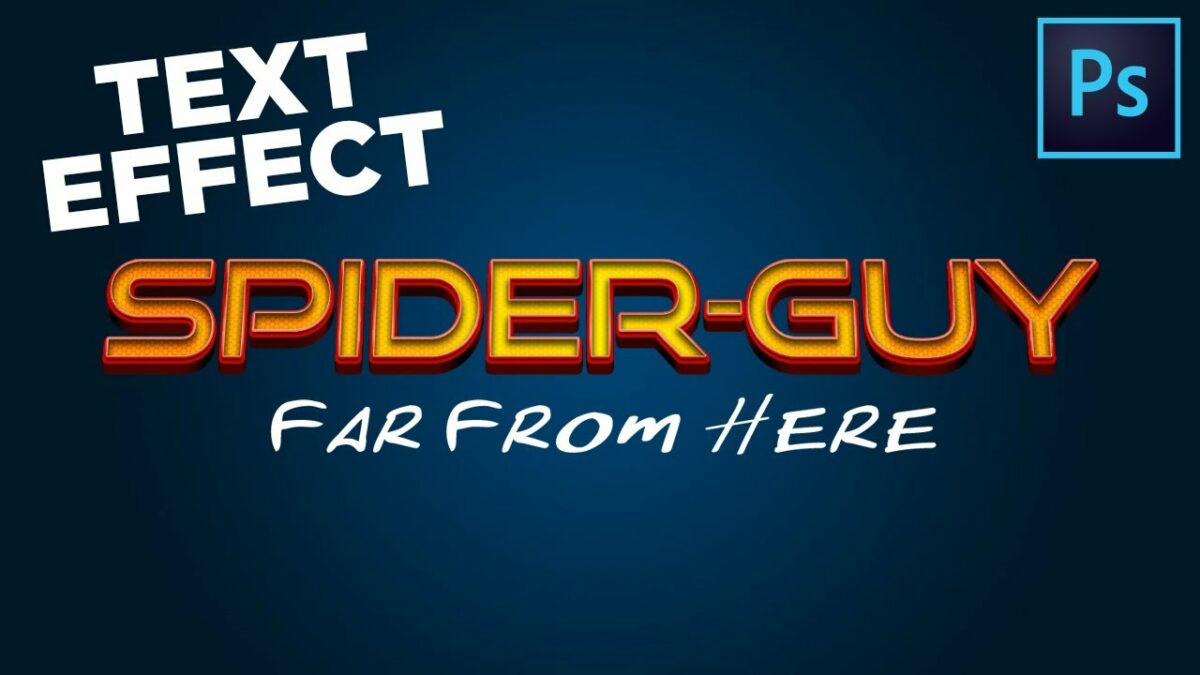
Introduction: The Spider-Man text effect in Photoshop is an iconic and dynamic design that pays homage to the beloved superhero’s web-slinging adventures. In this extensive tutorial, we will delve into the intricacies of replicating the Spider-Man text effect using layer styles in Photoshop. From mastering layer blending options to understanding the nuances of textures and gradients, this guide will provide step-by-step instructions, creative insights, and expert tips to help you weave a stunning Spider-Man-inspired typography that captures the essence of the friendly neighborhood hero.
Section 1: Understanding the Spider-Man Text Effect Before diving into the practical steps, let’s explore the characteristics of the Spider-Man text effect. Analyze the distinctive features, such as web-like patterns, vibrant colors, and dynamic shading, that define this iconic design. This section will discuss the significance of the Spider-Man text effect and its visual elements.
Section 2: Setting Up Your Photoshop Workspace Open Adobe Photoshop and create a new project to begin the Spider-Man text effect tutorial. Familiarize yourself with the essential elements of the Photoshop workspace, including the layers panel, tools panel, and options bar. This section will guide you through setting up your workspace for an efficient and organized design process.
Section 3: Choosing the Right Font and Text Select a suitable font that complements the Spider-Man theme. Explore bold and dynamic fonts that convey the superhero vibe. Decide on the text you want to use for the Spider-Man effect, keeping in mind the impact of the message and its relevance to the superhero narrative. This section will provide insights into font selection and text considerations.
Section 4: Creating the Base Text Layer Begin the Spider-Man text effect by creating the base text layer. Input your chosen text and adjust the font size to fit the canvas. This section will guide you through the steps of creating the initial text layer as the foundation for the Spider-Man typography.
Section 5: Applying the Base Layer Styles Start enhancing the text by applying layer styles to the base layer. Explore options such as Bevel & Emboss, Inner Shadow, and Color Overlay to add depth and dimension to the text. This section will provide step-by-step instructions on applying the initial layer styles for the Spider-Man effect.
Section 6: Adding Web-Like Patterns with Custom Shapes Introduce web-like patterns to the Spider-Man text effect using custom shapes in Photoshop. Create intricate and dynamic patterns that emulate the iconic webs associated with the superhero. This section will guide you through the process of adding web patterns to enhance the visual impact of the text.
Section 7: Incorporating Gradient Overlays for Dynamic Shading Enhance the dynamic shading of the Spider-Man text by incorporating gradient overlays. Experiment with vibrant and complementary colors to create a sense of movement and energy within the text. This section will provide insights into utilizing gradient overlays for dynamic shading effects.
Section 8: Experimenting with Texture Overlays Elevate the Spider-Man text effect with texture overlays that add a tactile and visual dimension to the design. Explore textures that mimic the feel of Spider-Man’s suit or the surfaces he swings from. This section will guide you through experimenting with texture overlays to enhance the overall aesthetic.
Section 9: Utilizing Outer Glow and Inner Glow for Highlight and Shadow Refine the highlights and shadows of the Spider-Man text by incorporating Outer Glow and Inner Glow layer styles. Adjust the settings to achieve a balanced and dynamic contrast that emphasizes the contours of the text. This section will provide step-by-step instructions on utilizing glow effects for highlight and shadow.
Section 10: Enhancing Depth with Drop Shadow Deepen the sense of depth in the Spider-Man text by adding a carefully crafted Drop Shadow. Adjust the settings to create a subtle and realistic shadow that grounds the text within the design. This section will guide you through the process of enhancing depth using Drop Shadow.
Section 11: Fine-Tuning and Adjusting Layer Styles Take a moment to fine-tune and adjust the layer styles applied to the Spider-Man text. Experiment with different settings, opacities, and blend modes to achieve the desired visual impact. This section will provide insights into the iterative process of refining layer styles for optimal results.
Section 12: Adding a Dynamic Background Elevate the Spider-Man text effect by incorporating a dynamic background that complements the superhero theme. Experiment with gradients, textures, or cityscape images to create a backdrop that enhances the overall composition. This section will guide you through the process of adding a dynamic background to complete the design.
Section 13: Exploring Additional Details and Enhancements Consider adding additional details and enhancements to elevate the Spider-Man text effect further. Experiment with glows, lens flares, or comic book-inspired elements to enhance the overall visual appeal. This section will provide creative insights into exploring additional details for a standout design.
Section 14: Creating Variations and Customization Encourage creativity by creating variations and customizing the Spider-Man text effect to suit your preferences. Experiment with different fonts, colors, and patterns to explore diverse interpretations of the superhero-inspired typography. This section will guide you through the process of creating personalized variations.
Section 15: Saving and Exporting Your Spider-Man Text Effect With your Spider-Man text effect perfected, it’s time to save and export your design. Uncover the optimal file formats, resolutions, and color profiles to ensure your Spider-Man-inspired typography is ready for sharing across various platforms and applications. This section will provide a seamless transition from creative exploration to a polished final product.
Section 16: Showcasing Your Spider-Man Text Effect Immerse yourself in the satisfaction of showcasing your Spider-Man text effect. Explore creative ways to present your design, whether through digital portfolios, social media platforms, or print materials. This section will provide insights into effectively showcasing your Spider-Man-inspired typography and garnering appreciation for your creative interpretation of the iconic superhero.
Conclusion: Creating the Spider-Man text effect in Photoshop is a thrilling journey into the dynamic world of superheroes and graphic design. This comprehensive guide has equipped you with the knowledge, techniques, and creative insights needed to weave a stunning Spider-Man-inspired typography using layer styles. Embrace the vibrant colors, intricate patterns, and dynamic shading to capture the essence of the friendly neighborhood hero. As you experiment with the Spider-Man text effect, let your digital creations become a testament to your mastery of layer styles and your ability to bring iconic characters to life within the dynamic realm of Adobe Photoshop.