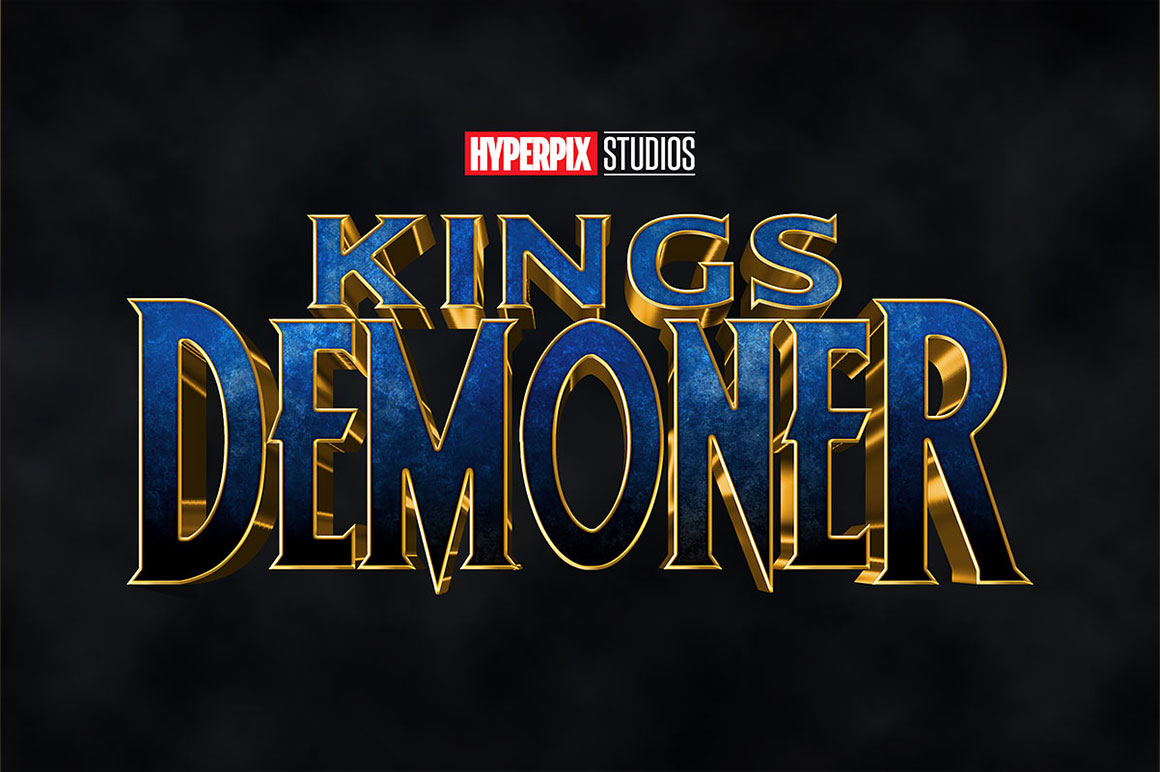
In the vibrant realm of graphic design and digital artistry, mastering the craft of text effects is akin to wielding a powerful vibranium-infused tool. Among the myriad of possibilities, the “BLACK PANTHER” text effect stands as a beacon of regal elegance and superhero prowess. In this extensive tutorial, we will delve into the intricacies of crafting the “BLACK PANTHER” text effect in Photoshop, unraveling the magic of layer styles and empowering you to channel your inner Wakandan designer.
Section 1: Introduction to the Wakandan Aesthetic
1.1 The Essence of “BLACK PANTHER”
Before embarking on the journey of text manipulation, it’s crucial to grasp the essence of “BLACK PANTHER.” The iconic typography associated with this superhero film embodies strength, sophistication, and a connection to Wakandan culture. The sleek, angular design reflects the advanced technology and regal heritage of the fictional African nation.
1.2 Layer Styles as the Vibranium Arsenal
Layer styles in Photoshop serve as your vibranium arsenal, offering an array of tools to mold and shape your text. From embossing to gradient overlays, these layer styles enable you to infuse your design with the distinctive qualities that define the Wakandan aesthetic.
Section 2: Setting the Stage – Document Setup
2.1 Create a New Canvas
Begin your Wakandan journey by creating a new Photoshop document. Consider dimensions that suit your design preferences; however, a standard 1920×1080 canvas provides a versatile starting point.
2.2 Select a Wakandan-Inspired Background
Infuse Wakandan vibes into your canvas by selecting a background that echoes the rich visual tapestry of the fictional nation. Consider incorporating tribal patterns, futuristic cityscapes, or the iconic Black Panther emblem.
Section 3: Crafting the Text
3.1 Choose the Right Font
The choice of font is pivotal in capturing the essence of “BLACK PANTHER.” Opt for bold, angular fonts that exude strength and modernity. Experiment with fonts like Bebas Neue, Avengeance Mightiest Avenger, or similar options that align with the superhero aesthetic.
3.2 Type “BLACK PANTHER”
With your chosen font selected, type “BLACK PANTHER” onto your canvas. Adjust the size and placement to suit your design vision.
Section 4: Applying Layer Styles
4.1 Embossing for Dimension
To infuse your text with three-dimensional elegance, navigate to the “Layer Styles” panel and apply an emboss effect. Adjust the angle and depth to create dynamic highlights and shadows, enhancing the regal quality of your text.
4.2 Gradient Overlay for Depth
Harness the power of gradients to add depth and nuance to your text. Experiment with gold, silver, or vibranium-inspired gradients to evoke the richness of Wakandan culture. The gradient overlay should seamlessly blend with the embossed contours, creating a harmonious visual impact.
4.3 Outer Glow for Radiance
Imbue your text with a radiant aura by applying an outer glow. Select a color that complements the overall palette and adjust the opacity to achieve a subtle yet impactful glow. This step enhances the mystical and powerful aura associated with the Black Panther.
4.4 Bevel and Emboss for Edge Definition
Refine the edges of your text by incorporating a bevel and emboss effect. This layer style adds a polished finish, enhancing the sharp, angular nature of the Wakandan typography. Tweak the settings to achieve a balance between elegance and strength.
Section 5: Fine-Tuning and Refinement
5.1 Texture Overlay for Authenticity
To infuse an authentic Wakandan texture into your text, consider applying a subtle texture overlay. This step adds a tactile dimension, evoking the essence of vibranium and the tactile nature of Wakandan craftsmanship.
5.2 Adjustments and Experimentation
Fine-tune your design by experimenting with color adjustments, saturation, and contrast. Consider incorporating subtle details or accents that pay homage to the Black Panther narrative, such as claw marks or tribal patterns.
Section 6: Finalizing Your Wakandan Masterpiece
6.1 Group and Organize Layers
As your “BLACK PANTHER” text effect takes shape, ensure a well-organized project by grouping and labeling layers. This practice streamlines the editing process and allows for easy adjustments or additions.
6.2 Save and Share Your Design
Once satisfied with your Wakandan creation, save your Photoshop project and export the final image in your preferred format. Share your masterpiece with the design community or use it to enhance your superhero-themed projects.
Conclusion: Wakandan Typography Mastery
In this journey through the creation of the “BLACK PANTHER” text effect in Photoshop, you’ve harnessed the power of layer styles to channel the regal elegance and strength of Wakandan design. From embossing to gradient overlays, each layer style serves as a vibranium-infused tool in your creative arsenal. As you continue to explore the vast possibilities within Photoshop, remember that the Wakandan aesthetic is not just a visual style; it’s a symbol of resilience, heritage, and the enduring spirit of a superhero. So, go forth, fellow designer, and may your typography resonate with the echoes of Wakanda forever!
