Introduction:
Page views are a fundamental aspect of the graphic design process, providing designers with diverse perspectives to navigate and manipulate their creations effectively. CorelDRAW, a renowned vector graphics editor, offers a range of page views and tools to facilitate a seamless design experience. This comprehensive guide explores the intricacies of page views in CorelDRAW, covering key concepts, tools, techniques, and advanced features that empower designers to navigate and manipulate their projects with precision and efficiency.
Section 1: Understanding the Importance of Page Views
1.1 Design Perspective and Navigation: Delve into the significance of design perspective and navigation in the creative process. Understand how different page views in CorelDRAW serve as windows into the design canvas, enabling designers to explore, edit, and visualize their projects from various angles.
1.2 Efficient Workflow and Visualization: Explore how efficient workflow and visualization are enhanced through the utilization of diverse page views. From zooming in for detailed edits to zooming out for a comprehensive overview, the ability to seamlessly switch between page views streamlines the design process.
Section 2: Navigating CorelDRAW’s Page View Tools
2.1 Introduction to Page Views: Familiarize yourself with the various page view options available in CorelDRAW. Understand the default views, including Single Page, Two Page, and Overview, and explore the tools that facilitate smooth navigation between these perspectives.
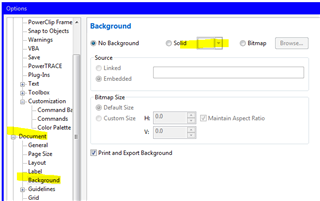
2.2 Customizing Page View Options: Recognize the flexibility of CorelDRAW’s page view options. Learn how to customize view settings, including zoom levels, rulers, and guidelines, to tailor the workspace according to individual preferences and project requirements.
Section 3: Essential Page Views for Designers
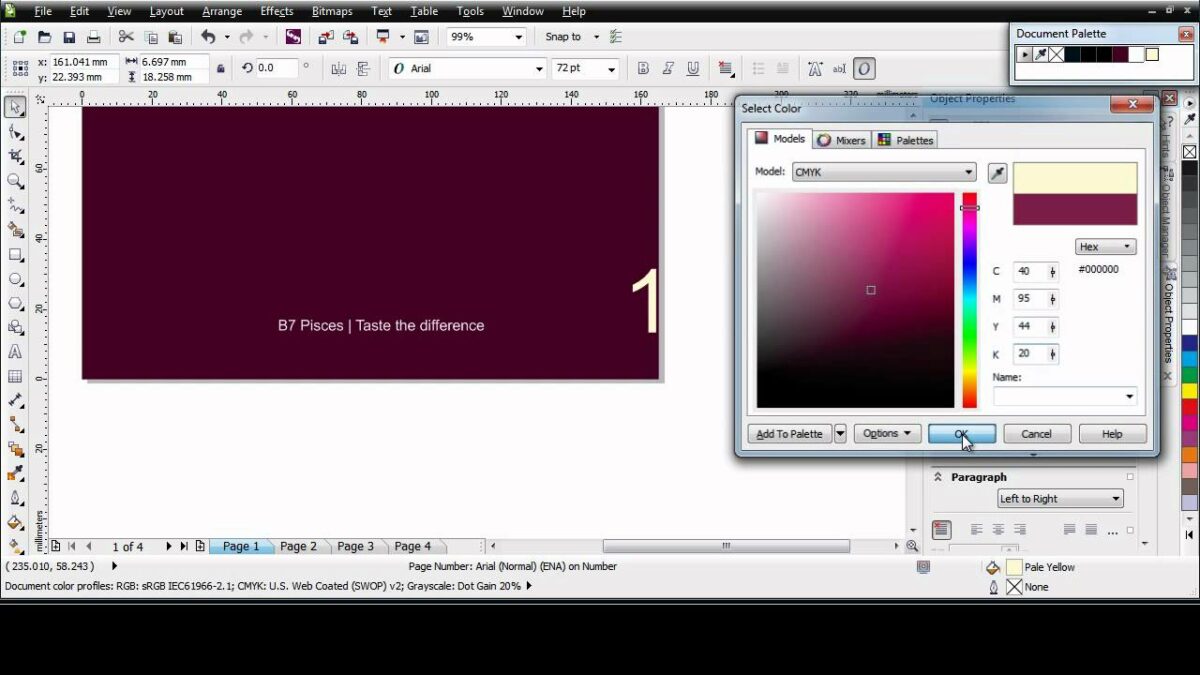
3.1 Single Page View: Explore the Single Page view, which provides a detailed and focused perspective on a single page of your design. Learn how to navigate, zoom, and manipulate objects efficiently in this view for precise edits and adjustments.
3.2 Two Page View: Delve into the Two Page view, ideal for designing layouts that span across facing pages. Understand how to utilize this view to maintain visual consistency and alignment between pages, ensuring a harmonious design across spreads.
3.3 Overview View: Discover the Overview view, offering a bird’s-eye perspective of your entire project. Learn how to use this view for quick navigation, assessing overall design balance, and identifying areas that may require attention.
Section 4: Navigating and Zooming Techniques
4.1 Zooming In and Out: Master the art of zooming in and out in CorelDRAW. Explore different methods for adjusting zoom levels, including keyboard shortcuts, the zoom tool, and the zoom slider, to focus on specific details or view the entire canvas.
4.2 Dynamic Zoom and Pan: Learn about dynamic zoom and pan features that contribute to a fluid design experience. CorelDRAW allows designers to navigate the canvas seamlessly by dynamically zooming and panning with the mouse or graphics tablet, enhancing precision in editing.
4.3 Navigator Docker: Familiarize yourself with the Navigator docker, a powerful tool for quick navigation and precise zoom control. Discover how to use the Navigator docker to preview and adjust the view of your design, especially when working on intricate details.
Section 5: Grids, Rulers, and Guidelines in Page Views
5.1 Utilizing Grids and Rulers: Explore the benefits of using grids and rulers in CorelDRAW’s page views. Learn how to enable and customize grids for aligning objects and use rulers for accurate measurements, contributing to a well-organized and structured design.
5.2 Working with Guidelines: Master the use of guidelines to maintain design precision. CorelDRAW allows designers to create, customize, and snap objects to guidelines, ensuring consistent alignment and spacing across different elements in the design.
Section 6: Advanced Page View Techniques
6.1 Layer Management in Page Views: Delve into advanced layer management techniques within different page views. Learn how to organize and control the visibility of layers, facilitating a streamlined workflow when working on complex design projects.
6.2 Page Transitions and Animations: Explore dynamic design possibilities with page transitions and animations. Learn how to create engaging presentations or interactive documents by incorporating transitions and animations between pages, enhancing the overall user experience.
Section 7: Troubleshooting and Tips for Effective Page Views
7.1 Addressing Display Issues: Understand how to troubleshoot common display issues in page views. Explore tips for optimizing graphics card settings, adjusting display preferences, and resolving issues related to rendering and visualization.
7.2 Optimizing Performance for Large Documents: Learn strategies for optimizing performance when working with large documents in CorelDRAW’s page views. From managing layers to using linked images, discover techniques that enhance efficiency in handling extensive design projects.
Section 8: Collaborative Workflows and Page Views
8.1 Sharing Design Perspectives with Team Members: In a collaborative design environment, explore methods for sharing design perspectives and page views with team members. Learn how to export and import view settings to maintain consistency across projects and streamline collaborative workflows.
8.2 Establishing Page View Guidelines: Enhance collaborative workflows by establishing guidelines for page views within your design team. Communicate best practices and conventions to ensure a unified approach to navigating and manipulating designs, fostering efficient collaboration.
Conclusion:
In conclusion, mastering the art of page views in CorelDRAW is a fundamental skill for designers seeking to navigate and manipulate their projects with precision and efficiency. Whether you are a seasoned professional or a newcomer to the world of graphic design, this comprehensive guide equips you with the knowledge and techniques needed to harness the power of CorelDRAW’s page views. By understanding the significance of page views, navigating CorelDRAW’s page view tools, mastering essential views for designers, employing effective navigation and zooming techniques, utilizing grids, rulers, and guidelines, exploring advanced techniques, troubleshooting common challenges, and implementing collaborative workflows, designers can unlock the full potential of CorelDRAW for a seamless and visually satisfying design experience.