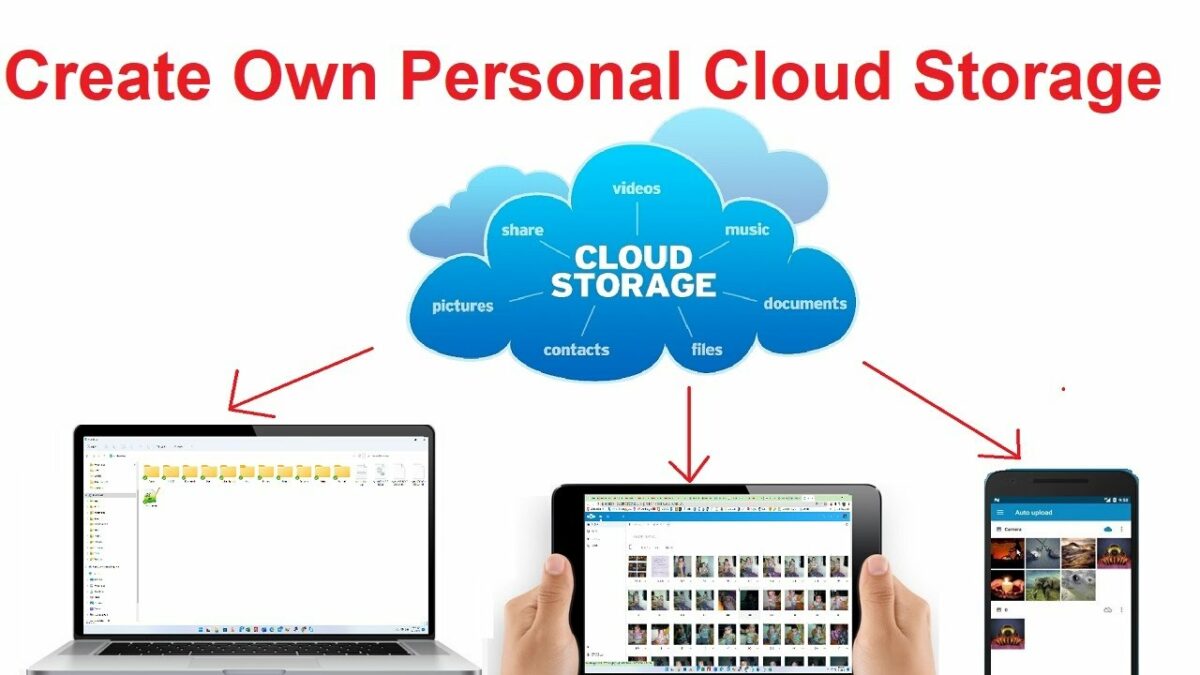
Categories
How To Guides

Mastering Printer Management: A Comprehensive Guide to Changing the Default Printer in Windows 7

In the realm of printing, efficiency and convenience are paramount. Windows 7 offers users the flexibility to designate a default printer, streamlining the printing process and enhancing productivity. Whether in the office or at home, knowing how to change the default printer in Windows 7 can save time and streamline workflow. In this exhaustive guide, we will delve deep into the intricacies of printer management, providing step-by-step instructions and tips for changing the default printer to suit your needs and preferences.

Understanding Default Printers in Windows 7:

Before delving into the process of changing the default printer, let’s first grasp the concept and significance of default printers in Windows 7:

  1. Definition: The default printer in Windows 7 is the designated printer that automatically receives print jobs when no specific printer is selected. It serves as the primary output device for printing documents, photos, and other materials.
  2. Convenience: Designating a default printer eliminates the need to manually select a printer each time you print, streamlining the printing process and enhancing convenience.
  3. User Preferences: Users can choose their preferred default printer based on factors such as proximity, print quality, and printer capabilities to optimize printing efficiency.

Changing the Default Printer in Windows 7:

Now, let’s explore the step-by-step process of changing the default printer in Windows 7:

  1. Accessing Devices and Printers:
    • Click on the Start button in the taskbar.
    • Navigate to “Devices and Printers” from the Start menu or search for it in the search bar.
  2. Selecting Default Printer:
    • In the Devices and Printers window, locate the printer that you want to set as the default.
    • Right-click on the desired printer icon and select “Set as default printer” from the context menu.
  3. Verifying Default Printer:
    • Once selected, the chosen printer will be designated as the default printer, indicated by a green checkmark next to its icon.
    • Print jobs will automatically be sent to the default printer unless specified otherwise.

Advanced Features and Tips:

To further enhance printer management and optimize printing efficiency in Windows 7, consider the following advanced features and tips:

  1. Creating Printer Shortcuts:
    • Pin frequently used printers to the Start menu or taskbar for quick access and convenience.
    • Right-click on the printer icon in Devices and Printers and select “Create shortcut” to place a shortcut on the desktop or other locations.
  2. Managing Printer Preferences:
    • Customize printer preferences and settings to suit your printing needs and optimize output quality.
    • Access printer properties by right-clicking on the printer icon and selecting “Printer properties” from the context menu.
  3. Setting Printer Defaults:
    • Adjust default settings such as paper size, orientation, and print quality to streamline the printing process.
    • Navigate to printer properties and select the “Advanced” tab to modify default settings for all print jobs.
  4. Utilizing Network Printers:
    • Connect to network printers and designate them as default printers to access shared printing resources.
    • Ensure that network printers are properly configured and accessible on the network for seamless printing.

Conclusion:

Changing the default printer in Windows 7 is a simple yet powerful way to streamline the printing process and enhance productivity. By following the comprehensive guide outlined above, users can easily designate their preferred printer as the default, ensuring that print jobs are sent to the desired output device with minimal effort. Whether in the office, at home, or on the go, Windows 7 provides users with the flexibility and convenience to manage printers effectively and optimize printing efficiency. So take control of your printing preferences today, change the default printer with confidence, and enjoy seamless printing experiences in Windows 7.

Categories
How To Guides

Efficient Power Management: A Comprehensive Guide to Configuring Power Settings for Portable Computers in Windows 7

In the fast-paced world of mobile computing, efficient power management is crucial for maximizing battery life, optimizing performance, and enhancing user experience. Windows 7 offers a plethora of power settings and customization options specifically tailored for portable computers, allowing users to fine-tune power consumption according to their preferences and usage patterns. In this exhaustive guide, we will embark on a journey to demystify the process of configuring power settings for portable computers in Windows 7, exploring its intricacies and providing step-by-step instructions for maximizing battery life and optimizing performance.

Understanding Power Settings in Windows 7:

Before delving into the intricacies of configuring power settings, let’s first grasp the concept and significance of power management in Windows 7:

  1. Definition: Power settings in Windows 7 refer to a collection of configurations and options that control various aspects of power management, including screen brightness, sleep modes, battery usage, and system performance.
  2. Customization Options: Windows 7 provides users with a wide range of customization options for power settings, allowing them to adjust power plans, set timers for screen and sleep modes, and manage power usage for specific hardware components.
  3. Battery Optimization: Proper configuration of power settings is essential for optimizing battery life and prolonging the runtime of portable computers, ensuring uninterrupted productivity and mobility.

Configuring Power Settings for Portable Computers in Windows 7:

Now, let’s explore the step-by-step process of configuring power settings to maximize battery life and optimize performance for portable computers in Windows 7:

  1. Accessing Power Options:
    • Click on the battery icon in the system tray or navigate to “Control Panel” > “System and Security” > “Power Options” to access power settings.
  2. Selecting Power Plan:
    • In the Power Options window, choose a power plan that suits your usage scenario and preferences, such as Balanced, Power Saver, or High Performance.
    • Click on the “Change plan settings” link next to the selected power plan to customize its settings.
  3. Customizing Plan Settings:
    • Adjust power settings such as screen brightness, display timeout, and sleep mode behavior according to your preferences.
    • Use the sliders or dropdown menus to set the desired values for each parameter, taking into account both power saving and performance considerations.
  4. Configuring Advanced Power Settings:
    • Click on the “Change advanced power settings” link to access advanced power settings for additional customization options.
    • Explore categories such as processor power management, display, battery, and sleep to fine-tune power settings at a granular level.
  5. Managing Battery Usage:
    • Configure battery settings to optimize power usage and prolong battery life. Adjust settings such as battery saver mode, critical battery action, and low battery notifications to suit your needs.
    • Enable battery saver mode to automatically conserve power when the battery level drops below a certain threshold.
  6. Creating Custom Power Plans:
    • For advanced users, consider creating custom power plans tailored to specific usage scenarios, such as gaming, multimedia consumption, or productivity.
    • Click on the “Create a power plan” link in the Power Options window to create a custom power plan and customize its settings according to your requirements.

Advanced Features and Tips:

To further optimize power management and enhance the efficiency of portable computers in Windows 7, consider the following advanced features and tips:

  1. Utilizing Power Efficiency Diagnostics:
    • Use the Power Efficiency Diagnostics Report tool to analyze power usage and identify potential areas for improvement.
    • Generate a power efficiency diagnostics report using the command prompt or PowerShell and review the recommendations for optimizing power settings.
  2. Updating Device Drivers:
    • Ensure that device drivers for hardware components such as the processor, graphics card, and network adapter are up-to-date.
    • Updated drivers may include performance optimizations and power management enhancements that can improve overall system efficiency.
  3. Minimizing Background Processes:
    • Minimize the number of background processes and applications running on your system to reduce power consumption and optimize performance.
    • Use Task Manager to identify and close unnecessary processes consuming system resources.
  4. Implementing Power Management Policies:
    • Organizations and businesses can implement power management policies through Group Policy settings to enforce standardized power configurations across multiple devices.
    • Customize power management policies to align with organizational goals and sustainability initiatives.

Conclusion:

Configuring power settings for portable computers in Windows 7 is essential for maximizing battery life, optimizing performance, and ensuring a seamless mobile computing experience. By following the comprehensive guide outlined above, users can harness the power of Windows 7’s power management features to customize power plans, adjust settings, and fine-tune power consumption according to their preferences and usage patterns. Whether it’s extending battery life, improving system performance, or creating custom power plans, Windows 7 provides users with the tools and flexibility to achieve optimal power management for their portable computers. So take control of your power settings today, configure them with confidence, and enjoy enhanced efficiency and mobility with Windows 7.

Categories
How To Guides

Defending Your System: A Comprehensive Guide to Using Windows Defender in Windows 7

In the digital age, safeguarding your computer against malware, viruses, and other malicious threats is paramount. Windows Defender, a built-in security feature of Windows 7, serves as the frontline defense, protecting your system from various online dangers. In this exhaustive guide, we will delve deep into the functionalities of Windows Defender, providing step-by-step instructions, tips, and best practices for harnessing its power to fortify your system’s defenses.

Understanding Windows Defender in Windows 7:

Before delving into the intricacies of using Windows Defender, let’s first grasp the concept and significance of this indispensable security tool:

  1. Definition: Windows Defender is an integrated security solution included with Windows 7 that provides real-time protection against malware, spyware, and other malicious software threats.
  2. Comprehensive Protection: Windows Defender employs a robust set of detection and removal mechanisms to safeguard your system from a wide range of threats, including viruses, worms, Trojans, ransomware, and potentially unwanted programs (PUPs).
  3. Seamless Integration: Windows Defender seamlessly integrates with the Windows 7 operating system, running quietly in the background to monitor system activity and scan files and programs for malicious behavior.

Using Windows Defender in Windows 7:

Now, let’s explore the step-by-step process of using Windows Defender to protect your system in Windows 7:

  1. Accessing Windows Defender:
    • Click on the Start button in the taskbar.
    • Navigate to “Control Panel” > “System and Security” > “Windows Defender.”
  2. Updating Definitions:
    • Before running a scan, ensure that Windows Defender’s virus and spyware definitions are up-to-date to detect the latest threats.
    • Click on the “Update” tab in the Windows Defender window and then click on the “Update definitions” button to download the latest updates.
  3. Running a Quick Scan:
    • Click on the “Home” tab in the Windows Defender window.
    • Select the “Quick” scan option and click on the “Scan now” button to initiate a quick scan of your system’s most vulnerable areas.
  4. Running a Full Scan:
    • For a more thorough scan of your entire system, select the “Full” scan option under the “Home” tab.
    • Click on the “Scan now” button to start a comprehensive scan of all files and programs on your computer.
  5. Reviewing Scan Results:
    • After the scan is complete, review the scan results to identify any detected threats or suspicious files.
    • Windows Defender will categorize detected items as either malware, potentially unwanted software, or clean files.
  6. Taking Action on Detected Threats:
    • Depending on the severity of the detected threats, Windows Defender will provide options to quarantine, remove, or allow them.
    • Review the recommended actions and follow the prompts to take appropriate measures to address the detected threats.

Advanced Features and Tips:

To make the most of Windows Defender and enhance your system’s security in Windows 7, consider the following advanced features and tips:

  1. Customizing Scan Options:
    • Explore the “Settings” tab in the Windows Defender window to customize scan options, scheduling, and notification preferences.
    • Adjust settings to tailor Windows Defender’s behavior to your specific security needs and preferences.
  2. Performing Manual Scans:
    • In addition to scheduled scans, run manual scans of specific files, folders, or drives as needed.
    • Right-click on the file, folder, or drive you want to scan and select “Scan with Windows Defender” from the context menu.
  3. Using Real-Time Protection:
    • Enable real-time protection to continuously monitor your system for malware and other threats in real-time.
    • Real-time protection automatically scans files and programs as they are accessed or downloaded, providing proactive defense against emerging threats.
  4. Updating Windows Regularly:
    • Keep your Windows 7 operating system up-to-date with the latest security updates and patches provided by Microsoft.
    • Enable automatic updates or manually check for updates regularly to ensure that your system is protected against known vulnerabilities.

Conclusion:

Windows Defender is a powerful security tool that provides essential protection against malware, viruses, and other malicious threats in Windows 7. By following the comprehensive guide outlined above, users can harness the capabilities of Windows Defender to fortify their system’s defenses, detect and remove threats, and maintain a secure computing environment. Whether it’s running scans, updating definitions, or customizing settings, Windows Defender offers a robust set of features and functionalities to safeguard your system against online dangers. So take charge of your system’s security today, utilize Windows Defender with confidence, and enjoy peace of mind knowing that your Windows 7 system is protected against malware and other threats.