Introduction
In the era of technological convergence, syncing your iPhone with Windows 10 opens up a world of possibilities, allowing seamless integration between your Apple device and Microsoft’s operating system. This comprehensive guide aims to walk you through the step-by-step process of syncing your iPhone with Windows 10, covering a range of synchronization options, from transferring files and photos to managing apps and data. Whether you’re a seasoned user or a newcomer to this digital ecosystem, this guide provides detailed insights to help you achieve a harmonious synchronization between your iPhone and Windows 10.
Section 1: Understanding the Integration
1.1 Overview
Syncing your iPhone with Windows 10 involves establishing a connection that enables the exchange of data and content between the two platforms. This integration enhances user convenience by facilitating tasks like file transfers, media sharing, and software management.
1.2 Benefits of Syncing iPhone with Windows 10
- Data Backup: Keep your iPhone data backed up on your Windows 10 computer, safeguarding against potential data loss.
- Media Transfer: Seamlessly transfer photos, videos, and music between your iPhone and Windows 10.
- App Management: Streamline the process of managing and updating apps on your iPhone using Windows 10.
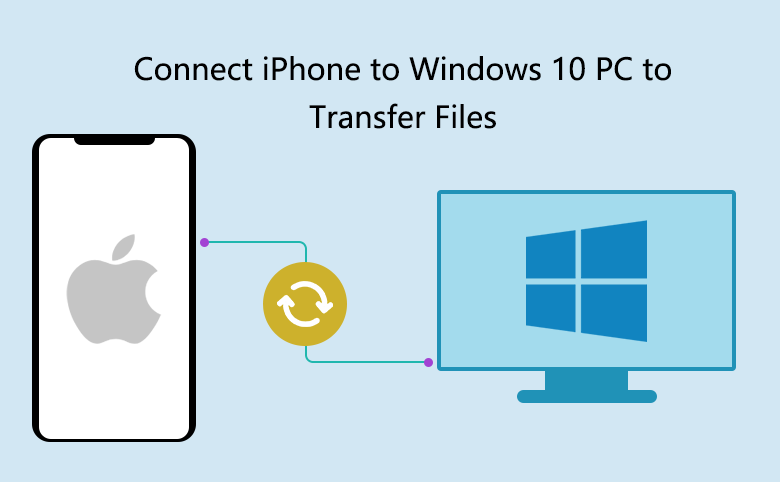
Section 2: Connecting Your iPhone to Windows 10
2.1 Overview
The initial step in syncing your iPhone with Windows 10 is establishing a physical or wireless connection.
2.2 USB Connection
- Use a USB Cable: Connect your iPhone to your Windows 10 computer using the USB cable provided with your device.
- Trust This Computer: On your iPhone, if prompted, tap “Trust This Computer” to establish a secure connection.
2.3 Wireless Connection (Wi-Fi Sync)
- Enable Wi-Fi Sync: Ensure both your iPhone and Windows 10 computer are on the same Wi-Fi network.
- iTunes Settings: Open iTunes on your Windows 10 computer, navigate to the device icon, and check the “Sync with this iPhone over Wi-Fi” option.
Section 3: Syncing Photos and Videos
3.1 Overview
Transferring photos and videos between your iPhone and Windows 10 is a common synchronization task.
3.2 Using Photos App
- Open Photos App: Launch the Photos app on your Windows 10 computer.
- Connect iPhone: Connect your iPhone via USB or ensure both devices are on the same Wi-Fi network.
- Import Photos: Select “Import” and follow the on-screen instructions to import photos and videos from your iPhone.
3.3 Using File Explorer
- Connect iPhone: Use a USB cable to connect your iPhone to your Windows 10 computer.
- Open File Explorer: Open File Explorer, locate your iPhone under “This PC,” and access the “Internal Storage” or “DCIM” folder to copy photos and videos.
Section 4: Transferring Music and Audio Files
4.1 Overview
Syncing your iPhone with Windows 10 allows you to transfer music seamlessly, whether purchased from iTunes or acquired from other sources.
4.2 Using iTunes
- Open iTunes: Launch iTunes on your Windows 10 computer.
- Connect iPhone: Connect your iPhone using a USB cable.
- Select Music: Click on the device icon in iTunes and choose “Music” from the left menu.
- Sync Music: Check the “Sync Music” option and select the desired playlists, artists, or albums to transfer.
4.3 Using File Explorer
- Connect iPhone: Use a USB cable to connect your iPhone to your Windows 10 computer.
- Open File Explorer: Navigate to your iPhone under “This PC” and access the “Music” folder. Copy and paste or drag music files directly.
Section 5: Managing Apps and App Data
5.1 Overview
Syncing your iPhone with Windows 10 also extends to managing apps and their associated data.
5.2 Using iTunes
- Open iTunes: Launch iTunes on your Windows 10 computer.
- Connect iPhone: Use a USB cable to connect your iPhone.
- App Management: Click on the device icon, select “Apps” from the left menu, and manage app installations, updates, and data.
Section 6: Backing Up and Restoring iPhone
6.1 Overview
Ensuring that your iPhone data is backed up is a fundamental aspect of syncing with Windows 10.
6.2 Using iTunes
- Connect iPhone: Use a USB cable to connect your iPhone to your Windows 10 computer.
- Open iTunes: Launch iTunes and click on the device icon.
- Backup iPhone: Under the “Backups” section, choose “This computer” and click “Back Up Now” to create a backup.
Section 7: Troubleshooting Sync Issues
7.1 Overview
Occasional issues may arise during the syncing process. This section provides solutions to common problems.
7.2 Common Issues and Solutions
- iTunes Not Recognizing iPhone: Restart both your iPhone and Windows 10 computer, update iTunes to the latest version, or reinstall iTunes if needed.
- Wi-Fi Sync Not Working: Ensure both devices are on the same Wi-Fi network, restart your router, and check firewall settings.
Section 8: Privacy and Security Considerations
8.1 Overview
Respecting privacy and ensuring data security is crucial when syncing your iPhone with Windows 10.
8.2 Security Measures
- Use Strong Passwords: Secure your iPhone and Microsoft account with strong, unique passwords.
- Enable Two-Factor Authentication: Add an extra layer of security by enabling two-factor authentication on your Apple ID and Microsoft account.
Section 9: Managing Contacts and Calendars
9.1 Overview
Syncing contacts and calendars between your iPhone and Windows 10 streamlines organization and communication.
9.2 Using iCloud
- Enable iCloud on iPhone: On your iPhone, go to “Settings,” tap your name, select “iCloud,” and toggle on “Contacts” and “Calendars.”
- Access iCloud on Windows 10: Download and install iCloud for Windows, sign in with your Apple ID, and select “Contacts” and “Calendars.”
Section 10: Conclusion
Syncing your iPhone with Windows 10 is an empowering process that bridges the gap between two powerful ecosystems. This comprehensive guide has covered the entire spectrum, from establishing connections and transferring media to managing apps and ensuring data security. Embrace the seamless integration, explore the possibilities, and unlock the full potential of synchronizing your iPhone with Windows 10 for a unified and efficient digital experience.