Introduction:
AutoCAD, a cornerstone in the realm of computer-aided design (CAD), empowers architects, engineers, and designers with a myriad of tools to bring their ideas to life. Among the arsenal of features, the ability to add blocks to the Tool Palette stands out as a pivotal functionality for optimizing design workflows. This extensive article delves into the intricacies of adding blocks to the Tool Palette in AutoCAD, exploring its functionalities, applications, and the transformative impact it has on achieving efficiency and organization in design processes.
Understanding Adding Blocks to the Tool Palette in AutoCAD:
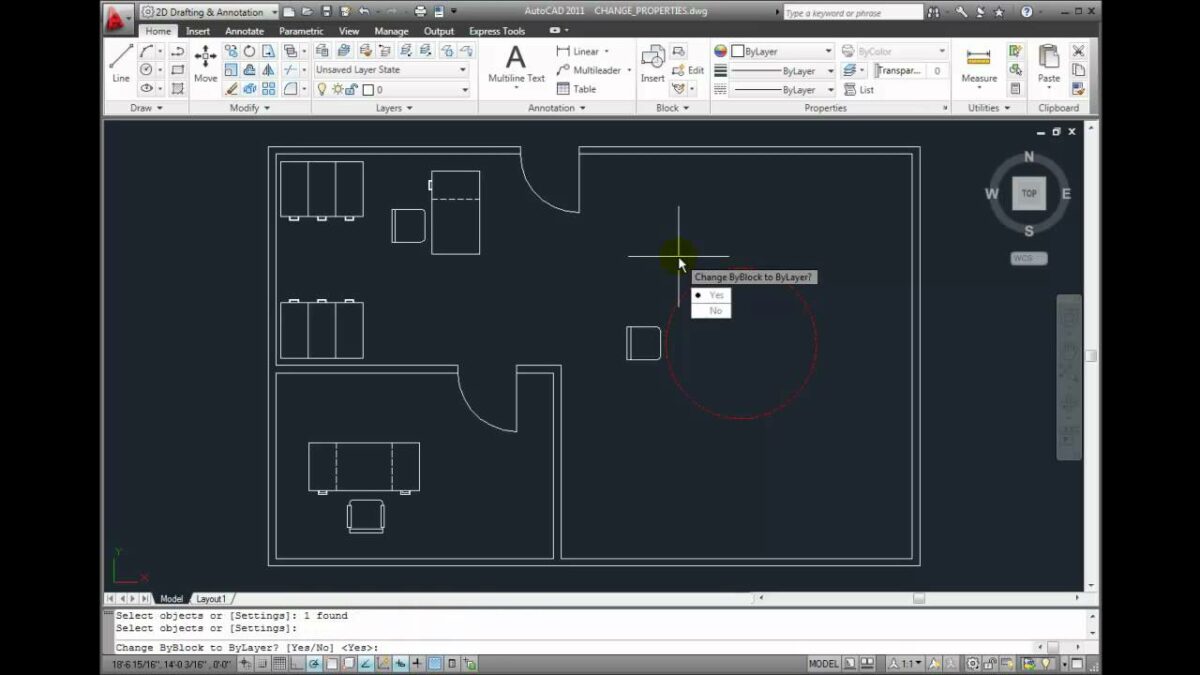
The Tool Palette in AutoCAD serves as a dynamic workspace, providing designers with quick access to a variety of tools, blocks, and commands. Adding blocks to the Tool Palette involves creating a repository of frequently used block definitions that can be easily accessed and inserted into drawings with a simple drag-and-drop action. This functionality enhances efficiency by streamlining the block insertion process and promoting a well-organized and customizable design environment.
Key Features and Functionalities:
- Centralized Block Repository:
- The primary function of adding blocks to the Tool Palette is to create a centralized repository for frequently used block definitions.
- This repository streamlines the block insertion process, reducing the need to navigate through multiple folders or drawings to find specific blocks.
- Drag-and-Drop Functionality:
- Adding blocks to the Tool Palette introduces a user-friendly drag-and-drop functionality for inserting blocks into drawings.
- Designers can easily select and drop blocks from the Tool Palette directly into the drawing area, enhancing the overall insertion experience.
- Customizable Organization:
- The Tool Palette is highly customizable, allowing designers to organize blocks into categories and folders based on project requirements.
- This organizational flexibility enables quick access to specific blocks, contributing to a more efficient and structured design workflow.
- Visual Thumbnails for Identification:
- Thumbnails associated with each block on the Tool Palette provide a visual representation of the block’s geometry.
- This visual aid facilitates quick identification and selection of the desired block, especially in scenarios where multiple blocks are stored.
Applications of Adding Blocks to the Tool Palette:
- Standardizing Design Elements:
- Adding commonly used design elements, such as furniture symbols, fixtures, or annotations, to the Tool Palette promotes design standardization.
- Designers can ensure consistency across projects by incorporating standardized blocks directly from the Tool Palette.
- Streamlining Detailing Processes:
- In detailed drawings that require repetitive use of specific block definitions, the Tool Palette expedites the detailing process.
- Designers can efficiently insert frequently used details, annotations, or components without interrupting the workflow.
- Enhancing Collaboration:
- The Tool Palette becomes a valuable asset in collaborative environments, allowing designers to share a standardized set of blocks.
- Team members can easily access and insert shared blocks, fostering collaboration and ensuring uniformity in design representation.
- Accelerating Conceptual Design:
- During conceptual design phases, designers often iterate and explore various design alternatives.
- Adding blocks to the Tool Palette accelerates the insertion of design elements, enabling quick exploration and visualization of different concepts.
Optimizing Workflow with Adding Blocks to the Tool Palette:
- Accessing the Tool Palette:
- The Tool Palette can be accessed through various methods, including the ribbon, toolbar, or by typing “TOOLPALETTE” in the command line.
- Familiarize yourself with these methods to ensure quick and efficient access to the Tool Palette.
- Creating Tool Palette Groups:
- Organize blocks into logical groups or folders on the Tool Palette to enhance the visual organization and categorization of design elements.
- This customization allows for an intuitive and user-friendly experience.
- Customizing Block Properties:
- Adjust block properties on the Tool Palette to ensure that they are ready for insertion with the desired attributes.
- Customize block properties, such as scale and rotation, to streamline the insertion process.
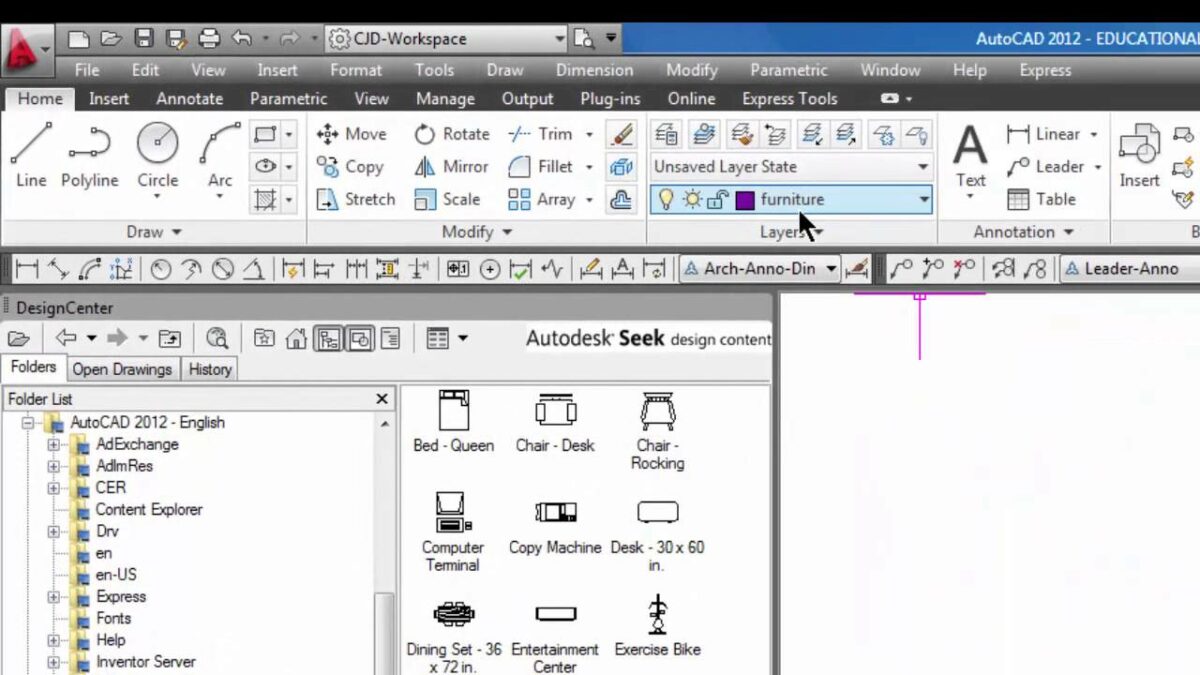
- Exploring AutoCAD DesignCenter Integration:
- AutoCAD’s DesignCenter integrates with the Tool Palette, allowing designers to drag blocks directly from DesignCenter to the Tool Palette.
- Explore this integration to expand the sources from which blocks can be added to the Tool Palette.
Conclusion:
In conclusion, adding blocks to the Tool Palette in AutoCAD is a transformative feature that enhances design efficiency, organization, and standardization. Whether streamlining detailing processes, promoting collaboration, or accelerating conceptual design, the Tool Palette becomes a powerhouse for designers seeking a more streamlined and structured workflow. As AutoCAD continues to evolve, the emphasis on features like adding blocks to the Tool Palette reflects the software’s commitment to providing users with tools that transcend traditional drafting boundaries. Embrace the power of the Tool Palette, and witness the transformation of your AutoCAD experience into a journey of efficiency, creativity, and seamless exploration within the vast landscape of CAD design.