In today’s competitive job market, possessing a comprehensive skill set is crucial, and proficiency in Microsoft Office applications stands out as a fundamental requirement across various industries. Successfully listing Microsoft Office skills on your resume can be a strategic move that sets you apart from other candidates. This in-depth guide explores the nuances of effectively showcasing your Microsoft Office expertise, ensuring that your resume becomes a compelling testament to your proficiency in these essential tools.
Understanding the Landscape: Microsoft Office Suite
Before diving into the intricacies of resume crafting, it’s essential to understand the expansive landscape covered by the Microsoft Office Suite. This suite comprises a suite of applications, each serving unique purposes:
Microsoft Word: The Word Processing Powerhouse
Microsoft Word is the quintessential word processing application. It’s not just about typing; it’s about formatting, document design, and showcasing your ability to communicate effectively through written content.
Microsoft Excel: Navigating the Realm of Spreadsheets
Excel is a powerful spreadsheet application, and proficiency in it signifies your ability to handle data, perform complex calculations, and create visually appealing charts and graphs.
Microsoft PowerPoint: Crafting Impactful Presentations
Proficiency in PowerPoint showcases your ability to convey information visually. It involves designing slides, creating engaging presentations, and communicating ideas with clarity and creativity.
Microsoft Outlook: Mastering Email and Communication
Outlook is not just an email platform; it’s a comprehensive tool for managing calendars, contacts, and tasks. Highlighting Outlook skills demonstrates your organizational and communication prowess.
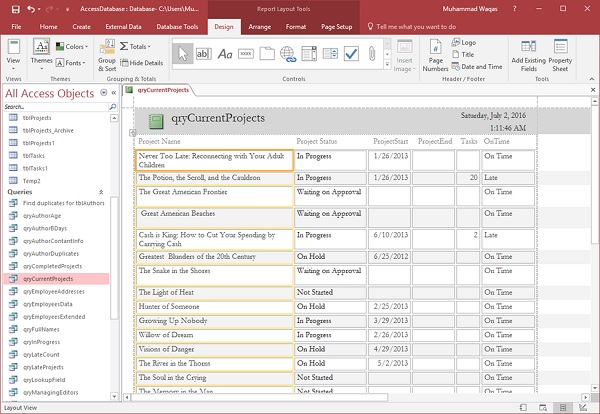
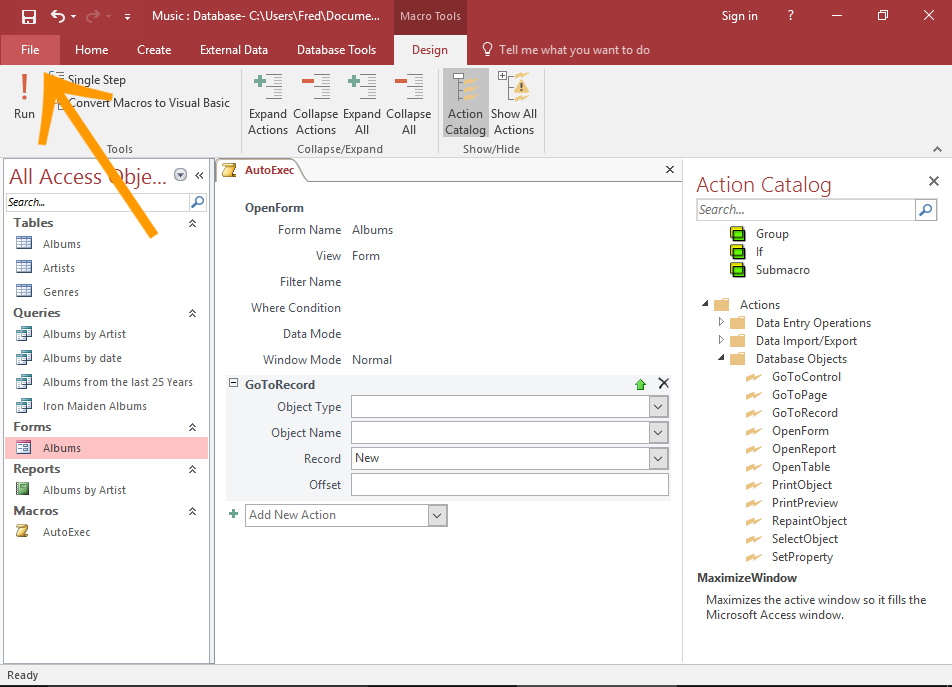
Microsoft Access: Database Management Proficiency
For roles involving data management, Access skills are invaluable. It involves creating and managing databases, making it a key skill for roles requiring structured data handling.
Microsoft OneNote: Organizing Thoughts and Ideas
OneNote is a versatile application for note-taking and organization. Including it on your resume suggests your commitment to efficient information management.
Strategic Placement: Where to List Microsoft Office Skills
When it comes to crafting your resume, the strategic placement of Microsoft Office skills is crucial. Consider the following key areas:
Resume Summary or Objective: Setting the Tone
In your resume summary or objective, provide a snapshot of your overall Microsoft Office proficiency. Use concise language to communicate your comfort with the suite and its applications.
Example: A highly organized and detail-oriented professional with advanced skills in Microsoft Office Suite, including Excel for data analysis, Word for document creation, and PowerPoint for impactful presentations.
Skills Section: Creating a Distinct Category
Dedicate a specific section to your skills, ensuring that Microsoft Office occupies a prominent place. Use bullet points for clarity, and consider categorizing skills based on proficiency levels.
Example:
- Microsoft Word: Advanced proficiency in document creation and formatting.
- Microsoft Excel: Expertise in data analysis, formula creation, and chart/graph generation.
- Microsoft PowerPoint: Creative design and delivery of impactful presentations.
- Microsoft Outlook: Efficient email management and calendar coordination.
Work Experience: Integrating Skills Seamlessly
Integrate Microsoft Office skills into your work experience section. Be specific about how you applied these skills to achieve results in previous roles. Quantify achievements where possible.
Example:
- Managed and analyzed financial data using advanced Excel functions, resulting in a 15% increase in data accuracy.
- Developed and delivered monthly reports utilizing PowerPoint, enhancing communication with stakeholders.
Certifications: Adding Credibility
If you possess Microsoft Office certifications, create a dedicated section. Certifications add credibility and demonstrate your commitment to ongoing skill development.
Example:
- Microsoft Office Specialist (MOS): Excel Expert
- Microsoft Certified: PowerPoint Designer
Tailoring for Specific Roles: Customizing Your Showcase
Different roles require different Microsoft Office skills. Tailor your showcase based on the specific requirements of the job you’re applying for. If data analysis is crucial, emphasize Excel; for administrative roles, highlight Outlook and Word proficiency.
Showcasing Advanced Skills: Going Beyond the Basics
If you possess advanced skills, such as VBA (Visual Basic for Applications) programming in Excel or advanced features in PowerPoint, create a supplementary section highlighting these advanced capabilities.
Example:
- Advanced Excel Skills: VBA programming for automation and complex data analysis.
- PowerPoint Mastery: Proficient in advanced features, including animation and slide transitions.
Maintaining Honesty and Accuracy: A Balancing Act
While it’s essential to highlight your skills, honesty is paramount. Only list skills you genuinely possess, as exaggeration can lead to challenges during interviews or on-the-job performance.
Resume Formatting: Enhancing Readability
Ensure your resume is well-formatted, making it easy for recruiters to identify your Microsoft Office skills. Use a clean layout, consistent formatting, and legible fonts.
Continual Learning: Showcasing Adaptability
Given the ever-evolving nature of technology, convey your commitment to continuous learning. Mention any recent training, workshops, or courses related to Microsoft Office applications.
Conclusion: Elevating Your Professional Narrative
Effectively listing Microsoft Office skills on your resume is not just about showcasing technical expertise; it’s about crafting a narrative that positions you as a valuable asset to potential employers. By strategically placing your skills, customizing showcases, and maintaining honesty, your resume becomes a powerful tool that opens doors to new opportunities in the competitive professional landscape.