BitLocker is a powerful encryption feature available in Windows 8 that provides enhanced security for your data by encrypting entire disk volumes. By encrypting your drives, BitLocker protects your files from unauthorized access and prevents data theft or leakage in case your computer is lost or stolen. In this extensive guide, we’ll explore everything you need to know about using BitLocker in Windows 8, from enabling BitLocker encryption to managing encrypted drives and recovering access to encrypted data.
Understanding BitLocker Encryption:
BitLocker encryption works by encrypting the entire contents of a disk volume, including the operating system, system files, and user data. This encryption ensures that even if someone gains physical access to your computer or removes the hard drive, they won’t be able to access the data without the appropriate encryption key. BitLocker uses advanced encryption algorithms to protect your data, providing robust security against unauthorized access.
Enabling BitLocker Encryption:
To enable BitLocker encryption on a drive in Windows 8, follow these steps:
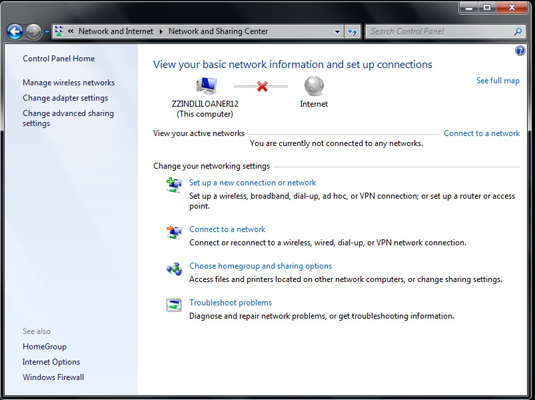
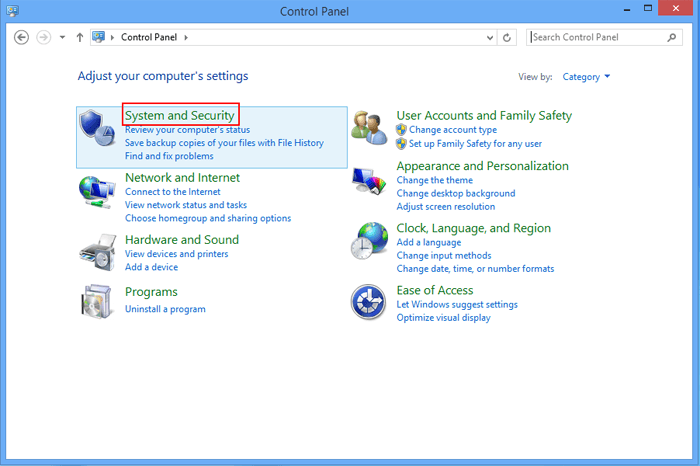
- Open Control Panel: Press the Windows key + X to open the Power User menu, then click or tap on “Control Panel.”
- Access BitLocker Settings: In the Control Panel, navigate to “System and Security” > “BitLocker Drive Encryption.”
- Select Drive: Under “BitLocker Drive Encryption,” you’ll see a list of available drives. Click or tap on the drive you want to encrypt with BitLocker.
- Enable BitLocker: Click or tap on “Turn on BitLocker” next to the selected drive. If prompted, choose how you want to unlock the drive—either by using a password, a smart card, or both.
- Backup Recovery Key: Before encrypting the drive, you’ll be prompted to backup the BitLocker recovery key. This key is essential for recovering access to the encrypted drive in case you forget the password or encounter other issues.
- Encryption Process: Follow the on-screen instructions to begin the encryption process. Depending on the size of the drive and the speed of your computer, this process may take some time to complete.
- Completion: Once the encryption process is complete, you’ll see a message indicating that BitLocker encryption is now turned on for the selected drive.
Managing Encrypted Drives:
After enabling BitLocker encryption on a drive, you can manage the encrypted drive and access additional options and settings:
- Change Password: You can change the password used to unlock the encrypted drive at any time by clicking or tapping on “Change password” in the BitLocker settings.
- Add or Remove PIN: If you’re using a PIN to unlock the encrypted drive, you can add or remove the PIN by clicking or tapping on “Remove password” or “Add a PIN” in the BitLocker settings.
- Backup Recovery Key: It’s essential to keep a backup of the BitLocker recovery key in a safe place, such as a USB drive or printed document. You can access and print the recovery key from the BitLocker settings.
- Suspend Protection: You can temporarily suspend BitLocker protection on a drive to perform maintenance tasks or make changes to the system configuration. Click or tap on “Suspend protection” in the BitLocker settings to suspend protection temporarily.
- Resume Protection: After completing maintenance tasks or making changes to the system configuration, you can resume BitLocker protection on the drive by clicking or tapping on “Resume protection” in the BitLocker settings.
- Change Encryption Method: Depending on your security requirements and hardware compatibility, you can change the encryption method used by BitLocker. Click or tap on “Change how drives are encrypted” in the BitLocker settings to access encryption method options.
Recovering Access to Encrypted Data:
If you forget the password or encounter other issues accessing an encrypted drive, you can use the BitLocker recovery key to recover access to the encrypted data. Here’s how to do it:
- Access BitLocker Settings: Open the BitLocker settings for the encrypted drive.
- Enter Recovery Key: When prompted for the unlock method, select “Enter the recovery key,” and then enter the BitLocker recovery key. You can find the recovery key in the backup you created when enabling BitLocker encryption.
- Unlock Drive: After entering the recovery key, you’ll be able to unlock the encrypted drive and access the data stored on it.
Conclusion:
BitLocker encryption in Windows 8 provides robust security for your data by encrypting entire disk volumes and protecting them from unauthorized access. By following the steps outlined in this guide, you can enable BitLocker encryption on your drives, manage encrypted drives effectively, and recover access to encrypted data when needed. Whether you’re protecting sensitive files on your computer or ensuring compliance with data security regulations, BitLocker encryption offers a reliable and convenient solution for securing your data in Windows 8.