5 SharePoint beginning tips Microsoft Sharepoint
If your organization is just starting out with Office 365, you’ll have Word, Excel, and PowerPoint to aid you with daily tasks. Additionally, your Office 365 subscription includes Microsoft SharePoint, a collaboration tool.
In our newest tips and tricks post, we’ll explain Microsoft SharePoint and provide you 5 of the best ways to get started.
Microsoft SharePoint, exactly?
Team communication is possible using Microsoft SharePoint, a cloud-based solution. Furthermore, it can support several capabilities, including:
Ability to develop internal corporate websites for simple access and sharing with colleagues.
A CMS for storing and sharing documents.
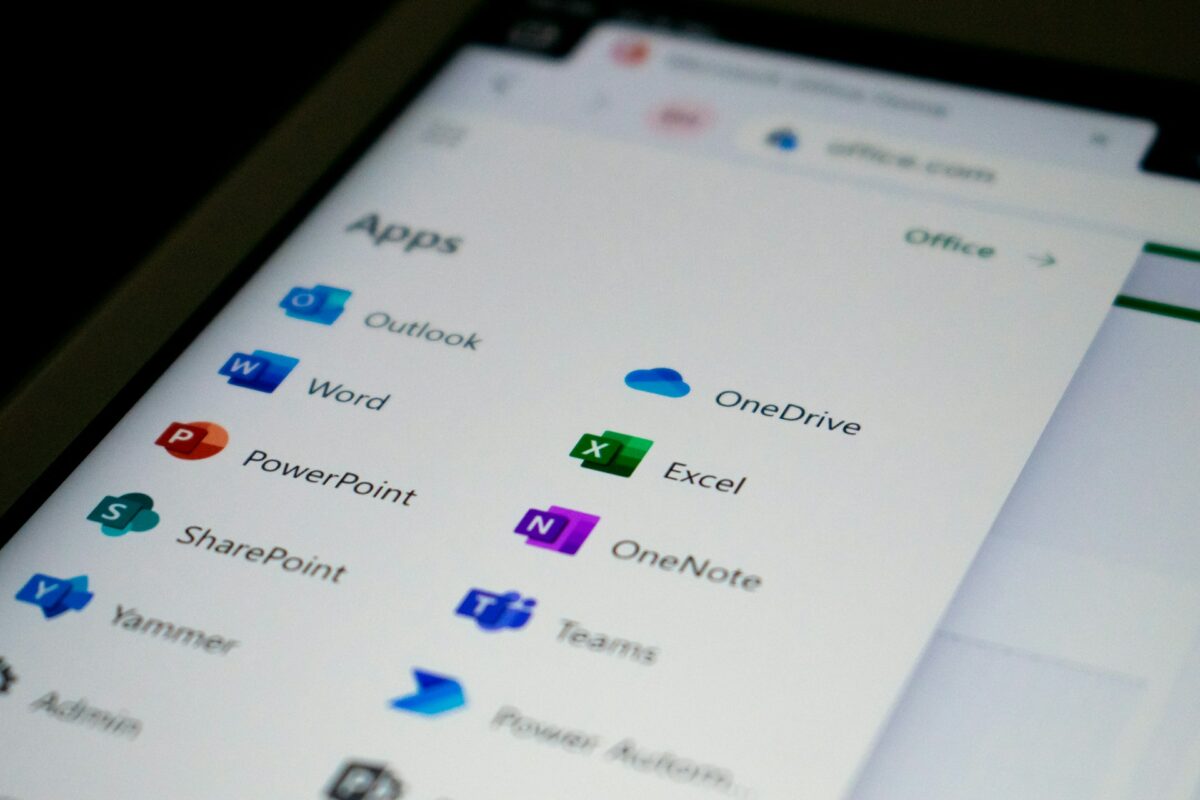
Integrates easily with Word, PowerPoint, Outlook, Teams, Flow, and others from Office 365.
Let’s talk about how to use Microsoft SharePoint now that you know what it is and its possibilities.
Note that learning how to execute the following in your company will take time but pay off in the long run.
Tips 1: Create and distribute site templates
SharePoint’s lists, processes, branding, and logos enable for complete site customization. This may save you time if you develop a site from scratch since you can save it as a template and use it again.
You may preload libraries and material into your template. They may also be imported into different SharePoint settings, opened in Visual Studio, and shared via the SharePoint solutions gallery.
Tip 2: Work together on Office documents.
SharePoint lets you co-author Word and Excel documents, which is excellent. Multiple users may work on these papers in real time and monitor changes without stepping on each other’s toes.
Tip 3: Create a team site with clear permissions.
Microsoft SharePoint team sites are great. Simply connect into your Office 365 account and follow the process to create one.
The creation wizard lets you create group email lists for everyone who should have site access. This webpage may be accessible to all employees or a select group.
Tip 4: Learning SharePoint columns
SharePoint can aggregate, filter, and handle complex data, which spreadsheet fans will adore. SharePoint columns may also apply criteria to lists and libraries on other SharePoint sites.
Tip 5: Use built-in applications
SharePoint offers several built-in applications for daily chores. Here are several examples:
Contacts: This creates an Outlook-compatible contact list. When you add a contact to Outlook’s synchronized list, it’s instantly added to SharePoint, and vice versa.
A custom list in Datasheet view lets you design a list like Microsoft Excel. From here, you may alter list items’ information in real time.
Calendar: Create a Microsoft Outlook-compatible calendar to track future events, business deadlines, and more.