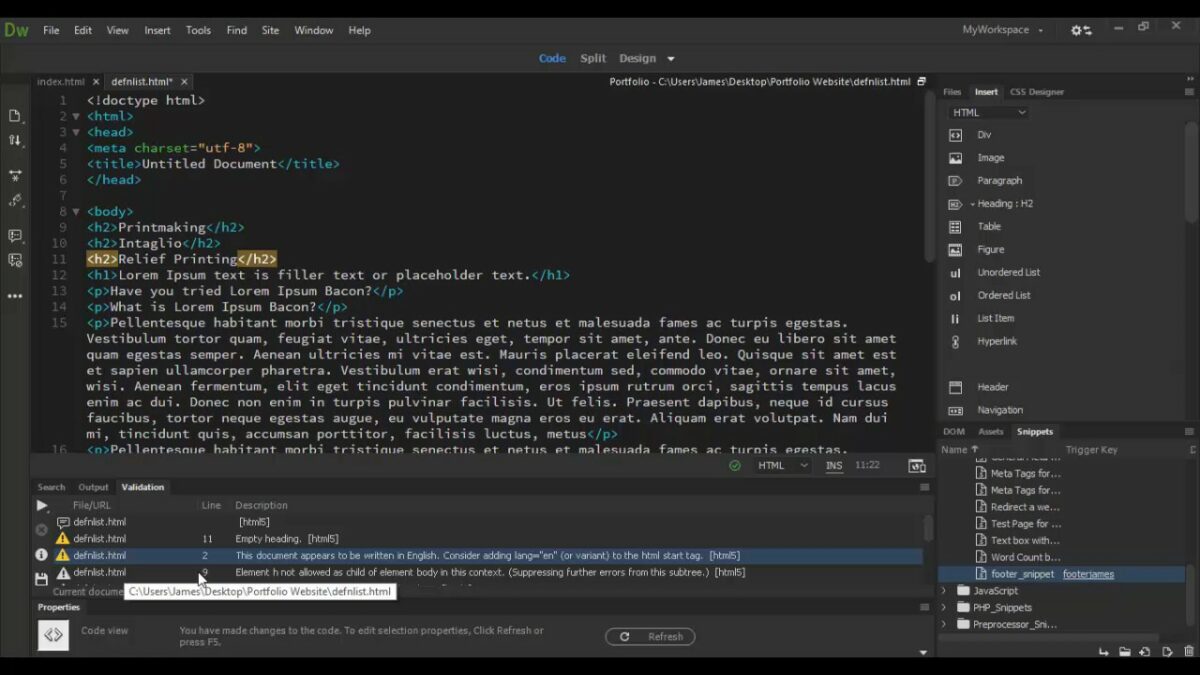
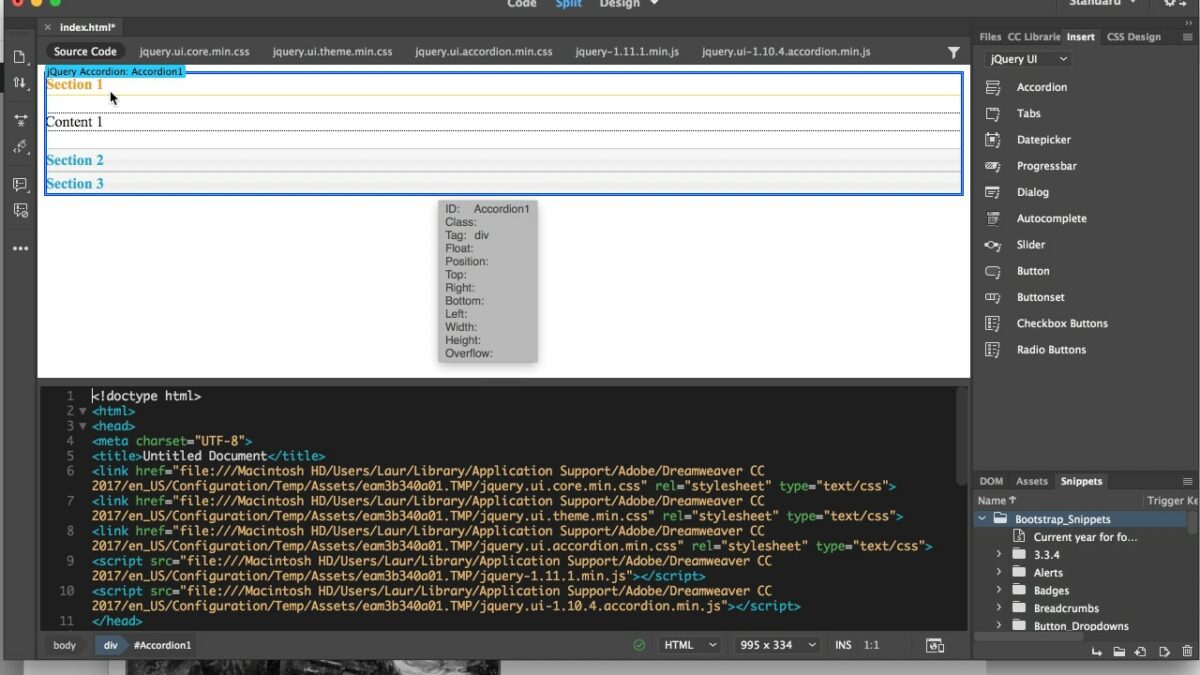
Introduction: Validating HTML and CSS code is essential for ensuring the quality, compatibility, and accessibility of web pages. Adobe Dreamweaver, a leading web design and development tool, provides built-in tools and features to validate HTML and CSS code effectively. In this extensive guide, we’ll explore the importance of code validation, the process of validating HTML and CSS in Dreamweaver, common validation errors, and best practices for maintaining standards-compliant code.
Understanding the Importance of Code Validation: Code validation is the process of checking HTML and CSS code against established standards and specifications to ensure correctness, consistency, and compliance with web standards. Validating HTML and CSS code offers several benefits:
- Standard Compliance: Validate HTML and CSS code to ensure compliance with web standards such as HTML5, CSS3, and accessibility guidelines. Standards-compliant code improves interoperability, browser compatibility, and future-proofing of web projects.
- Error Detection: Identify syntax errors, structural issues, and semantic inconsistencies in HTML and CSS code through validation. Validation tools highlight errors and warnings, enabling developers to fix issues and maintain code quality.
- Cross-Browser Compatibility: Validate CSS code to ensure consistent rendering and styling across different web browsers and browser versions. Valid CSS code reduces layout inconsistencies and improves visual consistency on various platforms and devices.
- Accessibility: Validate HTML code for accessibility compliance to ensure that web content is perceivable, operable, and understandable for users with disabilities. Accessible code improves usability, inclusivity, and compliance with web accessibility standards such as WCAG (Web Content Accessibility Guidelines).
- SEO (Search Engine Optimization): Valid HTML code enhances search engine crawlers’ ability to index and rank web pages effectively. Well-structured HTML code improves search engine visibility, organic search rankings, and overall website performance in search engine results pages (SERPs).
Step 1: Validating HTML Code in Dreamweaver Adobe Dreamweaver offers several tools and methods for validating HTML code against web standards and specifications. Follow these steps to validate HTML code in Dreamweaver:
- Built-in Validator: Access Dreamweaver’s built-in HTML validator to check HTML code for syntax errors, structural issues, and compliance with HTML standards. Navigate to the “File” menu, select “Validate,” and choose “Markup” to run the HTML validator.
- Live Code Checking: Enable Dreamweaver’s live code checking feature to receive real-time feedback and warnings as you write HTML code. Dreamweaver highlights syntax errors and structural issues in the code editor, allowing you to address them immediately.
- Design View Inspection: Inspect HTML code in Dreamweaver’s design view to identify structural issues, invalid elements, and layout inconsistencies visually. Switch between code view and design view to review HTML code and its corresponding visual representation.
- Code Cleanup: Use Dreamweaver’s code cleanup feature to automatically fix common HTML formatting issues, such as mismatched tags, missing attributes, and unnecessary code. Run the code cleanup tool periodically to maintain code consistency and readability.
Step 2: Validating CSS Code in Dreamweaver Validating CSS code ensures consistent styling, layout, and presentation of web pages across different browsers and devices. Follow these steps to validate CSS code in Dreamweaver:
- CSS Validator Integration: Integrate external CSS validation services or browser extensions with Dreamweaver to validate CSS code against CSS standards and specifications. Use online CSS validation tools such as W3C CSS Validator or browser extensions like CSSLint to check CSS syntax and compliance.
- CSS Syntax Checking: Enable Dreamweaver’s CSS syntax checking feature to identify syntax errors, typos, and invalid properties in CSS code. Dreamweaver highlights CSS code errors in the code editor, allowing you to correct them promptly.
- Browser Compatibility Testing: Test CSS code across multiple web browsers and browser versions to ensure consistent rendering and styling. Use Dreamweaver’s browser preview features to preview CSS changes and inspect layout rendering in popular browsers such as Chrome, Firefox, Safari, and Edge.
- Responsive Design Testing: Validate CSS code for responsive design compatibility to ensure that layouts adapt and respond appropriately to different screen sizes and devices. Use Dreamweaver’s responsive design tools and features to test CSS styles across various breakpoints and viewports.
Common Validation Errors and Solutions: While validating HTML and CSS code in Dreamweaver, you may encounter common errors and issues. Here are some examples of common validation errors and their solutions:
- Missing or Unclosed Tags: Check HTML code for missing or unclosed tags, which can cause layout inconsistencies and rendering errors. Use Dreamweaver’s code inspection tools to identify and correct missing or unclosed tags.
- Invalid Attributes: Validate HTML code for invalid attributes or deprecated HTML features that may not be supported in modern browsers. Replace deprecated attributes with standard-compliant alternatives and update HTML code accordingly.
- Syntax Errors: Review CSS code for syntax errors, typos, and misspelled properties that may cause styling issues. Use Dreamweaver’s CSS syntax checking feature to identify and fix syntax errors in CSS code.
- Compatibility Issues: Test CSS code for compatibility with older web browsers and browser versions that may not support modern CSS features. Use CSS vendor prefixes, polyfills, or fallbacks to ensure backward compatibility and consistent styling across browsers.
- Accessibility Violations: Validate HTML code for accessibility compliance and address accessibility violations such as missing alt attributes, improper heading structures, and insufficient contrast ratios. Use Dreamweaver’s accessibility tools and features to audit and improve the accessibility of web content.
Best Practices for Maintaining Valid HTML and CSS Code: Follow these best practices to maintain valid HTML and CSS code in Adobe Dreamweaver:
- Semantic Markup: Use semantic HTML elements and attributes to provide meaningful structure and context to web content. Use HTML5 semantic elements such as <header>, <nav>, <main>, <section>, and <footer> to enhance accessibility and SEO.
- Modular CSS Architecture: Adopt a modular CSS architecture such as BEM (Block Element Modifier) or SMACSS (Scalable and Modular Architecture for CSS) to organize and manage CSS code effectively. Separate CSS styles into reusable components, modules, and utilities for easier maintenance and scalability.
- External Stylesheets: Externalize CSS styles into separate stylesheet files to promote code reusability, maintainability, and caching. Link external stylesheets to HTML documents using <link> tags to apply consistent styling across multiple pages and improve page loading performance.
- CSS Preprocessors: Use CSS preprocessors such as Sass or Less to write more maintainable, modular, and efficient CSS code. Take advantage of features like variables, mixins, nesting, and functions to streamline CSS authoring and improve code organization.
- Regular Code Reviews: Conduct regular code reviews and peer evaluations to ensure code quality, adherence to coding standards, and compliance with web standards. Collaborate with team members to identify and address code issues, share best practices, and improve coding skills collectively.
Conclusion: Validating HTML and CSS code is essential for creating high-quality, standards-compliant web pages in Adobe Dreamweaver. By following the principles, techniques, and best practices outlined in this comprehensive guide, you can ensure that your HTML and CSS code is error-free, compliant with web standards, and optimized for performance, accessibility, and cross-browser compatibility. Whether you’re a beginner or experienced web developer, mastering the art of code validation in Dreamweaver empowers you to create professional, reliable, and user-friendly web experiences that meet the highest standards of quality and excellence.


