A Guide to Troubleshooting Common Printer Problems in Windows
Printers are one of those items that function well, right up to the point that you discover that you really need them. An mistake may be quite aggravating, regardless of whether you are attempting to print a picture or a document that is of the utmost importance. Those who use Windows are confronted with a broad variety of printer-related concerns, ranging from issues with connectivity to problems with print quality. You will be relieved to learn that the majority of these issues may be resolved without the assistance of a professional if you are aware of where to search and what actions to take. This tutorial addresses the most frequent printer problems that occur in Windows and offers remedies that are applicable to each of those problems.
1. Windows does not recognize the printer.
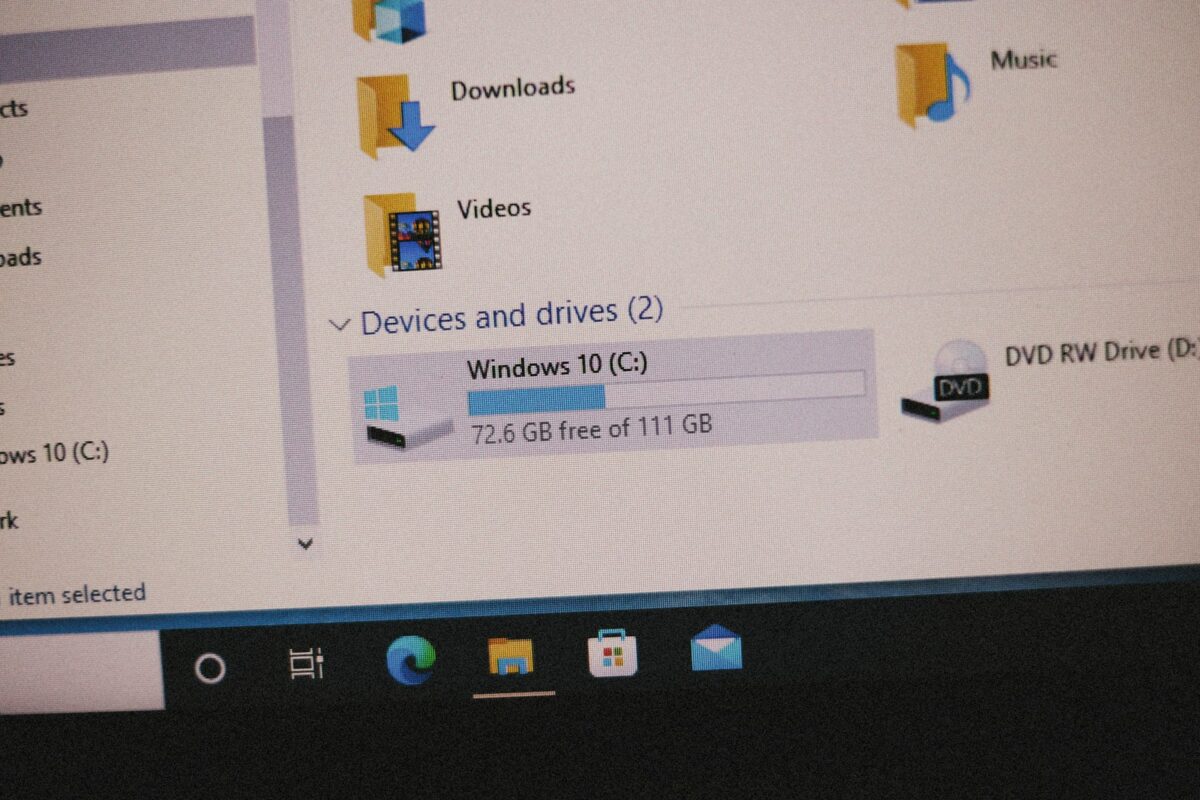
A situation in which Windows is unable to identify the printer is one of the most typical sources of annoyance. Printers that are linked to a network, wifi, or USB might all have this issue. To begin, check that the printer is turned on and that it is connected in the correct manner. It is recommended that you try a new USB port or connection if the printer is connected. Your computer and the wireless printer should both be connected to the same Wi-Fi network in order for the printer to function properly. In addition, you may manually discover it by going to Settings > Devices > Printers & Scanners and clicking the “Add a printer or scanner” button found there. The majority of the time, transient connectivity troubles may be resolved by restarting both your personal computer and your printer.
2. Printer drivers that are either out of date or corrupted
The drivers for your printer serve as a connection point between Windows and your printer. It is possible that the printer will not function properly if the files are faulty or out of date. Open Device Manager, identify your printer, right-click it, and choose “Update driver” from the menu that appears. This will update your drivers. The most recent version of Windows may be downloaded from the manufacturer’s website, or you can choose to let Windows search automatically. If the problems continue, you should remove the existing driver and then install it again from the beginning. Not only does keeping drivers up to date guarantee compatibility with Windows updates, but it also addresses any problems that may arise.
3. Remaining in the Print Queue with the Printer
There are occasions when print jobs get stuck, which ultimately prevents fresh papers from being handled. When a document is too big or when a previous print process experienced an issue, this is a common occurrence. This issue may be resolved by going to the Control Panel > Devices & Printers, right-clicking on your printer, and selecting the option to “See what’s printing.” Get rid of all the pending tasks. It is also possible that you will need to restart the Print Spooler service. To do so, go to the Start menu, type “services.msc,” locate “Print Spooler,” and then click “Restart.” As a result, the line is cleared, and you are able to begin again.
4. Poor Quality of the Printing
In spite of the fact that a printer is functioning properly, the results are not always satisfactory. Text that is hazy, colors that have faded, or prints that are streaky are often signs of low ink or toner levels. You may check the state of the ink or toner by using the control panel or software on your printer. If the levels are correct, the issue may be caused by filthy print heads or cartridges that are not aligned properly. The majority of printers are equipped with built-in maintenance toolkits that allow users to clean heads, align cartridges, and test prints. Always be sure you choose the appropriate kind of paper, and then adjust the print settings so that they correspond to the quality of the paper.
5. Issues Accompanying Wireless Printing
In the event that the Wi-Fi connection is poor or there is interference, wireless printers may not be dependable, despite the fact that they are handy. Make sure that your printer is linked to the appropriate network and that it is within range of the router at all times. If you find that the printer regularly loses connectivity, you should configure your router to give it a static IP address using the settings. In order to determine whether or not the issue is connected to the network, you may alternatively temporarily connect the printer using the USB port. The majority of the time, wireless compatibility difficulties may be resolved by updating the printer’s firmware.
6. The printer is currently offline.
It is possible for Windows to label printers as “Offline” even while they are connected to the computer. There is a possibility that this is the result of wrong settings or temporary communication problems. You may ensure that “Use Printer Offline” is not selected by going to Settings > Devices > Printers & Scanners, selecting your printer, and moving on to the next step. You may try uninstalling and re-adding the printer if it continues to report that it is offline. It is also possible to reestablish the connection by restarting both the printer and the router.
7. Concerns Regarding Compatibility Following an update to Windows
On occasion, a Windows update may result in printer issues by altering the settings of the system or by causing compatibility issues. It is recommended that you visit the manufacturer’s website for updated drivers or firmware if your printer was functioning normally prior to the update. In certain instances, functionality may be restored by reverting to an earlier version of the printer driver or by uninstalling the update that caused the issue. Whenever you make modifications to your system, you should always back it up.
8. Slow speeds of printing speeds
If your printer is printing at an exceptionally slow rate, the problem might be caused by high-resolution settings, drivers that are no longer supported, or delays caused by the network. Reduce the print resolution for papers that are not of crucial importance in order to speed up the procedure. It is recommended that wireless printers be connected to a cable connection in order to reduce network slowness. The print queue should be cleared, and the printer should have sufficient memory. Both of these things may be helpful.
9. Problems with Feeding of Paper and Paper Jams
Paper jams are a common source of frustration for printers. Always use paper that is compatible with the requirements of the printer, and be sure you keep it in a dry location to avoid it from curling. If you have a jam, you should turn off the printer before removing the paper in order to prevent any damage to the internal components. After opening all of the covers that are accessible, carefully remove the sheet that is stuck without destroying it. In addition, jams may be avoided by cleaning the paper feed rollers on a regular basis.
10. Printing Pages That Are Blank
Ink cartridges that are empty, nozzles that are blocked, or a driver mistake are often the causes of blank pages being produced by a printer. To begin, check the levels of the ink or toner. If they are in good condition, you should use the maintenance menu of the printer to perform a nozzle cleaning cycle. When using Windows, check to ensure that the appropriate paper size and type are chosen. The printer driver should be uninstalled and then reinstalled if you continue to get blank pages.
11. Correcting Error Messages
Paper jams, low ink levels, and connection issues may all cause printers to produce errors that are difficult to understand. Code explanations may be found on the manufacturer’s support website or in the handbook that came with the printer. Simply restarting the printer and the computer may fix a significant number of issues. It may be essential to do a factory reset on the printer in order to resolve persistent issues; nevertheless, it is important to remember to change the network settings when the reset is complete.
12. Avoiding Problems with the Printer in the Future
Keep the device clean, update the drivers on a regular basis, and use authentic ink or toner to reduce the likelihood of a problem with the printer. It is important to avoid overflowing the paper tray and to perform maintenance duties on a regular basis. When the printer is not being used, be sure to turn it off to avoid it from overheating and wearing out.
It may seem that printers are sophisticated equipment; yet, the majority of the most frequent problems that occur in Windows may be resolved with only a few troubleshooting steps. It is possible to save time, money, and irritation by first gaining a knowledge of the reasons and then implemented these remedies. Not only does a well-maintained printer provide superior output, but it also has a longer lifespan, which guarantees that you will always be prepared to print whenever it is required.