Fixing a leaky faucet is a common household repair that can save water, reduce utility bills, and prevent further damage to your plumbing fixtures. Whether it’s a dripping kitchen sink faucet, a leaking bathroom faucet, or any other type of faucet, addressing the issue promptly can prevent wastage and inconvenience. This comprehensive guide will take you through the step-by-step process of fixing a leaky faucet, covering different types of faucets and common problems you may encounter.
Step 1: Gather Your Tools and Materials
Before you begin fixing the leaky faucet, gather the necessary tools and materials:
Tools:
- Adjustable wrench
- Phillips and flat-head screwdrivers
- Slip-joint pliers
- Allen wrench (hex key)
- Faucet repair kit (specific to your faucet type)
- Clean cloth or towel
Materials:
- Replacement washers, O-rings, or seals (if needed)
- Plumbers grease or silicone grease (optional)
- Penetrating oil (such as WD-40)
Step 2: Identify the Type of Faucet
Faucets come in different types, and the repair method depends on the type of faucet you have. The most common types include:
- Compression Faucet: Identified by separate hot and cold handles and requiring compression washers to seal water flow.
- Ball Faucet: Recognized by a single lever for both hot and cold water and a ball-shaped cap underneath the handle.
- Cartridge Faucet: Typically found in newer faucets, operated by a single handle, and using a cartridge mechanism.
- Ceramic Disk Faucet: Features a single lever for temperature and flow control and uses ceramic disks to regulate water flow.
Step 3: Turn Off Water Supply
Before you start disassembling the faucet, turn off the water supply to prevent flooding or further leaks:
- Under Sink Valve: Locate and turn off the water supply valves under the sink connected to the faucet. Turn the valves clockwise to shut off the water flow.
- Main Water Valve: If there are no under-sink valves or if repairing a bathtub or shower faucet, turn off the main water supply valve for the entire house.
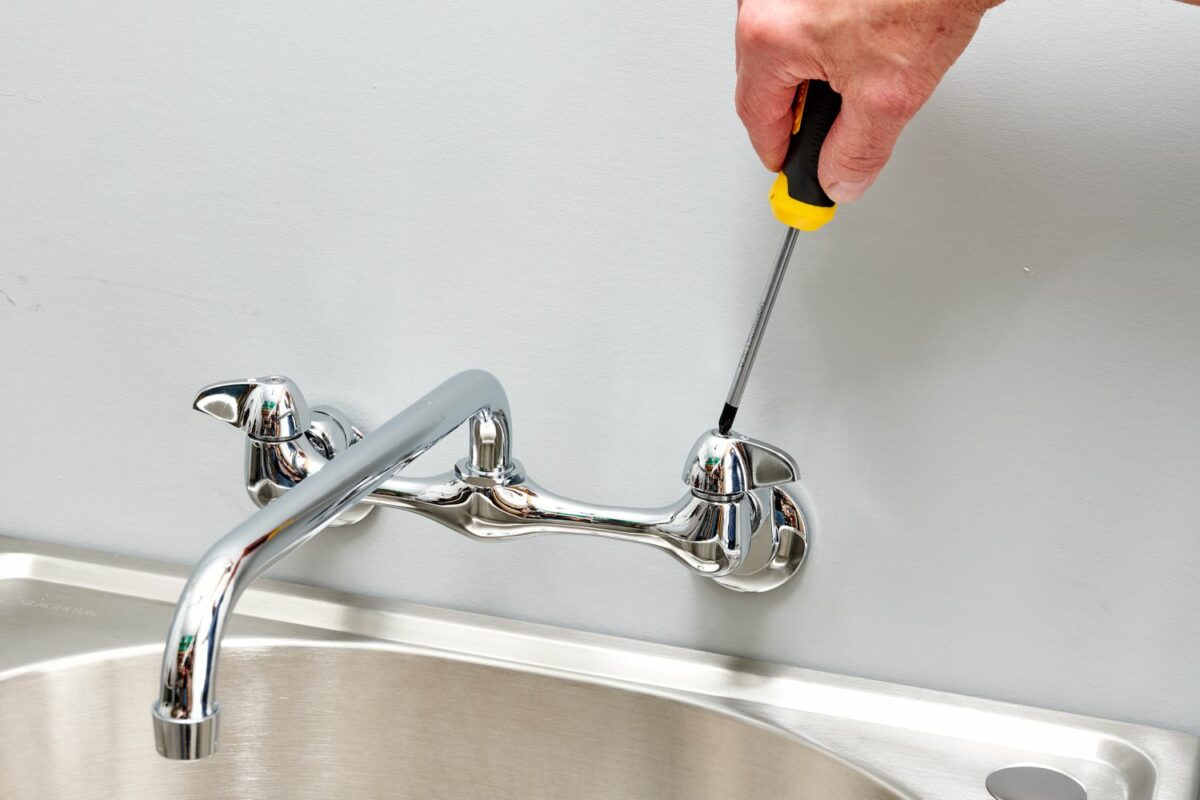
Step 4: Disassemble the Faucet
Proceed with caution when disassembling the faucet to avoid damaging parts:
- Remove Decorative Cap or Cover: Use a flat-head screwdriver to pry off the decorative cap or cover from the faucet handle.
- Remove Handle Screw: Use an appropriate screwdriver or Allen wrench to remove the handle screw located under the decorative cap.
- Take Apart Faucet Components:
- Carefully lift off the handle and set it aside.
- Use pliers or an adjustable wrench to loosen and remove the packing nut or bonnet that holds the faucet assembly together.
Step 5: Inspect and Replace Faulty Parts
- Inspect Washers, O-rings, and Seals: Look for damaged or worn-out washers, O-rings, or seals inside the faucet assembly. These are common culprits for leaks.
- Replace Washers or Seals: If you find damaged parts, remove them and replace them with new ones from your faucet repair kit. Ensure replacements are identical in size and type to the originals.
- Apply Plumbers Grease: Optionally, apply a thin coat of plumbers grease or silicone grease to the new washers or seals to ensure a proper seal and smooth operation.
Step 6: Reassemble the Faucet
- Reassemble Faucet Components:
- Place the new or repaired washers, O-rings, or seals into their respective positions inside the faucet assembly.
- Reattach the packing nut or bonnet and tighten it securely with pliers or a wrench.
- Replace Handle and Screw:
- Align the handle back onto the faucet stem.
- Insert and tighten the handle screw using a screwdriver or Allen wrench.
- Attach Decorative Cap or Cover:
- Place the decorative cap or cover over the handle and snap or screw it into place.
Step 7: Test the Faucet
- Turn On Water Supply: Slowly turn on the water supply valves under the sink or at the main valve.
- Check for Leaks: Turn on the faucet and check for any leaks around the handle or base. If leaks persist, tighten connections or recheck washers and seals.
- Adjust Handle Operation: Test the faucet handle to ensure smooth operation and proper water flow. Make adjustments as needed.
Step 8: Clean Up and Maintenance
- Clean Surrounding Area: Wipe down the area around the faucet to remove any grease, dirt, or debris.
- Regular Maintenance: Periodically inspect and clean faucet aerators and handles to prevent future leaks and ensure optimal performance.
Tips for Success:
- Take Your Time: Work slowly and carefully to avoid losing small parts or damaging components.
- Consult Manufacturer’s Instructions: Refer to the faucet’s manufacturer manual or online resources for specific repair instructions and diagrams.
- Replace Entire Cartridge: For cartridge or ceramic disk faucets, consider replacing the entire cartridge if leaks persist after replacing washers or seals.
When to Seek Professional Help:
- Complex Issues: If you encounter complications or are unsure about the repair process, it’s best to seek assistance from a licensed plumber.
- Old or Corroded Faucets: Older faucets with severe corrosion or damage may require professional replacement.
Conclusion
Fixing a leaky faucet is a practical skill that can save money on water bills and prevent water damage in your home. By following this comprehensive guide and understanding the specific type of faucet you have, you can confidently repair most leaky faucet issues using basic tools and a faucet repair kit. Remember to prioritize safety, turn off water sources before beginning repairs, and test the faucet thoroughly afterward to ensure it’s functioning properly. With practice, you’ll become adept at maintaining and repairing faucets throughout your home, prolonging their lifespan and keeping your plumbing in optimal condition.