Keeping track of outstanding invoices and ensuring timely payments is crucial for maintaining a healthy cash flow in any business. QuickBooks offers a powerful feature that allows you to set up automatic reminders, helping you stay on top of due payments and improve your overall financial management. This comprehensive guide will walk you through the steps to set up automatic reminders in QuickBooks Online and QuickBooks Desktop, from the initial setup to customizing reminders and troubleshooting common issues.
Benefits of Using Automatic Reminders in QuickBooks
- Improved Cash Flow: Ensure timely payments and reduce outstanding receivables.
- Time Savings: Automate the follow-up process, saving time and effort.
- Professional Communication: Maintain a consistent and professional communication with clients.
- Enhanced Customer Relationships: Reduce the chances of late payments and misunderstandings.
- Accurate Financial Management: Keep your financial records up-to-date and accurate.
Setting Up Automatic Reminders in QuickBooks Online
Step 1: Enable the Automatic Reminders Feature
- Log in to QuickBooks Online: Use your credentials to access your QuickBooks Online account.
- Navigate to Account and Settings: Click on the Gear icon (⚙️) at the top right corner and select “Account and Settings.”
- Go to Sales Settings: In the left-hand menu, select “Sales.”
- Enable Reminders: Scroll down to the “Reminders” section and turn on the automatic reminders feature.
- Save Changes: Click “Save” to apply the changes.
Step 2: Customize Reminder Settings
- Access Reminder Settings: Go to the “Sales” menu and select “Reminders.”
- Set Reminder Schedules: Define when you want reminders to be sent out. You can set multiple reminders based on different criteria, such as a few days before the due date, on the due date, and after the due date.
- Customize Reminder Messages: Edit the template messages for each reminder to suit your business tone and style.
- Save Settings: Click “Save” to apply your customized settings.
Step 3: Assign Reminders to Invoices
- Create Invoice: Navigate to the “Sales” menu, select “Invoices,” and click “New invoice.”
- Enter Invoice Details: Fill in the invoice details, including customer, items, amounts, and due date.
- Set Reminders: Ensure the automatic reminders option is selected for the invoice.
- Save and Send: Click “Save and send” to email the invoice to the customer with reminders activated.
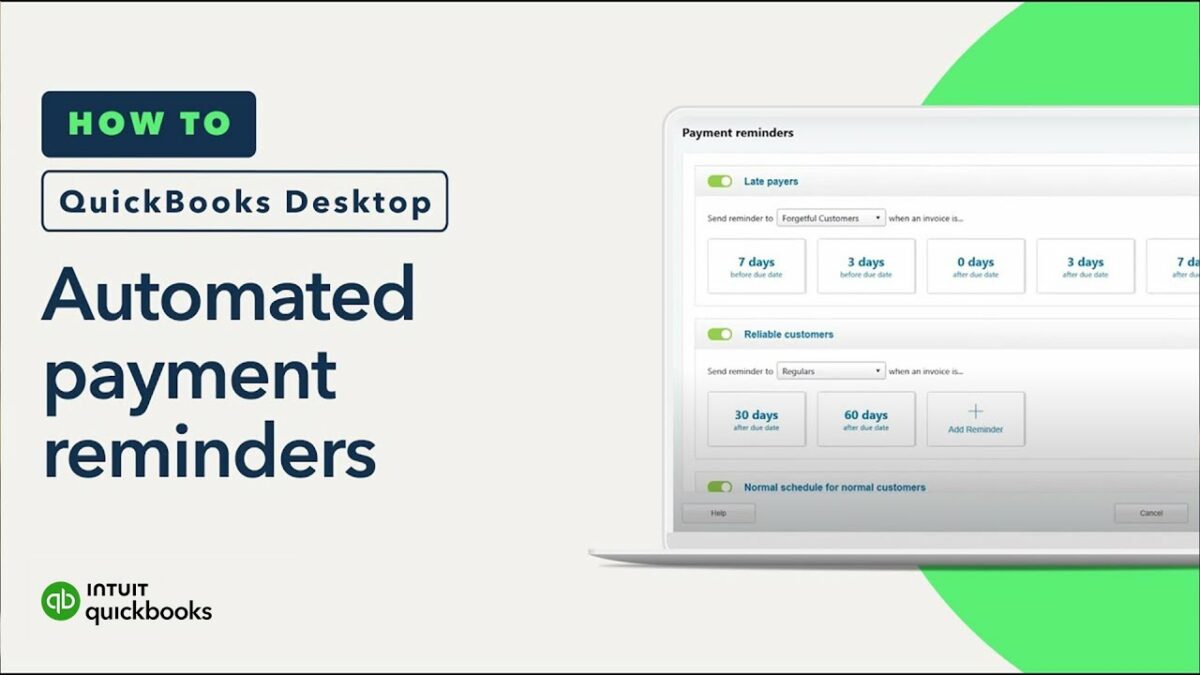
Setting Up Automatic Reminders in QuickBooks Desktop
Step 1: Enable the Automatic Reminders Feature
- Open QuickBooks Desktop: Launch QuickBooks Desktop and open your company file.
- Navigate to Preferences: Click on “Edit” in the menu bar and select “Preferences.”
- Go to Reminders: In the left-hand menu, select “Reminders” under the “My Preferences” tab.
- Enable Reminders: Check the box to enable reminders and set your preferences for when reminders should be shown.
- Save Changes: Click “OK” to save the settings.
Step 2: Customize Reminder Settings
- Access Reminder List: Go to the “Company” menu and select “Reminders.”
- Set Reminder Schedules: Define the timing and frequency of reminders for invoices and other transactions.
- Customize Reminder Messages: Edit the template messages for each reminder type.
- Save Settings: Click “Save” to apply your customized settings.
Step 3: Assign Reminders to Invoices
- Create Invoice: Navigate to the “Customers” menu, select “Create Invoices,” and fill in the invoice details.
- Set Reminders: Ensure the automatic reminders option is selected for the invoice.
- Save and Send: Click “Save & Close” to save the invoice and send it to the customer with reminders activated.
Customizing Reminder Templates
Step 1: Access Reminder Templates
- Navigate to Reminder Settings: Go to the “Sales” menu and select “Reminders” in QuickBooks Online or “Company” > “Reminders” in QuickBooks Desktop.
- Edit Templates: Select the template you want to edit.
Step 2: Customize Messages
- Edit Subject Line: Customize the subject line of the reminder email to catch the recipient’s attention.
- Personalize Message Body: Edit the message body to include personalized details such as the customer’s name, invoice number, and amount due.
- Add Business Details: Include your business contact information and payment instructions.
- Save Template: Click “Save” to apply your changes.
Step 3: Preview and Test Reminders
- Preview Reminders: Use the preview feature to see how your reminders will look to the recipient.
- Send Test Reminder: Send a test reminder to yourself to ensure everything appears as expected.
- Adjust as Needed: Make any necessary adjustments based on your preview and test.
Managing Reminder Schedules
Setting Up Multiple Reminder Schedules
- Define Criteria: Set up different reminder schedules based on criteria such as days before the due date, on the due date, and days after the due date.
- Schedule Frequency: Determine how frequently reminders should be sent (e.g., daily, weekly).
- Apply to Invoices: Ensure each invoice has the appropriate reminder schedule applied.
Adjusting Reminder Schedules
- Review Outstanding Invoices: Regularly review your list of outstanding invoices.
- Adjust Schedules as Needed: Modify reminder schedules based on customer payment behavior and other factors.
- Deactivate Reminders: Turn off reminders for specific invoices if necessary.
Tracking and Managing Reminder Effectiveness
Monitoring Sent Reminders
- Review Reminder Log: Check the log of sent reminders in QuickBooks to see which reminders have been sent and when.
- Track Responses: Monitor customer responses to reminders and note any changes in payment behavior.
Analyzing Payment Trends
- Generate Reports: Use QuickBooks reporting features to generate accounts receivable aging reports and other relevant reports.
- Analyze Data: Look for trends in payment behavior and identify customers who frequently pay late.
- Adjust Strategies: Adjust your reminder strategies based on the analysis to improve effectiveness.
Using Customer Feedback
- Request Feedback: Ask customers for feedback on the reminder messages and frequency.
- Incorporate Feedback: Use the feedback to refine your reminder templates and schedules.
- Improve Communication: Enhance your communication strategies based on customer preferences.
Troubleshooting Common Issues
Issue 1: Reminders Not Being Sent
- Check Settings: Ensure that the automatic reminders feature is enabled and properly configured.
- Review Invoice Settings: Verify that reminders are activated for the specific invoices in question.
- Update QuickBooks: Ensure you are using the latest version of QuickBooks, as updates may include fixes for reminder-related issues.
Issue 2: Customers Not Receiving Reminders
- Verify Email Addresses: Check that customer email addresses are entered correctly in QuickBooks.
- Check Spam Filters: Ask customers to check their spam or junk mail folders for reminder emails.
- Test Email Settings: Send test emails to ensure that your email settings in QuickBooks are correctly configured.
Issue 3: Incorrect Reminder Messages
- Review Templates: Check your reminder templates for any errors or outdated information.
- Edit and Save: Make necessary edits to the templates and save the changes.
- Preview Messages: Use the preview feature to ensure that messages appear correctly.
Issue 4: Duplicate Reminders
- Review Schedules: Ensure that you do not have overlapping reminder schedules that could result in duplicate emails.
- Adjust Frequencies: Modify the frequency of reminders to prevent duplicates.
- Monitor Logs: Check the reminder log for any patterns of duplicate reminders.
Best Practices for Using Automatic Reminders
1. Personalize Your Messages
- Use Customer Names: Address customers by name to add a personal touch.
- Include Specific Details: Mention specific invoice numbers and amounts due to provide clear information.
- Professional Tone: Maintain a professional yet friendly tone in your messages.
2. Regularly Update Templates
- Keep Information Current: Ensure that contact information, payment instructions, and other details are up-to-date.
- Test Templates: Periodically send test reminders to yourself to check for any necessary updates.
3. Monitor Reminder Effectiveness
- Track Payment Timeliness: Monitor how quickly customers pay after receiving reminders.
- Adjust Strategies: Modify reminder frequencies and messages based on effectiveness.
4. Maintain Consistent Communication
- Follow Up: Send follow-up reminders if payments are not received after the initial reminder.
- Balance Frequency: Avoid overwhelming customers with too many reminders; find a balance that encourages timely payments without causing frustration.
5. Use Reporting Tools
- Generate Regular Reports: Use QuickBooks reporting features to keep track of outstanding receivables and reminder effectiveness.
- Analyze Data: Look for patterns and trends to refine your reminder strategies.
Conclusion
Setting up automatic reminders in QuickBooks is a powerful way to ensure timely payments and maintain healthy cash flow for your business. By enabling the reminders feature, customizing reminder settings and templates, and monitoring their effectiveness, you can automate the follow-up process, save time, and enhance your financial management. This comprehensive guide has covered everything from initial setup to advanced customization and troubleshooting, providing you with the knowledge and tools to make the most of QuickBooks’ automatic reminders feature. By following best practices and leveraging QuickBooks’ capabilities, you can streamline your accounts receivable process and improve your overall business efficiency.