Cropping a video can be an essential part of the editing process, allowing you to focus on the most important elements, remove unwanted sections, and improve the overall composition. PowerDirector, developed by CyberLink, is a powerful video editing software that includes a versatile crop tool. This comprehensive guide will walk you through everything you need to know about using the video crop tool in PowerDirector, from basic operations to advanced techniques.
Understanding the Video Crop Tool in PowerDirector
The video crop tool in PowerDirector allows you to trim the edges of your video, changing its frame to highlight the desired area. This can be useful for various purposes, such as:
- Focusing on the Main Subject: Highlight the key elements of your video by removing distracting or irrelevant parts.
- Changing Aspect Ratio: Adjust the video’s aspect ratio to fit different platforms or screens.
- Creative Composition: Enhance the visual appeal by framing your subject more effectively.
Getting Started with PowerDirector
Before diving into the cropping process, make sure you have PowerDirector installed on your computer. If you haven’t installed it yet, download and install the latest version from the CyberLink website. Once installed, open PowerDirector and follow these steps:
Step 1: Create a New Project
- Launch PowerDirector: Open the software.
- Start a New Project: Click on “New Project” or select “Create New Project” from the File menu.
Step 2: Import Your Video
- Media Room: Navigate to the “Media Room” tab.
- Import Media: Click on “Import Media Files” and select the video you want to edit.
Basic Cropping Operations
Now that your video is imported, you can begin using the crop tool. Here’s a step-by-step guide to basic cropping operations in PowerDirector:
Step 1: Add Your Video to the Timeline
- Drag and Drop: Drag your video from the Media Room to the timeline.
- Select the Video: Click on the video clip in the timeline to select it.
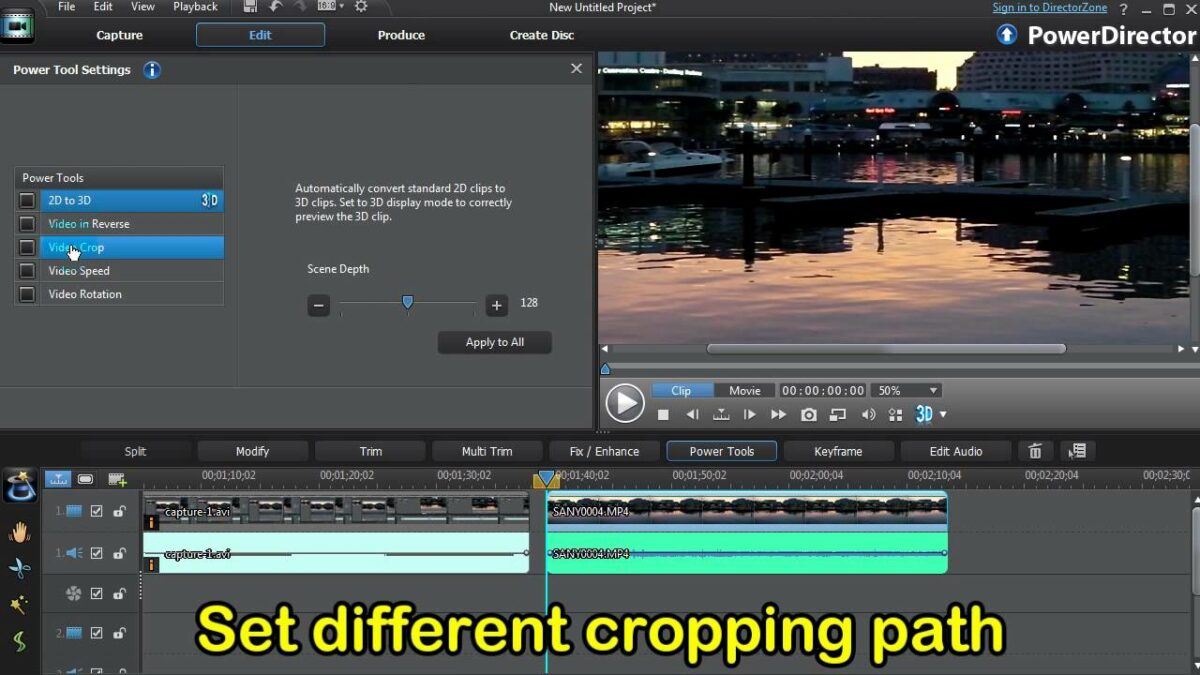
Step 2: Open the Crop Tool
- Tools Menu: Click on the “Tools” button located above the timeline.
- Crop/Zoom/Pan: Select “Crop/Zoom/Pan” from the dropdown menu. This will open the crop tool interface.
Step 3: Crop the Video
- Adjust the Crop Box: A crop box will appear over your video in the preview window. Drag the edges or corners of the crop box to adjust the area you want to keep. The area outside the box will be cropped out.
- Maintain Aspect Ratio: To maintain the original aspect ratio of the video, hold the Shift key while adjusting the crop box.
- Preview the Crop: Use the preview window to see how the cropped video will look. Make any necessary adjustments to the crop box.
Step 4: Apply the Crop
- OK Button: Once you are satisfied with the cropping, click the “OK” button to apply the changes.
- Playback: Play the video in the timeline to see the cropped result.
Advanced Cropping Techniques
PowerDirector offers several advanced features to enhance your cropping process. These techniques can help you achieve more precise and creative results.
Using Keyframes for Dynamic Cropping
Keyframes allow you to create dynamic cropping effects, where the crop area changes over time. This can be useful for creating zoom effects, following a moving subject, or adding visual interest to your video.
Step 1: Open the Keyframe Settings
- Select the Video Clip: Click on the video clip in the timeline.
- Keyframe Settings: Click on the “Keyframe” button above the timeline to open the keyframe settings panel.
Step 2: Add Keyframes
- Position the Playhead: Move the playhead to the point in the timeline where you want the crop effect to start.
- Set the First Keyframe: Adjust the crop box as desired and click the “Add Keyframe” button.
- Move the Playhead: Move the playhead to the point where you want the crop effect to end.
- Set the Second Keyframe: Adjust the crop box again and click the “Add Keyframe” button.
Step 3: Preview and Adjust
- Playback: Play the video to see the dynamic cropping effect. The crop area will transition smoothly between the keyframes.
- Adjust Keyframes: If needed, adjust the position and size of the crop box at each keyframe to refine the effect.
Cropping to a Specific Aspect Ratio
You might need to crop your video to a specific aspect ratio, such as 16:9, 4:3, or 1:1, for different platforms and devices.
Step 1: Open the Crop Tool
- Select the Video Clip: Click on the video clip in the timeline.
- Crop/Zoom/Pan: Select “Crop/Zoom/Pan” from the Tools menu.
Step 2: Choose an Aspect Ratio
- Aspect Ratio Dropdown: In the crop tool interface, locate the aspect ratio dropdown menu.
- Select Aspect Ratio: Choose the desired aspect ratio from the list (e.g., 16:9, 4:3, 1:1).
Step 3: Adjust and Apply
- Adjust the Crop Box: The crop box will automatically adjust to the selected aspect ratio. You can resize and reposition it as needed.
- OK Button: Click “OK” to apply the crop.
Creating Picture-in-Picture (PiP) Effects
Picture-in-Picture (PiP) effects involve displaying a smaller cropped video within the main video frame. This is useful for tutorials, reaction videos, and more.
Step 1: Add Multiple Video Tracks
- Timeline Tracks: Ensure you have multiple video tracks enabled in the timeline. You can add tracks by right-clicking on the timeline and selecting “Add Video Track.”
Step 2: Place Videos on Separate Tracks
- Main Video: Place your main video on the first track.
- PiP Video: Place the video you want to use for the PiP effect on the second track.
Step 3: Crop the PiP Video
- Select PiP Video: Click on the PiP video clip in the timeline.
- Crop/Zoom/Pan: Open the crop tool and adjust the crop box to focus on the desired area.
Step 4: Position the PiP Video
- Resize and Reposition: In the preview window, resize and reposition the PiP video to the desired location within the main video frame.
- Apply Changes: Click “OK” to apply the changes.
Tips and Best Practices for Cropping Videos
- Maintain Focus: Use cropping to remove distractions and focus on the main subject of your video.
- Consistent Aspect Ratios: When cropping multiple clips, maintain consistent aspect ratios to ensure a cohesive look.
- Avoid Over-Cropping: Be cautious not to crop too much, as it can reduce video quality and make the composition feel cramped.
- Use Keyframes Sparingly: While keyframes can create dynamic effects, use them sparingly to avoid overwhelming the viewer.
Troubleshooting Common Issues
Issue 1: Cropped Video Appears Blurry
- Solution: Ensure you are not cropping too much of the video, as this can reduce the resolution and make it appear blurry. Start with high-resolution footage to minimize quality loss.
Issue 2: Aspect Ratio Not Maintained
- Solution: Hold the Shift key while adjusting the crop box to maintain the original aspect ratio. Alternatively, select a specific aspect ratio from the dropdown menu in the crop tool.
Issue 3: Keyframe Effects Not Smooth
- Solution: Ensure the keyframes are placed at appropriate intervals and adjust the crop box positions gradually. You can also add more keyframes for finer control over the transitions.
Issue 4: Cropped Area Not Centered
- Solution: Use the alignment tools in the crop tool interface to center the crop box. You can also manually adjust the position by dragging the crop box.
Conclusion
Using the video crop tool in PowerDirector is an effective way to enhance your video editing projects. Whether you’re focusing on key elements, changing aspect ratios, or creating dynamic effects, the crop tool offers a range of options to suit your needs. By following this comprehensive guide, you can master the basics and explore advanced techniques to take your video editing skills to the next level. Happy editing!