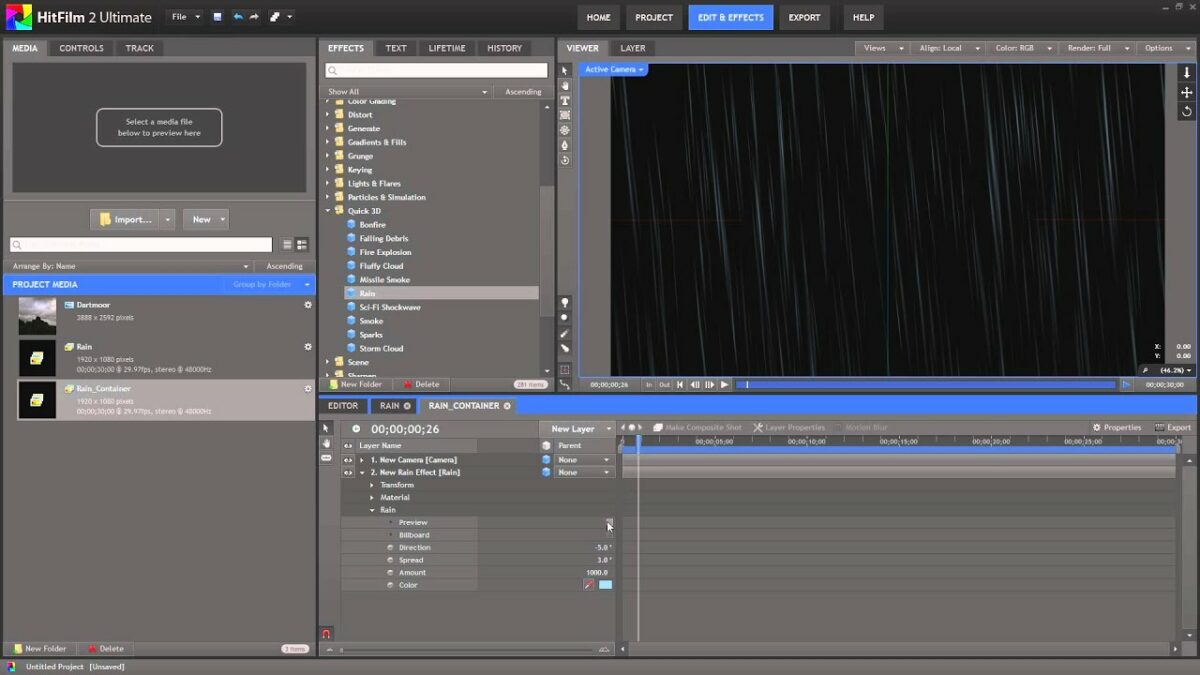
Introduction: Rain effects are a powerful visual tool used in filmmaking to create atmosphere, mood, and drama in scenes. Adding rain to your videos can evoke a range of emotions and enhance the storytelling. HitFilm Express, a popular video editing and compositing software, offers users the ability to create realistic rain effects easily. In this comprehensive guide, we will explore the step-by-step process of adding a rain effect in HitFilm Express, from setting up the project to adjusting parameters and optimizing the final result for professional-quality output.
Understanding Rain Effects: Rain effects in HitFilm Express involve creating and animating particle systems to simulate the appearance and behavior of raindrops falling from the sky. These effects can range from subtle drizzles to heavy downpours, depending on the desired mood and atmosphere of the scene. HitFilm Express provides users with tools and features to customize the appearance, density, speed, and direction of the rain, allowing for creative control and flexibility in achieving realistic rain effects.
Step 1: Setting up the Project Begin by launching HitFilm Express and creating a new project. Import the footage or composition you want to add the rain effect to by clicking on the Import button in the media panel and selecting the desired files from your computer. Alternatively, you can create a new composition within HitFilm Express and add the necessary layers, such as background images or video clips, to build the scene for the rain effect.
Step 2: Adding a Particle Simulator To create the rain effect, you will need to use the Particle Simulator effect in HitFilm Express. Locate the Particle Simulator effect in the Effects panel by clicking on the Effects tab in the toolbar and searching for “Particle Simulator” in the search bar. Drag and drop the Particle Simulator effect onto a new solid layer in the timeline. This will serve as the emitter for the rain particles.
Step 3: Configuring the Particle Settings With the Particle Simulator effect applied to the solid layer, open the Controls panel to access the particle settings. Adjust the emitter type to “Point” to create raindrops that fall from a single point in the composition. Increase the number of particles emitted per second to control the density of the rain. Experiment with settings such as particle size, speed, lifespan, and randomness to customize the appearance and behavior of the raindrops.
Step 4: Adding Motion Blur To enhance the realism of the rain effect, enable motion blur for the particle system. Select the solid layer with the Particle Simulator effect applied and navigate to the Layer properties in the Controls panel. Enable motion blur by checking the box next to “Motion Blur” under the Layer properties. Adjust the motion blur settings, such as shutter angle and samples, to control the intensity and quality of the motion blur effect.
Step 5: Adjusting Particle Direction By default, rain particles in HitFilm Express fall straight down. However, you can customize the direction of the rain by adjusting the emitter’s rotation or velocity properties. Experiment with rotating the emitter or applying velocity to create angled or swirling rain effects. This allows for greater control over the direction and movement of the raindrops, adding realism and depth to the scene.
Step 6: Adding Depth and Dimension To create a sense of depth and dimension in the rain effect, consider adding additional layers or elements to the composition. This could include foreground elements, such as trees or buildings, to create the illusion of rain falling in the distance. Use layer masks or blending modes to integrate the rain effect with the background footage or images, ensuring seamless integration and a cohesive visual style.
Step 7: Previewing and Fine-Tuning After applying and adjusting the rain effect, preview the composition in the viewer panel to assess the appearance and behavior of the raindrops. Make any necessary adjustments or refinements to the particle settings, motion blur, direction, or depth based on your preferences and the specific requirements of your project. Continuously iterate and refine the rain effect until you achieve the desired look and feel for the final result.
Step 8: Exporting the Final Result Once you are satisfied with the rain effect, export the final result from HitFilm Express to share or use in your video projects. Navigate to the Export panel and configure the export settings, including resolution, format, and output destination. Click Export to render the composition with the rain effect applied and save it to your desired destination.
Tips and Best Practices:
- Start with a subtle rain effect and gradually increase the intensity for a more realistic appearance.
- Experiment with different particle settings, such as size, speed, and lifespan, to achieve unique and creative rain effects.
- Use motion blur to enhance the realism of the raindrops and create a sense of motion and depth.
- Consider adding sound effects, such as rain sounds or thunder, to complement the visual rain effect and enhance the overall atmosphere of the scene.
- Preview the rain effect on different devices and platforms to ensure compatibility and consistency across various playback environments.
Conclusion: Adding a rain effect in HitFilm Express is a creative and rewarding process that allows you to enhance the mood, atmosphere, and storytelling of your videos. By following the step-by-step process outlined in this guide and experimenting with different techniques and settings, you can master the art of creating realistic rain effects that captivate your audience and elevate the quality of your video projects. Whether you’re creating dramatic scenes, atmospheric montages, or stylized visual effects, HitFilm Express offers powerful tools and features for achieving professional-quality rain effects that enhance the overall impact and immersion of your videos.
