Introduction: SolidWorks, a leading computer-aided design (CAD) software, offers powerful rendering capabilities that allow users to create photorealistic images and animations of their 3D models. Renderings in SolidWorks provide designers, engineers, and visualizers with the ability to showcase their designs with stunning visual fidelity, realism, and detail. In this comprehensive guide, we’ll explore the intricacies of creating renderings in SolidWorks, covering fundamental concepts, essential techniques, and advanced strategies to help you master this crucial aspect of design visualization.
Understanding Rendering in SolidWorks: Rendering in SolidWorks involves the process of generating high-quality images and animations of 3D models using advanced lighting, materials, textures, and camera settings. By applying realistic lighting conditions, surface finishes, and visual effects, users can create visually compelling renderings that accurately represent their designs in various contexts and environments. Before delving into the specifics of rendering, it’s essential to grasp some foundational concepts:
- Ray Tracing and Photorealism:
- SolidWorks employs ray tracing technology to simulate the behavior of light rays as they interact with surfaces, materials, and environments in the scene. Ray tracing enables the creation of photorealistic renderings with accurate reflections, refractions, shadows, and global illumination effects.
- Materials and Textures:
- Materials and textures in SolidWorks define the visual appearance and surface properties of 3D models, including color, reflectivity, transparency, roughness, and bump mapping. SolidWorks provides a library of predefined materials and textures, as well as tools for creating custom materials to achieve desired visual effects.
- Lighting and Environment:
- Lighting and environment settings in SolidWorks control the illumination of the scene and the ambient conditions in which the rendering takes place. Users can add directional lights, point lights, spotlights, and environmental effects such as skyboxes, HDR environments, and backdrops to enhance realism and visual impact.
Creating Renderings in SolidWorks: Let’s explore the essential steps for creating renderings in SolidWorks:
- Prepare the Model:
- Begin by preparing the 3D model for rendering. Ensure that the model is properly assembled, configured, and positioned within the scene. Check for any geometry errors, missing components, or unwanted features that may affect the rendering outcome.
- Define Materials and Textures:
- Define materials and textures for the model’s surfaces to convey realistic visual properties. SolidWorks provides a material library with a wide range of predefined materials, including metals, plastics, glass, ceramics, and organic materials. Apply materials to surfaces and adjust material properties such as color, reflectivity, roughness, and transparency as needed.
- Set Lighting and Environment:
- Set up lighting and environment settings to create the desired atmosphere and mood for the rendering. Experiment with different lighting configurations, including key lights, fill lights, and ambient lights, to achieve the desired illumination and shadow effects. Choose an appropriate environment or backdrop to complement the scene and enhance realism.
- Configure Camera Settings:
- Configure camera settings such as field of view, focal length, depth of field, and aperture to control the composition and perspective of the rendering. Position the camera to capture the model from the desired viewpoint and angle, considering factors such as focal points, framing, and visual hierarchy.
- Adjust Render Settings:
- Adjust render settings such as resolution, quality, rendering mode, and output format to tailor the rendering output to your specific requirements. Choose between real-time rendering, preview rendering, and final rendering modes based on the desired level of detail and realism.
- Render the Image:
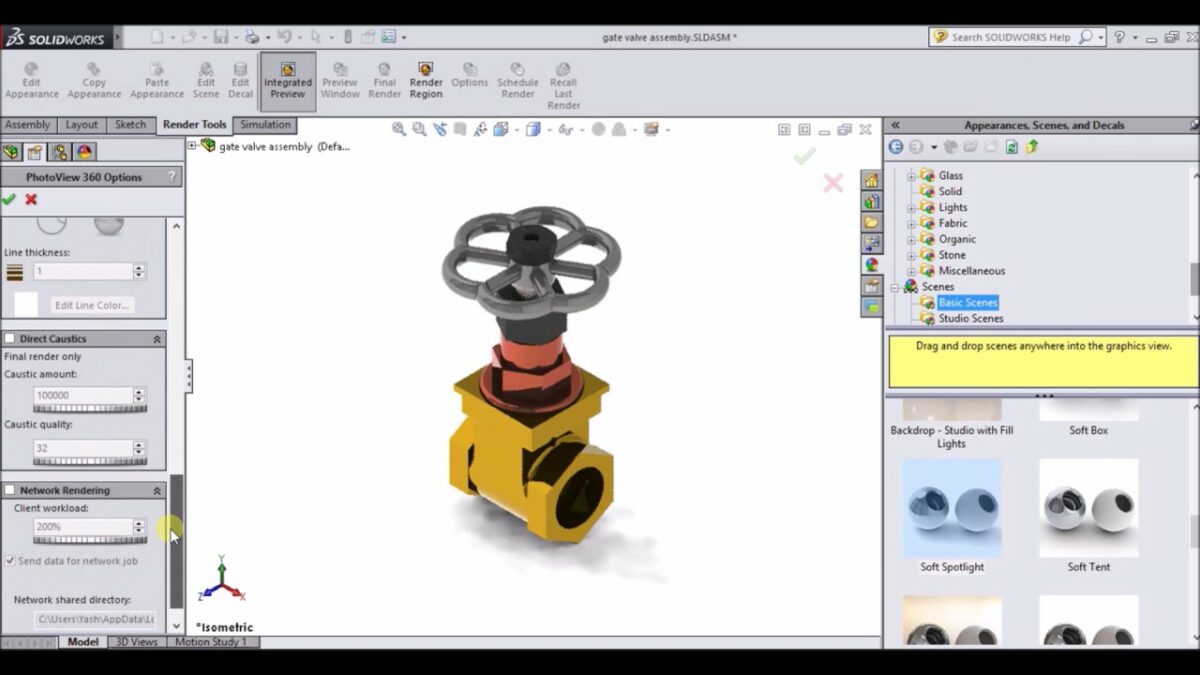
- Render the image using the SolidWorks Visualize add-in or the built-in PhotoView 360 rendering tool. SolidWorks Visualize offers advanced rendering capabilities and interactive workflows for creating high-quality images and animations, while PhotoView 360 provides basic rendering functionality directly within SolidWorks.
- Refine and Iterate:
- Review the rendered image and make any necessary adjustments to materials, lighting, camera settings, or render settings. Iterate on the rendering process by refining the scene composition, visual effects, and overall presentation until you achieve the desired level of realism and visual impact.
Advanced Rendering Techniques: In addition to basic rendering tools, SolidWorks offers advanced techniques to enhance rendering quality and realism:
- Advanced Materials and Textures:
- Explore advanced material properties such as subsurface scattering, anisotropic reflections, iridescence, and procedural textures to create highly realistic surface appearances. Experiment with texture mapping, UV mapping, and procedural textures to add detail and complexity to materials.
- Global Illumination and Ambient Occlusion:
- Enable global illumination and ambient occlusion effects to simulate indirect lighting and shading in the scene. Global illumination algorithms such as path tracing and photon mapping accurately simulate light bounces and reflections, enhancing realism and depth perception in renderings.
- Render Passes and Post-Processing:
- Use render passes and post-processing techniques to enhance rendering quality and achieve desired visual effects. Render passes such as depth pass, ambient occlusion pass, and reflection pass allow for fine-tuning and compositing in post-processing software such as Adobe Photoshop or After Effects.
Best Practices for Rendering in SolidWorks: To maximize the effectiveness and visual impact of renderings in SolidWorks, consider the following best practices:
- Plan and Prepare:
- Plan the rendering project in advance, considering factors such as target audience, intended use, and desired visual style. Prepare the 3D model, materials, textures, and lighting setup carefully to achieve the desired rendering outcome.
- Optimize Performance:
- Optimize rendering performance by simplifying geometry, reducing polygon count, and optimizing material properties. Use proxies, instances, and level of detail (LOD) models to manage complex scenes efficiently and improve rendering speed and efficiency.
- Experiment and Iterate:
- Experiment with different rendering techniques, settings, and effects to explore creative possibilities and achieve desired visual aesthetics. Iterate on the rendering process by refining composition, lighting, materials, and post-processing effects until you achieve the desired result.
- Seek Feedback and Review:
- Seek feedback and review from peers, colleagues, and clients to evaluate rendering quality, realism, and effectiveness. Use feedback to identify areas for improvement and make iterative refinements to the rendering until it meets the desired standards and objectives.
Conclusion: Rendering in SolidWorks is a powerful tool for creating photorealistic images and animations of 3D models, enabling designers, engineers, and visualizers to showcase their designs with stunning visual fidelity and realism. By mastering rendering techniques and adhering to best practices, you can create compelling, immersive renderings that communicate design intent, showcase product features, and captivate audiences effectively. Whether you’re a novice or an experienced SolidWorks user, understanding the principles of rendering and exploring advanced techniques will elevate your design visualization skills and enable you to create stunning visual presentations efficiently.