Introduction:
In the realm of digital design and visual artistry, the posterize effect stands as a captivating technique that adds a bold, graphic aesthetic to images and compositions. Inspired by the iconic style of vintage posters and pop art, this effect transforms ordinary photographs into striking visual statements that command attention and evoke emotion. Whether used in digital art, photo manipulation, or graphic design, mastering the creation of a posterize effect in Adobe Photoshop offers designers and artists a versatile tool for unleashing their creativity and pushing the boundaries of visual expression. In this comprehensive guide, we will embark on a journey through step-by-step techniques, expert tips, and creative strategies to master the art of creating a posterize effect in Photoshop.
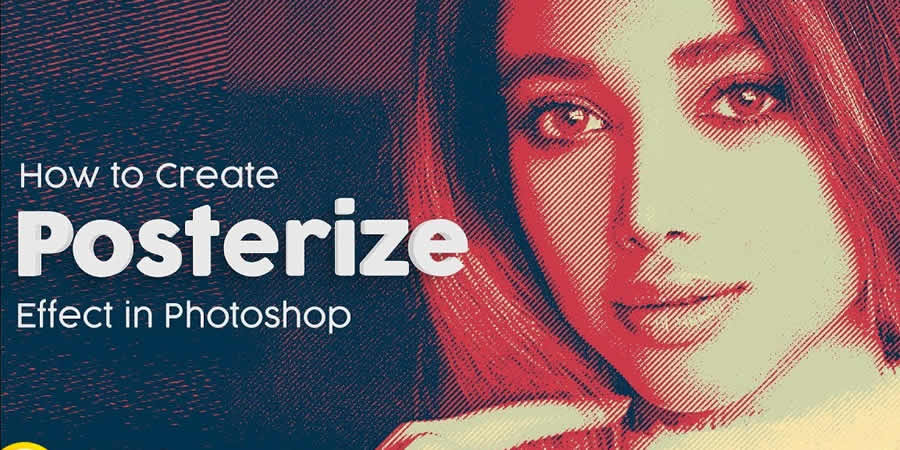
Understanding the Posterize Effect:
The posterize effect is characterized by the reduction of the number of colors and tones in an image, resulting in a simplified, graphic interpretation of the original photograph. This effect creates bold, high-contrast images with clearly defined areas of color and shape, reminiscent of vintage posters and graphic prints. By leveraging techniques such as adjustment layers, filters, and blending modes, designers can achieve stunning results that captivate viewers and convey a sense of visual impact and immediacy.
Now, let’s delve into the step-by-step process of creating a posterize effect in Adobe Photoshop:
Step 1: Setting Up the Document:
Begin by opening Adobe Photoshop and importing the image you wish to apply the posterize effect to. Choose an image with strong shapes, contrast, and graphic elements, as these will be emphasized by the posterization process.
Step 2: Duplicating the Background Layer:
With the image layer selected, duplicate the background layer by pressing Ctrl/Cmd + J or by right-clicking on the layer and selecting “Duplicate Layer.” This duplicate layer will serve as the base for applying the posterize effect, preserving the original image layer for reference.
Step 3: Applying Posterize Adjustment:
With the duplicate layer selected, go to Image > Adjustments > Posterize from the top menu. This will bring up the Posterize dialog box, allowing you to adjust the number of levels in the image. Experiment with different levels to achieve the desired degree of posterization, balancing simplification with clarity and detail.
Step 4: Adjusting Posterize Levels:
Slide the posterize levels slider to the right to increase the number of levels in the image, resulting in a smoother, more detailed effect with a greater range of tones. Slide the slider to the left to decrease the number of levels, creating a more simplified, graphic interpretation with bold shapes and high contrast.
Step 5: Fine-Tuning Posterize Effect:
Take the time to fine-tune and refine the posterize effect to achieve the desired look and feel. Experiment with different levels of posterization, as well as adjustments to contrast, brightness, and saturation, to create a visually striking composition that captures the essence of the original image.
Step 6: Adding Adjustment Layers:
To further enhance the posterize effect and create a more dynamic composition, consider adding adjustment layers such as Levels, Curves, or Hue/Saturation. These adjustment layers allow you to fine-tune the colors, tones, and contrast of the image, adding depth and dimension to the posterized effect.
Step 7: Experimenting with Filters:
Experiment with filters such as Gaussian Blur, Smart Sharpen, or Filter Gallery to add additional texture and detail to the posterized image. These filters can help soften edges, enhance contrast, or add stylized effects, further enhancing the visual impact of the composition.
Step 8: Adding Text and Graphic Elements:
To complete the posterize effect and create a compelling visual narrative, consider adding text and graphic elements to the composition. Use bold typography, graphic shapes, and iconic symbols to reinforce the message or theme of the posterized image, adding layers of meaning and visual interest.
Step 9: Blending Modes and Opacity:
Experiment with blending modes and opacity adjustments to seamlessly integrate the posterized image with other elements in the composition. Overlay, Soft Light, and Multiply blending modes often work well for blending the posterized image with background textures, patterns, or graphic elements, adding depth and dimension to the composition.
Step 10: Final Touches and Exporting:
Once you’re satisfied with the posterize effect and overall composition, take the time to make any final adjustments or refinements to the design. Fine-tune the colors, contrast, and overall atmosphere to ensure that the effect enhances the mood and aesthetic of the artwork. When you’re happy with the final result, save your work and export the design in a high-quality format suitable for your intended use.
Advanced Techniques and Tips:
In addition to the basic steps outlined above, consider exploring advanced techniques and tips to further enhance the posterize effect:
- Selective Posterization: Use layer masks and selection tools to selectively apply the posterize effect to specific areas or elements within the image. This technique allows for precise control over the level of posterization, allowing you to emphasize key focal points or create visual hierarchy within the composition.
- Texture Overlay: Experiment with incorporating texture overlays or pattern fills to add depth and visual interest to the posterized image. Textures such as grunge, paper, or halftone can enhance the vintage aesthetic of the posterize effect, adding to the overall impact of the composition.
- Color Gradients: Use gradient maps or color gradients to add depth and dimension to the posterized image. Experiment with different color schemes and blending modes to create dynamic color transitions and visual effects, adding richness and complexity to the composition.
- Brushwork and Texture: Introduce hand-painted brushwork or texture overlays to add a tactile, organic feel to the posterized image. Experiment with custom brushes, paint splatters, or texture overlays to add depth, dimension, and visual interest to the composition, creating a more dynamic and expressive effect.
Conclusion:
In conclusion, mastering the creation of a posterize effect in Adobe Photoshop offers designers and artists a powerful and versatile tool for creating visually striking compositions that command attention and evoke emotion.