In the world of computer-aided design (CAD), blocks serve as foundational elements for creating, organizing, and reusing geometry and data within drawings. Mastering the techniques for modifying blocks in AutoCAD is essential for enhancing productivity, maintaining consistency, and streamlining workflows in various design projects. Whether you’re an architect, engineer, designer, or drafting professional, understanding how to effectively modify blocks empowers you to make precise adjustments and customizations to your designs. In this comprehensive guide, we’ll explore the tools and techniques for modifying blocks in AutoCAD, discuss their applications and functionalities, and provide step-by-step instructions to help you refine your drafting skills and unlock new possibilities in your design projects.
Understanding Block Modification in AutoCAD:
Before diving into the specifics of modifying blocks in AutoCAD, it’s crucial to understand the concepts and functionalities of block modification:
- Block Components: Blocks in AutoCAD consist of one or more objects that are combined into a single entity. These objects can include geometric shapes, text, attributes, or even other blocks. Modifying a block involves making changes to its constituent objects or properties.
- Block References: Block references, also known as block instances, are instances of a block inserted into a drawing. Modifying a block reference affects all instances of that block within the drawing while preserving the original block definition.
Modifying Blocks in AutoCAD:
AutoCAD provides a variety of tools and commands for modifying blocks, allowing users to make precise adjustments to block geometry, attributes, and properties. Here’s how to modify blocks in AutoCAD:
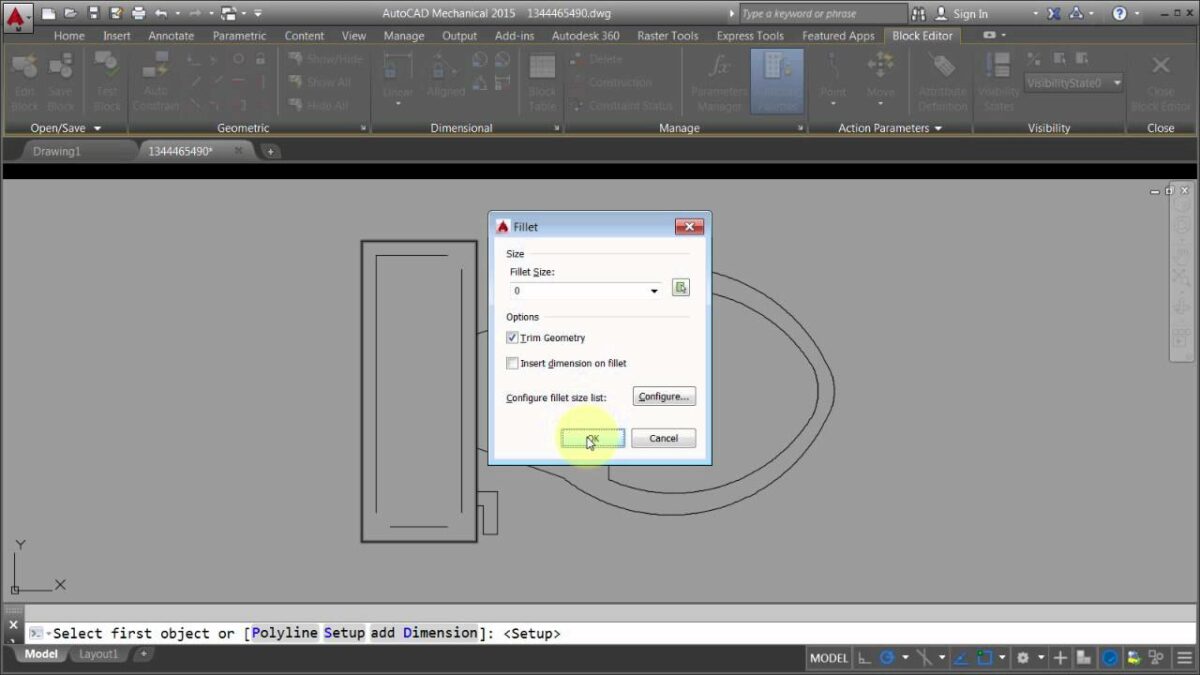
- Entering Block Editor:
- To modify a block in AutoCAD, you’ll typically enter the Block Editor by typing “BEDIT” in the command line or double-clicking on a block reference within the drawing.
- Making Changes:
- Once in the Block Editor, you can make a wide range of changes to the block’s geometry, attributes, and properties using standard editing commands and tools. For example, you can move, rotate, scale, stretch, mirror, or erase objects within the block.
- Exiting Block Editor:
- After making the desired modifications, exit the Block Editor to save your changes and update all instances of the block within the drawing. You can do this by clicking “Close Block Editor” or typing “SAVE” in the command line.
Advanced Techniques for Modifying Blocks:
In addition to basic block modification tools and commands, AutoCAD offers advanced techniques for optimizing block editing workflows and enhancing productivity:
- Dynamic Blocks: Create dynamic blocks in AutoCAD to add intelligence and interactivity to block instances. Dynamic blocks allow users to modify block geometry, visibility, and properties using grips and parameters, enabling greater flexibility and customization.
- Block Attributes: Modify block attributes to update text or data associated with block instances. Use the Block Attribute Manager to edit attribute values globally or individually for specific block instances.
- Block Properties: Modify block properties such as insertion point, scale, rotation, and visibility to fine-tune block placement and appearance within drawings. Use the Properties palette or Block Editor to adjust block properties as needed.
Best Practices for Modifying Blocks:
To maximize efficiency and maintain consistency when modifying blocks in AutoCAD, consider implementing the following best practices:
- Plan Modifications: Before entering the Block Editor, carefully plan the modifications you intend to make to the block to ensure clarity and accuracy in your design changes.
- Use Layers: Organize block components on separate layers to facilitate selective editing and control visibility within the Block Editor. This helps maintain clarity and organization in complex block structures.
- Document Changes: Document any modifications made to block definitions, attributes, or properties to facilitate collaboration and ensure accurate interpretation by other users.
- Test Modifications: Test modified blocks in different design scenarios to verify functionality, compatibility, and adherence to project requirements before finalizing changes.
Conclusion:
Mastering the techniques for modifying blocks in AutoCAD is essential for enhancing productivity, maintaining consistency, and streamlining workflows in various design projects. By understanding the functionalities of block modification tools and commands, practicing their use in different design scenarios, and implementing best practices for efficiency and consistency, you can elevate your drafting skills and unlock new possibilities in your design projects. Whether you’re making minor adjustments or significant changes to block geometry, attributes, or properties, knowing how to modify blocks effectively will enable you to produce high-quality drawings with confidence and precision. With dedication, practice, and a commitment to continuous learning, you’ll become proficient in modifying blocks in AutoCAD and excel in your CAD design endeavors.