Microsoft Access, part of the Microsoft Office suite, is a powerful database management system that allows users to create and manage databases for a wide range of applications. With its intuitive interface and robust features, Access enables users to organize, analyze, and share data with ease. One of the key advantages of using Access is its seamless integration with other Microsoft Office applications, including Excel, Word, Outlook, and PowerPoint. In this comprehensive guide, we’ll explore the various ways in which MS Access can be integrated with Microsoft Office, empowering users to maximize the value and efficiency of their database management tasks.
Understanding MS Access Integration:
Integration refers to the ability of different software applications to work together seamlessly, sharing data and functionality to enhance productivity and streamline workflows. MS Access integration with Microsoft Office extends the capabilities of both Access and Office applications, allowing users to leverage the strengths of each program to accomplish complex tasks more efficiently. Whether you’re importing data from Excel, generating reports in Word, or automating email notifications in Outlook, MS Access integration offers a wide range of possibilities for enhancing your database management experience.
Key Integration Features:
- Import and Export Data:
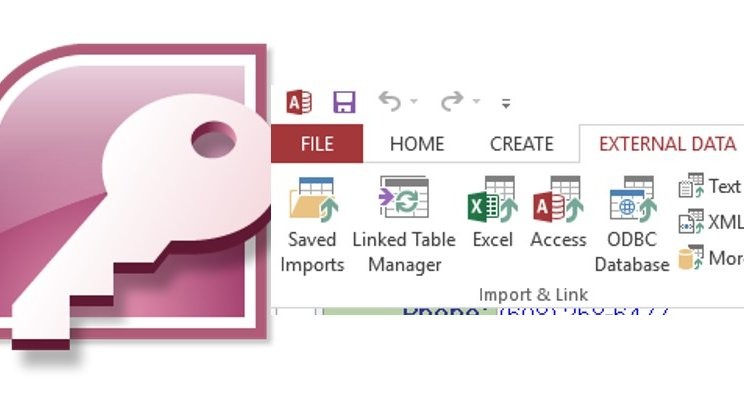
- MS Access allows users to import data from Excel spreadsheets, making it easy to populate databases with existing data or perform data analysis.
- Users can also export data from Access to Excel for further analysis or sharing with others.
- Mail Merge with Word:
- Access integrates seamlessly with Word to enable mail merge functionality, allowing users to create personalized letters, envelopes, labels, and other documents based on data stored in Access databases.
- Users can use Access data as a data source for mail merge documents in Word, streamlining the process of generating mass communications.
- Outlook Integration:
- MS Access can be integrated with Outlook to automate email notifications, reminders, and other communication tasks based on data stored in Access databases.
- Users can create custom email templates in Outlook and use Access data to populate email fields dynamically, saving time and ensuring accuracy in communication.
- PowerPoint Reporting:
- Access data can be used to generate dynamic reports and presentations in PowerPoint, allowing users to visualize and communicate insights derived from their databases.
- Users can create linked presentations that automatically update with the latest data from Access databases, ensuring that presentations are always current and accurate.
Advanced Integration Techniques:
- Automating Workflows with VBA:
- Visual Basic for Applications (VBA) is a powerful programming language that allows users to automate repetitive tasks and customize functionality in MS Access and other Office applications.
- Users can use VBA to create macros, custom functions, and event-driven scripts that enhance the integration between Access and other Office applications, enabling advanced automation and customization.
- Web Integration with SharePoint:
- MS Access can be integrated with SharePoint, Microsoft’s collaborative platform, to enable web-based access to Access databases and data-driven applications.
- Users can publish Access databases to SharePoint and create web forms, views, and workflows that enable collaboration and data sharing across teams and organizations.
- Cloud Integration with Office 365:
- Office 365, Microsoft’s cloud-based productivity suite, offers seamless integration with MS Access, allowing users to access and manage databases from anywhere, on any device.
- Users can store Access databases in OneDrive or SharePoint Online and collaborate with colleagues in real-time, leveraging the power of the cloud to enhance productivity and efficiency.
Best Practices for Integration:
- Plan Ahead: Before integrating MS Access with other Office applications, take the time to plan your integration strategy and identify the specific tasks and workflows that can benefit from integration.
- Use Standard Data Formats: When importing or exporting data between Access and other Office applications, use standard data formats such as CSV, Excel, or XML to ensure compatibility and minimize data loss or corruption.
- Test and Validate: Always test your integration solutions thoroughly before deploying them in a production environment. Verify that data is imported and exported correctly, and that automated processes function as expected.
- Document Your Integration: Document your integration solutions, including data mappings, automation workflows, and custom scripts, to facilitate troubleshooting and future maintenance.
Conclusion:
In conclusion, MS Access integration with Microsoft Office offers a wide range of opportunities for enhancing productivity, streamlining workflows, and unlocking the full potential of your database management tasks. Whether you’re importing data from Excel, generating reports in Word, automating email notifications in Outlook, or creating dynamic presentations in PowerPoint, MS Access integration provides a powerful toolkit for achieving your goals more efficiently. By understanding the key integration features, mastering advanced techniques, and following best practices for integration, you can leverage the full power of MS Access and Microsoft Office to drive success in your organization. So, embrace the possibilities of integration, explore new opportunities for collaboration and automation, and take your database management to the next level with MS Access and Microsoft Office.