Introduction:
AutoCAD, a cornerstone in the realm of computer-aided design (CAD), offers a myriad of tools and features to empower architects, engineers, and designers in their creative endeavors. The mouse wheel, a fundamental input device, plays a crucial role in navigating and zooming within the drawing space. This extensive article delves into the intricacies of changing the mouse wheel speed in AutoCAD, exploring its functionalities, applications, and the transformative impact it has on achieving precision and control in the design process.
Understanding Mouse Wheel Speed in AutoCAD:
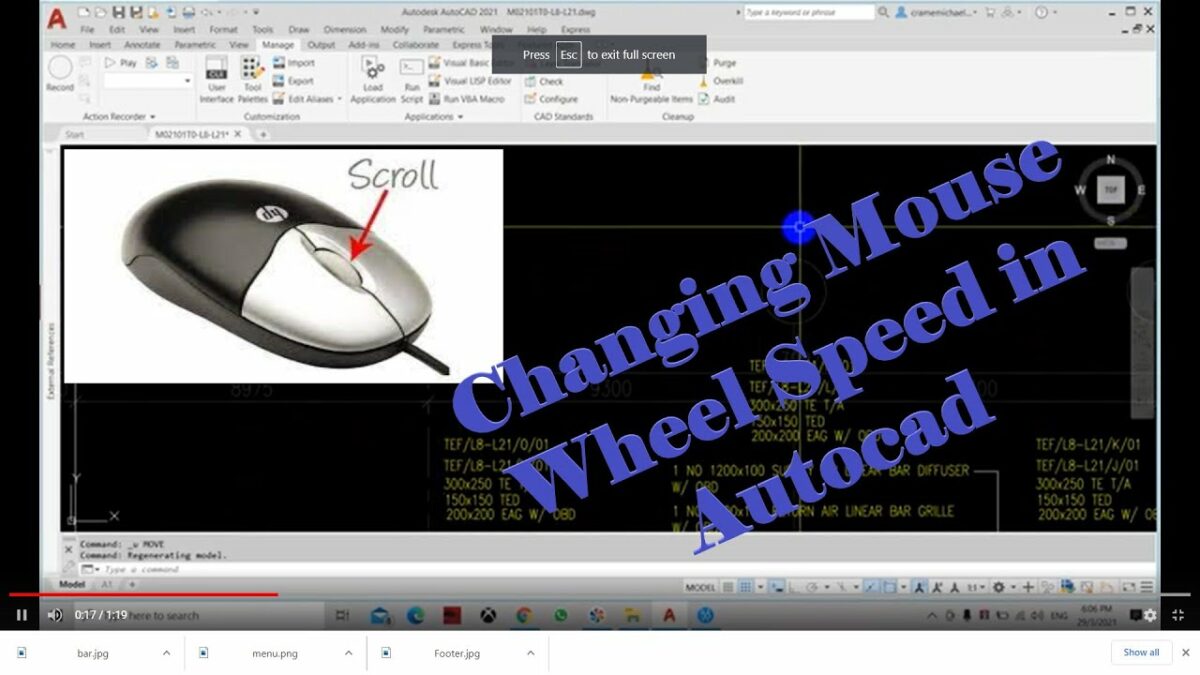
The mouse wheel in AutoCAD serves as a versatile tool for zooming and panning within the drawing area. Changing the mouse wheel speed allows users to adjust the sensitivity of the wheel’s scrolling action, providing a customized experience tailored to individual preferences. This feature is particularly beneficial for designers who seek fine control over zoom levels and a responsive navigation experience.
Key Features and Functionalities:
- Customizable Scrolling Sensitivity:
- The primary function of changing the mouse wheel speed is to customize the scrolling sensitivity of the mouse wheel in AutoCAD.
- Designers can adjust the speed to their liking, ensuring that zooming actions align with their preferred level of precision.
- Enhanced Navigation Control:
- By fine-tuning the mouse wheel speed, users gain enhanced control over navigation within the drawing space.
- This level of control is especially valuable when working on intricate details or when precise adjustments are required.
- Adaptable to Project Requirements:
- Design projects vary in scale and complexity, and the ability to change mouse wheel speed allows designers to adapt navigation to the specific requirements of each project.
- Whether working on large-scale architectural plans or detailed mechanical drawings, adaptable mouse wheel speed is essential.
- User-Friendly Customization:
- AutoCAD’s customization options, including mouse wheel speed adjustment, contribute to a user-friendly interface.
- Designers can tailor their AutoCAD experience to align with their working preferences, promoting a seamless and efficient workflow.
Applications of Changing Mouse Wheel Speed in AutoCAD:
- Precision Drafting in Detailed Drawings:
- When working on detailed drawings that require precision, adjusting the mouse wheel speed enables designers to navigate smoothly and make fine adjustments.
- This is crucial for ensuring accuracy in intricate designs and preventing unintentional zooming or panning.
- Efficient Review of Large-Scale Projects:
- In projects with extensive drawings or complex layouts, designers can increase the mouse wheel speed for swift navigation.
- Efficient navigation is essential for reviewing large-scale projects, allowing designers to move seamlessly through different sections of the drawing.
- Collaborative Work Environments:
- Collaborative design environments may involve multiple team members working on a single project.
- Customizable mouse wheel speed ensures that each team member can tailor their navigation experience, contributing to a collaborative and adaptable workspace.
- Quick Adaptation to Different Design Phases:
- Design projects often progress through various phases, from conceptual sketches to detailed construction drawings.
- The ability to change mouse wheel speed allows designers to quickly adapt their navigation preferences to the demands of each design phase.
Optimizing Workflow with Changed Mouse Wheel Speed:
- Accessing the “OPTIONS” Command:
- The “OPTIONS” command in AutoCAD provides access to a plethora of customization settings, including mouse wheel speed.
- Designers can access this command to fine-tune their mouse wheel preferences.
- Navigating the “USER PREFERENCES” Tab:
- Within the “OPTIONS” dialog box, designers can navigate to the “User Preferences” tab to find the settings related to mouse wheel customization.
- Familiarizing oneself with this tab is essential for comprehensive customization.
- Experimenting with Different Speed Settings:
- Designers should experiment with different mouse wheel speed settings to find the optimal balance between responsiveness and control.
- Testing various settings ensures a personalized experience that aligns with individual preferences.
- Applying Dynamic Input:
- Enabling Dynamic Input in AutoCAD enhances the mouse wheel experience by providing real-time feedback on zoom levels and distances.
- Designers should explore the benefits of Dynamic Input in conjunction with customized mouse wheel speed for an interactive navigation experience.
Conclusion:
In conclusion, changing the mouse wheel speed in AutoCAD is a fundamental customization feature that significantly impacts the precision and control designers have over their navigation experience. Whether working on detailed drawings, reviewing large-scale projects, collaborating with team members, or adapting to different design phases, the ability to tailor the mouse wheel speed contributes to a more efficient and user-friendly AutoCAD environment. As AutoCAD continues to evolve, the emphasis on customization features like mouse wheel speed adjustment reflects the software’s commitment to providing users with tools that transcend traditional drafting boundaries. Embrace the power of changed mouse wheel speed, and witness the transformation of your AutoCAD experience into a journey of precision, control, and seamless exploration within the vast landscape of CAD design.