Introduction:
CorelDRAW, a versatile graphic design software, empowers designers to create precise and intricate compositions. Among its myriad features, the snapping functionality plays a pivotal role in facilitating accurate design alignment. This comprehensive guide aims to delve into the nuances of turning snapping on or off in CorelDRAW, catering to both beginners seeking foundational knowledge and experienced designers looking to fine-tune their precision techniques.
I. Unveiling the Power of Snapping:
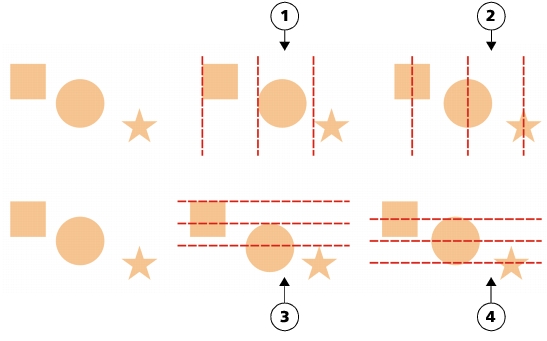
- Defining Snapping in CorelDRAW: Snapping is a feature that aids designers in aligning and positioning objects with precision. It allows objects to snap to specific points, such as gridlines, guides, object edges, or anchor points, ensuring accuracy and consistency in design layouts.
- Significance of Snapping: The snapping feature is invaluable in achieving precise design alignment. Whether working with intricate illustrations, technical drawings, or layout compositions, snapping enhances efficiency and ensures that design elements align seamlessly.
II. Basic Techniques for Turning Snapping On or Off:
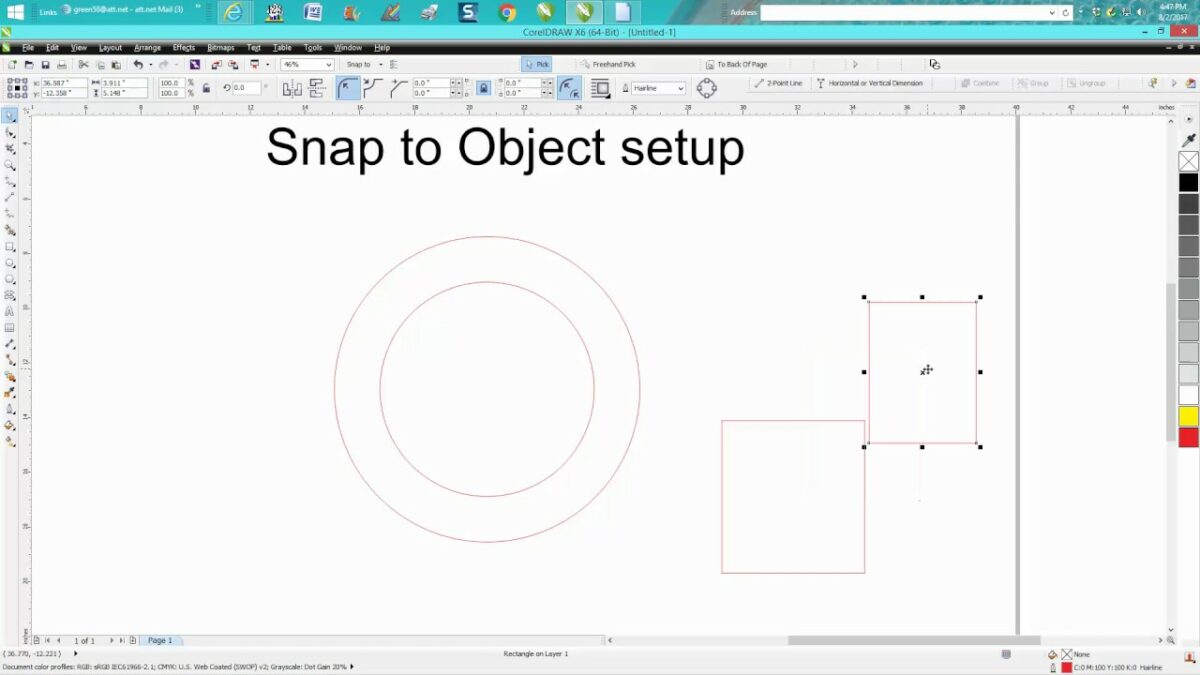
- Accessing the Snapping Options: CorelDRAW provides a dedicated Snap to Objects toolbar, allowing users to easily toggle snapping options on or off. Alternatively, navigate to the “View” menu, select “Snap To,” and choose from a variety of snapping options.
- Activating Snapping: To turn snapping on, select the desired snapping options from the Snap to Objects toolbar or the “View” menu. Common snapping options include Snap to Grid, Snap to Guidelines, Snap to Objects, and more.
- Deactivating Snapping: If snapping is hindering the design process, toggle it off by deselecting the snapping options from the Snap to Objects toolbar or the “View” menu. This allows for freeform movement and placement of objects without adherence to snapping guidelines.
III. Advanced Snapping Techniques:
- Customizing Snapping Options: CorelDRAW offers extensive customization for snapping preferences. Access the Snap to Objects docker to fine-tune snapping settings, adjusting parameters such as sensitivity, snap distance, and object types.
- Snapping to Specific Object Features: Explore advanced snapping options that allow objects to snap to specific features, such as object centers, intersections, or anchor points. This level of granularity enables designers to achieve pinpoint accuracy in object placement.
IV. Turning Snapping On or Off Using Keyboard Shortcuts:
- Shortcut for Toggling Snapping: Familiarize yourself with keyboard shortcuts for toggling snapping on or off. For example, pressing the “N” key on the keyboard can quickly activate or deactivate snapping, providing a swift workflow enhancement.
- Customizing Keyboard Shortcuts: CorelDRAW allows users to customize keyboard shortcuts to suit their preferences. Designers can assign specific keys to enable or disable snapping, streamlining their workflow based on individual preferences.
V. Troubleshooting and Best Practices:
- Handling Unintended Snapping: If snapping interferes with specific design tasks, review the snapping options and ensure that only the necessary snapping features are activated. Adjust the snap distance or sensitivity as needed to avoid unintentional snapping.
- Utilizing Snapping with Precision Tools: Combine snapping with precision tools such as the ruler, guidelines, and object coordinates for an even higher level of accuracy. This approach ensures that designs adhere to specific measurements and alignment guidelines.
VI. Collaboration and Snapping:
- Communicating Snapping Preferences: When collaborating on design projects, communicate snapping preferences with team members. Ensure that everyone is aware of the snapping options in use to maintain consistency and streamline collaborative efforts.
- Version Compatibility: Be mindful of version compatibility when sharing designs. Different versions of CorelDRAW may have variations in snapping features, potentially affecting the alignment and positioning of design elements.
VII. Documenting Design Processes:
- Creating Snapping Guides: Document the process of turning snapping on or off for educational or collaborative purposes. Tutorials, design process documents, or annotations within the design file can guide team members or serve as future references.
- Maintaining Consistency in Design Workflows: Adhere to a standardized approach when using snapping, ensuring that consistent snapping options, sensitivities, and preferences are maintained across the entire project.
Conclusion:
In conclusion, the ability to turn snapping on or off in CorelDRAW is a fundamental skill that significantly contributes to the precision and efficiency of graphic design workflows. By understanding and implementing the techniques outlined in this guide, designers can navigate the intricate balance between precision and flexibility. Embrace the power of snapping, and let your designs flourish with accuracy and efficiency in the dynamic world of graphic design.