Techniques for the Effective Use of Cloud Backup Services
Why Cloud Backups Are Necessary
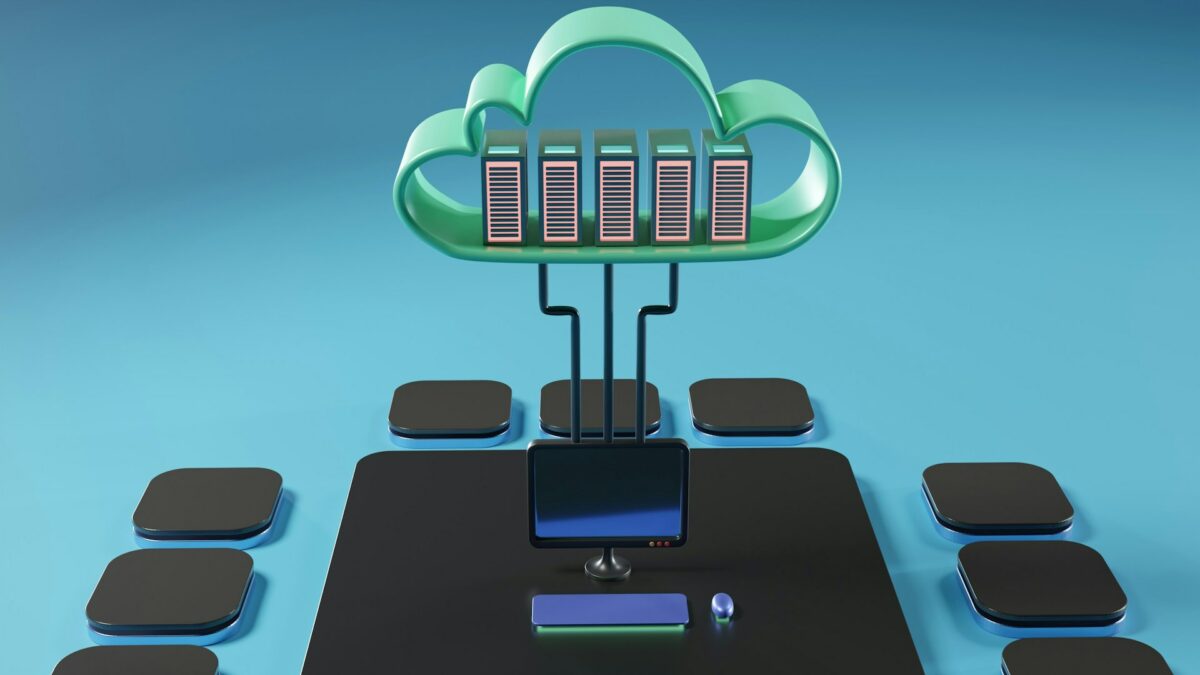
A variety of factors, including hardware failure, unintentional deletion, infection, or theft, may result in data loss at any point in time. An offsite alternative is offered by cloud backup services, which securely store your information on servers that are located in a different place. This guarantees that, no matter what occurs with your local devices, you will be able to retrieve critical information in a timely manner. For all types of users, including professionals, home users, and enterprises, making efficient use of cloud backups will be of the utmost importance in 2025.
Make Sure You Select the Appropriate Cloud Backup Service
It is important to consider your demands while choosing the appropriate provider:
- Storage Capacity: Make an assessment of the quantity of space you want for papers, photographs, movies, and other data.
- When it comes to security, you should seek for end-to-end encryption as well as secure authentication procedures.
- Compatibility: Make sure that the service is functional on all of your devices, whether they are running Windows, macOS, iOS, or Android.
- Functionalities: Possibilities for sharing files, automatic backups, version history, and selective backups
- Personal cloud storage, specialized backup platforms, and business-focused solutions are some of the most popular kinds of services.
- Before you begin the process of backing up your files, you should make sure that they are properly organized.
Prior to uploading to the cloud:
- Clean up and declutter files by removing duplicates and objects that are not essential.
- Employ a folder system that is arranged in a hierarchical manner: Sort your files into several categories like Work, Personal, Media, and Finance, among others.
- Maintain consistency when renaming files. Files are simpler to identify at a later time if they have descriptive names.
- Both the effectiveness of backups and the speed of retrieval are improved when file systems are neatly structured.
Turn on automatic backups.
The risk of human mistake is reduced when backups are performed automatically, and this method also guarantees that your data is constantly protected:
Depending on how often the computer is used, backups should be scheduled on a daily or weekly basis.
In order to maximize storage and performance, you should only choose those folders that contain data that are essential or that are updated on a regular basis.
In order to prevent any disruptions, make sure that all devices stay connected to Wi-Fi while scheduled backups are being carried out.
The majority of cloud services provide incremental backups, which means that instead of uploading the whole disk every time, just the files that have been modified are uploaded.
Make Use of File History and Versioning
When you unintentionally delete or rewrite files, file versioning gives you the ability to recover prior versions of those files.
In your backup options, activate the version history feature.
Make sure you have a good understanding of how long versions are saved; although some providers provide longer retention, others only preserve earlier versions for 30 days.
This is especially beneficial in the case of collaborative projects and papers that are updated on a regular basis.
Make Security and Access Control the Top Priorities
Only when you safeguard access to the data in the cloud can you be sure that it is secure.
When it comes to your cloud accounts, be sure that you choose passwords that are not only strong but also unique.
In order to safeguard against illegal access, make sure that two-factor authentication (2FA) is enabled.
For an additional layer of security, encrypt files containing very sensitive information before you submit them.
In order to avoid breaches or the unintentional disclosure of private information, security need to be given the highest importance.
Make sure to test your backups on a regular basis.
A backup is only beneficial if it can be restored with confidence.
- Make sure that the files are not corrupted by doing test restorations on a regular basis.
- Following the restoration, it is important to verify the completeness and integrity of the file.
- If you see that files are missing or damaged, you should modify the backup settings accordingly.
- You may be more certain that your information is really safe when you do tests.
Make the Most of Storage and Expenses
If you are keeping a huge quantity of data, the cost of cloud backups may become rather substantial:
- Remove any files that you no longer need from the cloud storage service.
- When it comes to backups, it is better to use selected backups rather than backing up every single item.
- In order to save space, you should compress huge files or media before uploading them.
- The preservation of vital data security is possible without incurring excessive expenditures if storage management is conducted in an efficient manner.
Merge Cloud and Local Backups
When it comes to maximum protection, you may want to think about using a hybrid approach:
- As a kind of local backup, save all of your most important information on either a network-attached storage (NAS) device or an external hard drive.
- For both remote access and offshore redundancy, make use of cloud backups.
- This technique provides protection against device failure, inadvertent deletion, and even natural calamities.
Keep Yourself Informed about New Features
Cloud services are in a constant state of evolution:
- Discover innovative features, like as ransomware detection, automated picture tagging, or file organizing that is driven by artificial intelligence.
- For your convenience, you may take advantage of offline access and cross-platform syncing.
- You can be certain that you are taking use of all of the resources that are available to you for efficient backups by regularly checking for service updates.
Effectively using cloud backup services entails more than just sending information to the cloud. It entails choosing the appropriate provider, organizing your data, automating backups, ensuring that access is secure, and doing frequent testing of restorations. In 2025, in order to guarantee that your digital life continues to be secure, accessible, and well-managed, you should combine local storage with cloud backups and keep up with the latest technologies.