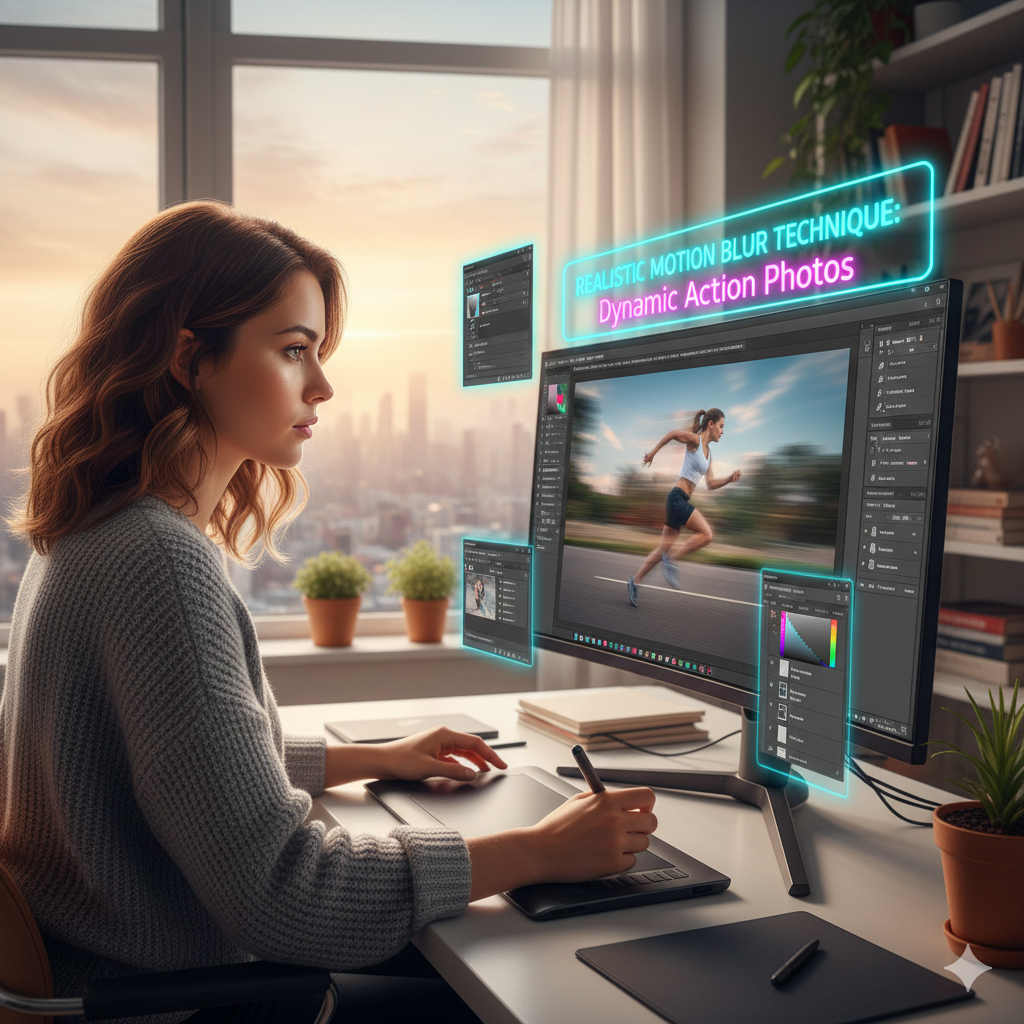
Categories
How To Guides Microsoft Office

Mastering the TRANSPOSE Function in Excel: A Comprehensive Guide

The TRANSPOSE function in Excel is a powerful tool that allows users to transpose rows and columns in a worksheet, essentially flipping the orientation of data. This function is particularly useful for reorganizing data to better suit analysis, reporting, or visualization needs. In this comprehensive guide, we will explore everything you need to know about using the TRANSPOSE function in Excel, from basic syntax to advanced techniques and real-world applications.

Table of Contents

  1. Introduction
  2. Benefits of Using the TRANSPOSE Function
  3. Basic Syntax and Usage
  4. Practical Examples
    • Transposing Rows and Columns
    • Transposing Data from Different Worksheets
    • Using TRANSPOSE with Dynamic Arrays
  5. Advanced Techniques
    • Creating Dynamic Transpositions
    • Combining TRANSPOSE with Other Functions
    • Transposing Non-Rectangular Ranges
  6. Handling Errors
    • Common Errors and Troubleshooting
    • Ensuring Data Integrity
  7. Tips and Tricks
    • Using TRANSPOSE for Data Analysis
    • Automating Transpositions with Macros
    • Working with Large Data Sets
  8. Real-World Applications
    • Financial Modeling
    • Data Visualization
    • Reporting
  9. Best Practices
    • Documenting Transpositions
    • Testing Transposed Data
    • Regularly Reviewing Transposed Data
  10. Conclusion

1. Introduction

The TRANSPOSE function in Excel provides a simple yet powerful way to reorganize data by flipping rows and columns. This functionality can be immensely valuable for various tasks, such as restructuring data for analysis, creating summary reports, or preparing data for visualization.

2. Benefits of Using the TRANSPOSE Function

  • Data Reorganization: Quickly restructure data to better fit analysis or reporting requirements.
  • Data Presentation: Easily switch between row-based and column-based layouts for improved data presentation.
  • Efficiency: Save time and effort by automating the process of transposing data with a simple formula.
  • Flexibility: Transpose data across different worksheets or workbooks, or within the same worksheet.

3. Basic Syntax and Usage

The basic syntax of the TRANSPOSE function is straightforward:

excel

=TRANSPOSE(array)
  • array: The range of cells containing the data to be transposed.

4. Practical Examples

Transposing Rows and Columns

To transpose data from rows to columns or vice versa, simply use the TRANSPOSE function with the desired range of cells:

excel

=TRANSPOSE(A1:D5)

Transposing Data from Different Worksheets

To transpose data from a different worksheet, reference the range using the appropriate worksheet name:

excel

=TRANSPOSE(Sheet2!A1:D5)

Using TRANSPOSE with Dynamic Arrays

For users of Excel 365 or Excel 2019, you can use TRANSPOSE with dynamic arrays to automatically resize the transposed range:

excel

=TRANSPOSE(FILTER(A1:D10, A1:A10<>0))

5. Advanced Techniques

Creating Dynamic Transpositions

Combine TRANSPOSE with other functions to create dynamic transpositions based on certain criteria or conditions:

excel

=TRANSPOSE(IF(A1:A10="Category A", B1:D10, ""))

Combining TRANSPOSE with Other Functions

Utilize TRANSPOSE alongside other functions to perform more complex data transformations:

excel

=TRANSPOSE(SPLIT(TEXTJOIN(",",TRUE,A1:A10)," "))

Transposing Non-Rectangular Ranges

Although TRANSPOSE typically works with rectangular ranges, you can transpose non-rectangular ranges by using array formulas:

excel

=TRANSPOSE(CHOOSE({1,2}, A1:A5, B1:B4))

6. Handling Errors

Common Errors and Troubleshooting

  • #VALUE! Error: This error occurs if the array argument in TRANSPOSE is not a valid range of cells.
  • #N/A Error: This error occurs if the resulting transposed array is too large to fit into the worksheet.

Ensuring Data Integrity

Regularly review and validate transposed data to ensure that the transformation process has been performed accurately and no data has been lost or distorted.

7. Tips and Tricks

Using TRANSPOSE for Data Analysis

Transpose data to analyze it from different perspectives, uncover patterns, or compare trends across different time periods or categories.

Automating Transpositions with Macros

For repetitive transposition tasks, consider creating a macro to automate the process and save time.

Working with Large Data Sets

When working with large data sets, be mindful of potential performance issues, especially if the resulting transposed array is extensive.

8. Real-World Applications

Financial Modeling

Transpose financial data to create summary reports, compare performance metrics, or analyze trends over time.

Data Visualization

Transpose data to prepare it for visualization in charts, graphs, or dashboards, allowing for more effective communication of insights.

Reporting

Transpose data to create structured reports or presentations that present information in a clear and concise manner.

9. Best Practices

Documenting Transpositions

Document the process and purpose of transpositions to provide context for other users who may be reviewing or using the data.

Testing Transposed Data

Regularly test transposed data against the original source to ensure accuracy and validity.

Regularly Reviewing Transposed Data

Periodically review transposed data to ensure that it remains relevant and up-to-date with any changes in the underlying data.

10. Conclusion

The TRANSPOSE function in Excel is a valuable tool for reorganizing data and gaining new insights from existing information. By mastering the basic syntax and exploring advanced techniques, users can leverage TRANSPOSE to streamline their data analysis and reporting processes, ultimately leading to more informed decision-making and better outcomes. Whether used for financial modeling, data visualization, or reporting, TRANSPOSE offers a flexible and efficient solution for reorganizing data in Excel. With its versatility and ease of use, the TRANSPOSE function empowers users to unlock the full potential of their data and derive actionable insights that drive business success.

Categories
How To Guides Microsoft Office

Mastering the INDIRECT Function in Excel: A Comprehensive Guide

The INDIRECT function in Excel is a powerful and versatile tool that allows users to create dynamic references to cells, ranges, or named ranges using text strings. This function can be particularly useful in scenarios where cell references need to be generated dynamically based on certain criteria or conditions. In this comprehensive guide, we will explore everything you need to know about using the INDIRECT function in Excel, from basic syntax to advanced techniques and real-world applications.

Table of Contents

  1. Introduction
  2. Benefits of Using the INDIRECT Function
  3. Basic Syntax and Usage
  4. Practical Examples
    • Using Cell References
    • Creating Dynamic Range References
    • Referencing Named Ranges
  5. Advanced Techniques
    • Using INDIRECT with Other Functions
    • Dynamic Worksheet References
    • Conditional Dynamic References
  6. Handling Errors
    • Common Errors and Troubleshooting
    • Ensuring Data Integrity
  7. Tips and Tricks
    • Using Text Manipulation Functions
    • Utilizing Named Ranges
    • Dynamic Charting
  8. Real-World Applications
    • Financial Modeling
    • Data Analysis
    • Reporting
  9. Best Practices
    • Documenting Formulas
    • Validating Indirect References
    • Regularly Testing Formulas
  10. Conclusion

1. Introduction

The INDIRECT function in Excel provides a way to indirectly reference cells, ranges, or named ranges based on text strings. This can be particularly useful when dealing with dynamic data or when the exact cell reference is not known in advance. By using the INDIRECT function, users can create flexible and dynamic formulas that adapt to changes in the underlying data.

2. Benefits of Using the INDIRECT Function

  • Dynamic References: Create references to cells or ranges dynamically based on text strings.
  • Versatility: Use INDIRECT to reference cells across different worksheets or workbooks.
  • Simplicity: Simplify complex formulas by dynamically generating cell references.
  • Automation: Automate repetitive tasks by using INDIRECT to create dynamic formulas.

3. Basic Syntax and Usage

The basic syntax of the INDIRECT function is as follows:

excel

=INDIRECT(ref_text, [a1])
  • ref_text: The text string that represents the cell reference, range reference, or named range.
  • a1: Optional. A logical value that specifies the reference style. TRUE or omitted indicates A1 style reference, FALSE indicates R1C1 style reference.

4. Practical Examples

Using Cell References

To reference a cell dynamically based on a text string:

excel

=INDIRECT("A1")

Creating Dynamic Range References

To create a dynamic range reference based on a text string:

excel

=INDIRECT("A1:A10")

Referencing Named Ranges

To reference a named range dynamically:

excel

=INDIRECT("SalesData")

5. Advanced Techniques

Using INDIRECT with Other Functions

Combine INDIRECT with other functions to create more complex formulas. For example:

excel

=SUM(INDIRECT("A1:A10"))

Dynamic Worksheet References

To reference cells or ranges on different worksheets dynamically:

excel

=INDIRECT("'Sheet2'!A1")

Conditional Dynamic References

Create dynamic references based on conditions. For example:

excel

=IF(condition, INDIRECT("A1"), INDIRECT("B1"))

6. Handling Errors

Common Errors and Troubleshooting

  • #REF! Error: This error occurs if the specified reference is not valid.
  • #VALUE! Error: This error occurs if the ref_text argument is not a valid reference.
  • Circular Reference: Be cautious of circular references when using INDIRECT, as they can cause calculation errors.

Ensuring Data Integrity

Regularly review formulas containing INDIRECT to ensure that references remain valid, especially if the structure of the worksheet changes.

7. Tips and Tricks

Using Text Manipulation Functions

Combine INDIRECT with text manipulation functions like CONCATENATE or TEXT to create dynamic references programmatically.

Utilizing Named Ranges

Use named ranges in conjunction with INDIRECT to create more readable and maintainable formulas.

Dynamic Charting

Create dynamic charts that update automatically based on user-selected criteria using INDIRECT to reference data ranges.

8. Real-World Applications

Financial Modeling

Use INDIRECT to dynamically reference financial data across different worksheets or workbooks in financial models.

Data Analysis

Create dynamic formulas that reference data based on user input, allowing for interactive data analysis.

Reporting

Build dynamic reports that update automatically based on changes to underlying data using INDIRECT to reference data ranges.

9. Best Practices

Documenting Formulas

Document formulas containing INDIRECT to provide context and aid understanding for other users.

Validating Indirect References

Regularly validate indirect references to ensure that they remain accurate and up-to-date as the structure of the worksheet changes.

Regularly Testing Formulas

Regularly test formulas containing INDIRECT to ensure that they produce the expected results under various conditions.

10. Conclusion

The INDIRECT function in Excel is a powerful tool for creating dynamic references to cells, ranges, or named ranges based on text strings. By mastering the basic syntax and exploring advanced techniques, users can leverage the flexibility of INDIRECT to create more versatile and efficient formulas. Whether used for financial modeling, data analysis, or reporting, INDIRECT provides a way to create dynamic and adaptable solutions that can meet a wide range of needs.

By incorporating INDIRECT into their Excel workflows and following best practices for formula documentation, validation, and testing, users can ensure the accuracy and reliability of their spreadsheets. With its versatility and flexibility, the INDIRECT function opens up new possibilities for creating dynamic and interactive Excel applications that can enhance productivity and streamline workflows.

Categories
How To Guides Microsoft Office

Mastering Named Ranges in Excel: A Comprehensive Guide

Named ranges in Excel provide a powerful way to organize and manage data by assigning descriptive names to specific ranges of cells. This allows users to refer to these ranges by name rather than by cell references, making formulas easier to read, understand, and maintain. In this comprehensive guide, we’ll explore everything you need to know about creating and using named ranges in Excel, from basic concepts to advanced techniques and real-world applications.

Table of Contents

  1. Introduction
  2. Benefits of Using Named Ranges
  3. Creating Named Ranges
  4. Practical Examples
    • Single Cell Named Ranges
    • Contiguous Range Named Ranges
    • Non-Contiguous Range Named Ranges
  5. Advanced Techniques
    • Using Named Ranges in Formulas
    • Dynamic Named Ranges
    • Scope and Visibility of Named Ranges
  6. Managing Named Ranges
    • Editing Named Ranges
    • Deleting Named Ranges
    • Organizing Named Ranges
  7. Handling Errors
    • Common Errors and Troubleshooting
    • Ensuring Data Integrity
  8. Tips and Tricks
    • Using Named Ranges with Tables
    • Creating Named Constants
    • Naming Conventions
  9. Real-World Applications
    • Financial Modeling
    • Data Analysis
    • Reporting
  10. Best Practices
    • Choosing Descriptive Names
    • Documenting Named Ranges
    • Regularly Reviewing Named Ranges
  11. Conclusion

1. Introduction

Named ranges in Excel allow users to assign meaningful names to specific ranges of cells, making it easier to reference and work with data in formulas, charts, and other features. By creating named ranges, users can improve the readability, maintainability, and efficiency of their Excel workbooks.

2. Benefits of Using Named Ranges

  • Readability: Named ranges make formulas and functions easier to read and understand by replacing cell references with descriptive names.
  • Ease of Use: Users can quickly reference named ranges in formulas, reducing the likelihood of errors and speeding up data entry.
  • Flexibility: Named ranges can be used in various Excel features, including charts, conditional formatting, and data validation, enhancing the versatility of Excel workbooks.
  • Data Integrity: By using named ranges, users can ensure that formulas and functions always reference the intended cells, even if the layout of the worksheet changes.

3. Creating Named Ranges

Creating named ranges in Excel is a straightforward process that can be done using the Name Box or the Define Name feature in the Formulas tab.

Using the Name Box:

  1. Select the range of cells you want to name.
  2. Click on the Name Box, located to the left of the formula bar.
  3. Type the desired name for the range and press Enter.

Using the Define Name Feature:

  1. Select the range of cells you want to name.
  2. Go to the Formulas tab and click on Define Name.
  3. Enter the desired name for the range in the Name field and click OK.

4. Practical Examples

Single Cell Named Ranges

To create a named range for a single cell:

  1. Select the cell.
  2. Enter a name for the range using either the Name Box or the Define Name feature.

Contiguous Range Named Ranges

To create a named range for a contiguous range of cells:

  1. Select the range of cells.
  2. Enter a name for the range using either the Name Box or the Define Name feature.

Non-Contiguous Range Named Ranges

To create a named range for a non-contiguous range of cells:

  1. Select the first range of cells.
  2. Hold down the Ctrl key and select additional ranges of cells.
  3. Enter a name for the range using either the Name Box or the Define Name feature.

5. Advanced Techniques

Using Named Ranges in Formulas

Once named ranges are created, they can be easily referenced in formulas by typing the name instead of the cell reference. For example, instead of typing “=A1+B1”, you can type “=Total” if “Total” is the name of the range containing cells A1 and B1.

Dynamic Named Ranges

Named ranges can be made dynamic by using formulas to define the range. For example, you can use the OFFSET or INDEX functions to define a named range that automatically adjusts its size based on the data in the worksheet.

Scope and Visibility of Named Ranges

Named ranges can have workbook-level or worksheet-level scope, meaning they can be accessed from any worksheet within the workbook or only from the worksheet on which they are defined. Understanding scope is important when working with multiple worksheets or workbooks.

6. Managing Named Ranges

Editing Named Ranges

To edit a named range, go to the Formulas tab, click on Name Manager, select the named range you want to edit, and click Edit. You can then modify the range reference or the name itself.

Deleting Named Ranges

To delete a named range, go to the Formulas tab, click on Name Manager, select the named range you want to delete, and click Delete.

Organizing Named Ranges

To organize named ranges, you can group them into categories or use prefixes/suffixes to indicate their purpose or location within the workbook.

7. Handling Errors

Common Errors and Troubleshooting

  • #NAME? Error: This error occurs if the name used in a formula does not match any defined named ranges.
  • #REF! Error: This error occurs if a named range refers to cells that have been deleted or are no longer valid.

Ensuring Data Integrity

To ensure data integrity when working with named ranges, regularly review and update named ranges as needed, especially if the layout of the worksheet changes.

8. Tips and Tricks

Using Named Ranges with Tables

Named ranges can be used with Excel tables to create dynamic formulas that automatically adjust as the table size changes.

Creating Named Constants

Named ranges can be used to define constants that are used repeatedly in formulas, making it easier to update values across multiple formulas.

Naming Conventions

Develop a consistent naming convention for named ranges to make them easier to identify and use. For example, use descriptive names that indicate the purpose or contents of the range.

9. Real-World Applications

Financial Modeling

Named ranges can be used to organize financial data and create dynamic financial models that automatically update as new data is entered.

Data Analysis

Named ranges can be used to define data sets for analysis, making it easier to perform calculations and create reports.

Reporting

Named ranges can be used to define ranges of cells for use in charts, pivot tables, and other reporting tools, making it easier to create dynamic reports that update automatically.

10. Best Practices

Choosing Descriptive Names

Use descriptive names for named ranges that accurately reflect the contents or purpose of the range.

Documenting Named Ranges

Document the purpose and usage of named ranges in a worksheet or workbook to provide guidance to other users.

Regularly Reviewing Named Ranges

Regularly review and update named ranges as needed to ensure they remain accurate and up-to-date.

11. Conclusion

Named ranges in Excel provide a powerful way to organize and manage data, making it easier to work with complex worksheets and perform calculations.