Introduction: Vocoders are powerful tools in music production that add unique textures, character, and sonic depth to vocals and instruments. FL Studio, with its versatile capabilities, offers a range of vocoder plugins and features that enable producers to experiment and create captivating vocal effects. In this comprehensive guide, we will explore everything you need to know about using vocoders in FL Studio, from understanding the basics to mastering advanced techniques, empowering you to unlock the full potential of this iconic effect in your music productions.
Chapter 1: Understanding Vocoders Before delving into FL Studio’s vocoder tools, it’s essential to understand the fundamental principles behind vocoders. Explore the concept of vocoders, including how they work, their history, and their role in music production. Learn about the components of vocoders, such as carrier and modulator signals, filter banks, and envelope followers, and how they interact to create robotic, synthesized vocal effects. Gain insights into the various applications of vocoders in different musical genres, from electronic and pop music to hip-hop and beyond. Understanding the basics of vocoders sets the stage for exploring their creative potential in FL Studio.
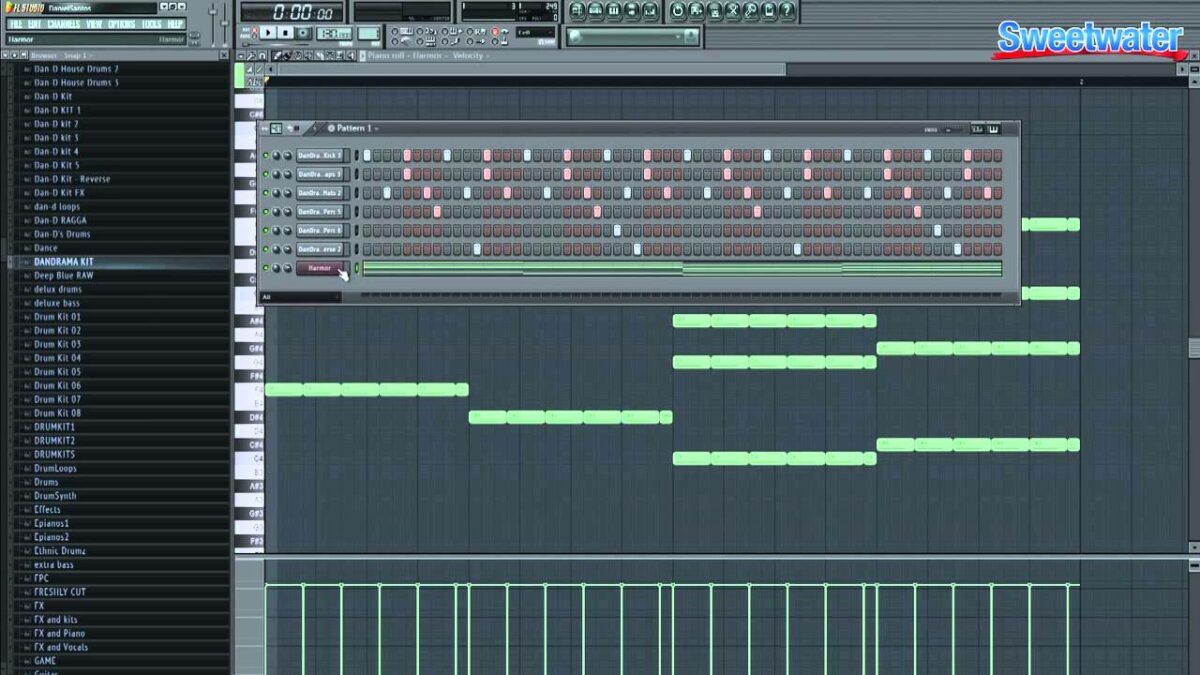
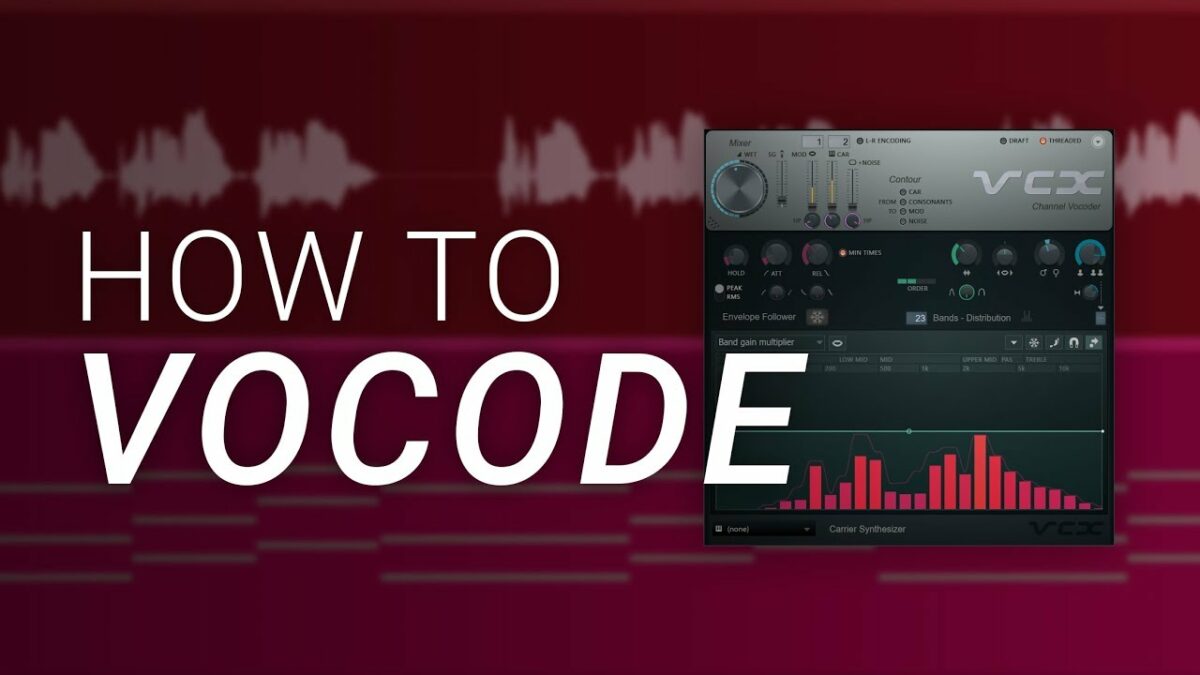
Chapter 2: Introducing FL Studio’s Vocoder Plugins FL Studio offers a variety of vocoder plugins that cater to different production needs and preferences. Explore FL Studio’s vocoder plugins, including Vocodex, Fruity Vocoder, and Vocovee, and learn about their features, capabilities, and sonic characteristics. Discover how to load and initialize vocoder plugins in FL Studio, route audio and MIDI signals to and from the vocoder, and configure settings such as carrier and modulator sources, filter parameters, and bandwidths. By familiarizing yourself with FL Studio’s vocoder plugins, you can choose the right tool for your creative vision and start experimenting with vocal effects in your music productions.
Chapter 3: Setting Up Vocoders in FL Studio Setting up vocoders in FL Studio involves configuring audio and MIDI routing, selecting carrier and modulator sources, and fine-tuning parameters to achieve the desired vocal effect. Learn techniques for setting up vocoders in FL Studio, including methods for routing audio signals from vocal recordings, synthesizers, or other instruments to the vocoder’s carrier input. Explore approaches for routing modulator signals, such as vocal recordings or MIDI data from a MIDI controller, to the vocoder’s modulator input. Discover how to adjust parameters such as bandwidth, formant shift, and filter settings to shape the timbre, tone, and texture of the vocoded vocals. By mastering the setup process, you can unleash the creative potential of vocoders in FL Studio and transform ordinary vocals into extraordinary sonic landscapes.
Chapter 4: Creating Basic Vocoder Effects Creating basic vocoder effects in FL Studio allows producers to add depth, character, and movement to vocals and instruments. Learn techniques for creating basic vocoder effects, including methods for blending carrier and modulator signals, adjusting filter parameters, and experimenting with formant shifts and bandwidths. Explore approaches for applying vocoder effects to different types of audio sources, such as vocal recordings, synthesizers, and drum loops, to create unique and dynamic textures. Discover how to use automation, MIDI control, and modulation sources to add movement and expression to vocoder effects over time. By mastering basic vocoder techniques, you can infuse your music productions with futuristic vocal effects that captivate listeners and elevate your sound.
Chapter 5: Experimenting with Advanced Vocoder Techniques Experimenting with advanced vocoder techniques in FL Studio allows producers to push the boundaries of creativity and explore new sonic territories. Learn techniques for experimenting with advanced vocoder techniques, including methods for layering multiple vocoder instances, processing vocoded vocals with additional effects and processing, and blending vocoded vocals with dry vocals for enhanced depth and richness. Explore approaches for using vocoders creatively in different musical contexts, such as creating vocal harmonies, synthesizing instrumental textures, and designing unique soundscapes. Discover how to incorporate vocoders into sound design, music production, and live performance setups to add depth, complexity, and expressiveness to your music. By mastering advanced vocoder techniques, you can unleash your creativity and achieve truly innovative and memorable vocal effects in FL Studio.
Chapter 6: Integrating Vocoders into Music Productions Integrating vocoders into music productions in FL Studio allows producers to enhance the overall sound and aesthetic of their tracks while adding a touch of creativity and personality. Learn techniques for integrating vocoders into music productions, including methods for using vocoders as standalone effects, layering vocoder effects with other processing and effects, and automating vocoder parameters to create dynamic changes and transitions. Explore approaches for using vocoders in different musical contexts, such as creating vocal hooks, adding texture to instrumental tracks, and designing unique sound effects and transitions. Discover how to use vocoders in combination with other FL Studio features, such as MIDI controllers, automation clips, and mixer routing, to achieve the desired sonic results. By mastering the integration of vocoders into music productions, you can elevate your tracks and create immersive and engaging listening experiences for your audience.
Chapter 7: Tips and Tricks for Vocoder Mastery To enhance your proficiency and creativity with vocoders in FL Studio, explore tips and tricks from experienced producers and sound designers. Learn techniques for optimizing vocoder settings, experimenting with different carrier and modulator sources, and layering vocoder effects with additional processing and effects to achieve unique and compelling results. Discover creative tips and tricks for using vocoders in sound design, music production, and live performance, such as blending vocoder effects with dry vocals, automating vocoder parameters, and experimenting with unconventional carrier and modulator sources. Explore workflow shortcuts and hidden features in FL Studio’s vocoder plugins that can streamline your creative process and enhance your productivity. By incorporating tips and tricks from seasoned producers, you can elevate your mastery of vocoders in FL Studio and achieve professional-quality results in your music productions.
Chapter 8: Real-World Applications and Examples To illustrate the practical applications of vocoders in music production, explore real-world examples and case studies of artists and producers using vocoders in their creative projects. Learn how vocoders are used in different musical genres and styles, from electronic and pop music to hip-hop, R&B, and beyond. Discover the workflows and techniques employed by professional artists and producers to create hit songs, chart-topping albums, and award-winning soundtracks using vocoders in FL Studio. Explore how vocoders can be combined with other effects and processing techniques, such as reverb, delay, and distortion, to create unique and compelling vocal effects and textures. By studying real-world examples and case studies, you can gain insights and inspiration for incorporating vocoders into your own music productions and achieving success in the music industry.
Chapter 9: Future Trends and Developments As technology continues to evolve, the future of vocoders in music production holds exciting possibilities for innovation and creativity. Explore future trends and developments in vocoders, including advancements in artificial intelligence, machine learning, and neural networks that may shape the future of vocal processing and synthesis. Learn about upcoming features and updates in FL Studio’s vocoder plugins, such as improved algorithms, enhanced user interfaces, and integration with emerging technologies. Discover how vocoders are being used in new and emerging musical contexts, such as virtual reality, augmented reality, and interactive installations, to create immersive and engaging sonic experiences. By staying informed about future trends and developments, you can anticipate changes and innovations in vocoders and position yourself at the forefront of music production and creativity.
Conclusion: Vocoders stand as powerful tools in music production, offering producers a wide range of creative possibilities for enhancing vocals and instruments in their tracks. By following the guidelines outlined in this comprehensive guide and dedicating yourself to continuous learning and experimentation, you can master the art of using vocoders in FL Studio and unlock new levels of creativity and expression in your music productions. Whether you’re creating futuristic vocal effects, designing unique soundscapes, or adding texture to instrumental tracks, vocoders provide the tools and resources you need to bring your musical ideas to life. With its versatile capabilities, intuitive interface, and endless creative possibilities, FL Studio stands as an indispensable tool for producers looking to achieve professional-quality results in their music productions.