Cleaning Up Scanned 35mm Film Negatives in Photoshop: A Guide to Removing Dust and Scratches
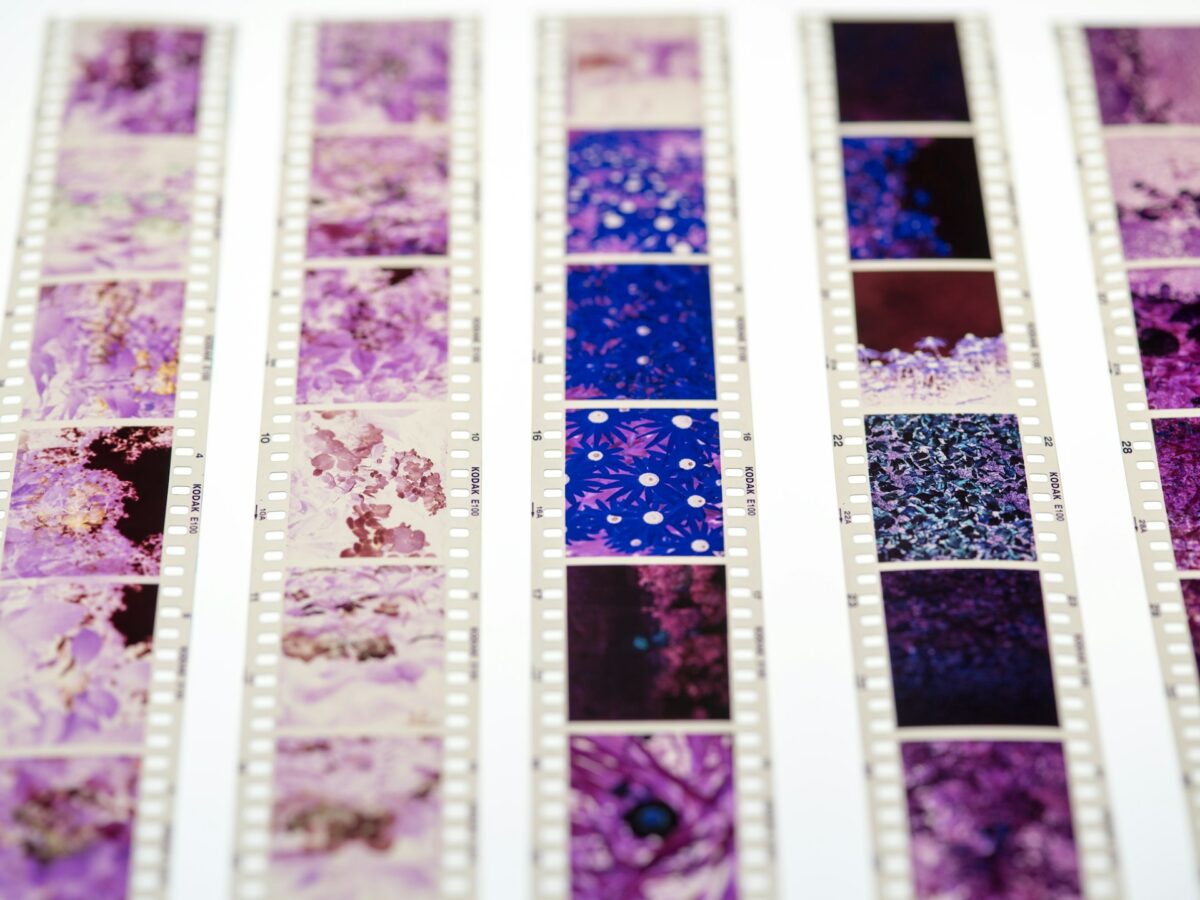
Digital photographs are not able to duplicate the amount of detail and organic texture that can be seen in 35mm film negatives that have been scanned. On the other hand, they are able to catch every single physical flaw that comes over in the picture itself. During the scanning process, dust particles, hair, fingerprints, and tiny scratches are incorporated into the image, and they often become more noticeable than they were on the negative that was first taken.
They are not random, in contrast to the digital noise that is present. In most cases, they align themselves with the film’s physical surface and remain constant from one frame to the next from the same roll. Since this is the case, cleaning is an essential step in any process that involves substantial film restoration, particularly if the picture is going to be printed or stored for preservation purposes.
Why Scratches and Dust Are So Common in the World
Negatives of film are particularly sensitive to the environment in which they are stored. Dust accumulates on them throughout the shooting process, as well as during developing, drying, scanning, and even storage. Scratches are often caused by poor handling, sleeves that have advanced in age, or low-quality scanners that come into direct touch with the film.
Due to the fact that scanners make use of powerful illumination, even undetectable particles get a high level of contrast. When scanned at a high resolution, something that seems to be clean to the human eye may suddenly appear to be extremely polluted. It is for this reason that post-processing is nearly always necessary, even when the film is preserved under special conditions.
Completing the Scan Preparation Prior to Retouching
Optimization of the scan itself should be performed before beginning any kind of cleaning. In order to do this, it is necessary to work with the greatest resolution that is possible and to make use of a file format that holds the most amount of information, such as TIFF or PSD of high quality.
When making first modifications, you should concentrate on accurately inverting the negative, adjusting the exposure appropriately, and achieving a balance in contrast. After the tonal range has been adequately defined, it is considerably simpler to identify dust and scratches on the surface. When working on a scan that is flat and low in contrast, it is more difficult to notice faults and easy to overlook them.
When Working with Layers in a Non-Destructive Manner
Whenever possible, professional retouching should be performed in a non-destructive manner. To do this, the background layer must be duplicated, and all cleaning operations must be carried out on separate levels.
The use of blank layers with the Sample All Layers setting enables you to eliminate dust and scratches without permanently affecting the scan that was initially being used. The ability to reverse modifications, compare versions from before and after, and prevent the base picture from deteriorating over time are all made possible by this situation.
Applying the Spot Healing Brush to Dust that is Very Fine
When it comes to eliminating microscopic dust particles, the Spot Healing Brush is the most efficient tool available. Following an analysis of the surrounding pixels, it intelligently fills in the region that has been picked.
The finest results may be achieved with this tool when it is used to isolate particles on flat surfaces such as walls, sky, or fuzzy backdrops. The use of a tiny brush size and precise application are both recommended in order to prevent the creation of texture patterns that are not natural. An excessive amount of application might result in areas that seem smeared or plastic-like, particularly in areas that are detailed, such as skin or foliage.
Using the Healing Brush to Remove Larger Defects from the Surface
The regular Healing Brush provides greater control, making it ideal for removing bigger dust traces and scratches that are visible. Additionally, it gives you the ability to explicitly specify the source region, as opposed to automatically sample it.
This is especially helpful for linear scratches, since it allows you to paint over the damaged area while sampling clean texture from neighboring areas instead of painting over the damaged area itself. Because it maintains the underlying tones and lighting, the Healing Brush is an excellent tool for restoring consistency without resultant copying artifacts that are readily apparent.
Using the Clone Stamp to Repair Extreme Stains and Scratches
Certain scratches are either too deep or too irregular for use with mending instruments. It is required to use the Clone Stamp in these circumstances.
The Clone Stamp is capable of making a straight copy of pixels from one region to each other. Even while it needs more talent, it gives you complete control over the quality of the texture and the details. It is essential to make use of a gentle brush, a low opacity, and to resample regularly in order to prevent patterns from being repeated. The optimal time to use this strategy is when dealing with intricate features such as faces, hair, or architectural characteristics.
High-end restoration via the use of frequency separation
For restoration work that is performed by professionals, frequency separation may be an exceptionally successful technique. By using this method, the picture is divided into two layers: one layer that contains texture, and another layer that contains color and tone.
The texture layer is often the only one that is affected by dust and scratches, which makes it simpler to remove them without affecting the colours overall. In situations when it is essential to maintain realism, such as when working with portraits or extremely detailed film scans, this makes it possible to do very accurate cleaning.
During the cleaning process, increasing the visibility of dust
A significant number of experts temporarily exaggerate flaws in order to attract more attention to them. Increasing the contrast, adding temporary curves, or making use of a high-pass filter are all viable options for accomplishing this goal.
You may lessen the likelihood of overlooking seemingly little defects by increasing the visibility of dust and scratches. Following the completion of the cleansing process, these temporary changes are stripped away, and the picture is restored to its original, natural state.
Keeping away from excessive retouching and losing texture
When it comes to film cleaning, one of the most significant dangers is excessive retouching. The grain on the film should not be removed since it is an integral aspect of the aesthetic.
It is possible to flatten the picture and erase its organic nature by using tools such as blur, noise reduction, or healing techniques in an aggressive manner. It is not the objective to make the picture seem to be digitally flawless; rather, the objective is to eliminate distractions while maintaining the realistic appearance of the film.
Verification of the final quality at 100% zoom
When reviewing the cleaning job, it is important to zoom in to 100%. In order to determine whether or not dust and scratches have been effectively removed without the introduction of artifacts, this is the only method that can be relied upon.
When you gently pan over the whole picture, you guarantee that there are no faults left behind. There is also the benefit of momentarily turning layers on and off in order to compare the versions that were created before and after. It is clear from this that the benefits are not fictitious but rather genuine.
Cleaning up film scans and exporting them for archiving
Following the completion of the cleansing process, the file need to be stored in a format of superior quality for the purposes of archiving. Every time, you should always save a master PSD or TIFF file, in addition to a distinct flattened version that may be used for printing or distributing.
This ensures that the original scan, the version that has been retouched, and any altering layers are preserved. This archive transforms into a digital negative for valuable film work, which means that it may be reviewed and improved upon in the future without compromising the quality of the work.
The Reasons Why Manual Cleaning Is Still Important for Film
In spite of the availability of sophisticated scanning software and automated dust removal instruments, hand cleaning continues to be the most dependable approach for producing high-quality items. Automated techniques often fail to detect even the most minute blemishes or inadvertently eliminate genuine picture information.
Through the use of manual retouching, you are able to determine what is a flaw and what is an inherent element of the photograph’s personality. The difference between amateur film scanning and professional film restoration is the amount of control that is involved in the former.