Microsoft Office: The Basics with Applications
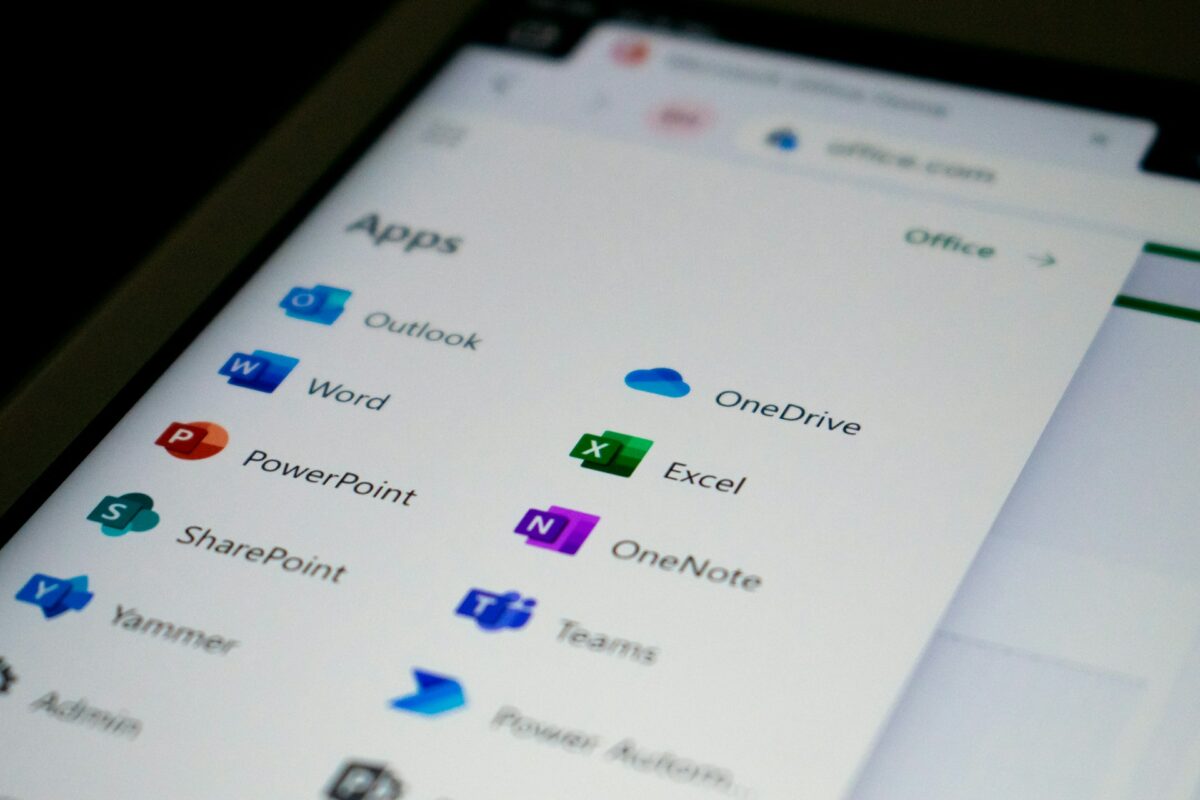
across the course of many decades, Microsoft Office has been the foundation of contemporary productivity, including in the businesses, schools, and homes of people all across the globe. In spite of the fact that new applications and tools are constantly being introduced, Office continues to be indispensable because it combines a well-known interface with more sophisticated functionality. How precisely does Microsoft Office consist of its primary apps, and how do these applications function together to assist individuals in the process of creating, communicating, and organizing their work? This article takes a more in-depth look at the fundamentals of Office as well as the practical applications that ensure its continued relevance in the year 2025.
When it comes to writing, editing, and more, Word
Word is the application that is at the core of Microsoft Office. It is a program that almost everyone who has ever written a document on a computer is familiar with. Word began as a straightforward word processor, but it has since evolved into a versatile application that can be used for a wide range of purposes, including official reporting, creative writing, and personal journaling. Users are able to write professional papers with the assistance of its editing and formatting capabilities, while the application’s built-in grammar recommendations and spellcheck save time and decrease the number of errors. Real-time collaboration is one of the features that Microsoft Word now incorporates, which allows many people to collaborate on the same document at the same time. This is useful for a variety of purposes, including school projects, team reports, and co-authoring articles.
Numbers, Data, and Analysis with Microsoft Excel
Excel is the tool that the majority of people think of immediately when you mention the subject of numbers and statistics. Users are able to arrange lists, monitor budgets, and analyze complicated information with the assistance of Excel, which is more than simply a digital grid. Because of its very sophisticated formulae and capabilities, it is possible to develop anything from a simple spending tracker for the family to intricate financial models that are used in the process of company planning. Adding visual clarity to raw data and transforming it into valuable insights is the purpose of charts and pivot tables. Excel has, throughout the course of its existence, included a variety of features, such as data validation and built-in analytics, that assist users of all skill levels in extracting greater value from their numerical data.
Putting Concepts into Action Through PowerPoint Observably,
When it comes to generating presentations, PowerPoint continues to be the program of choice. PowerPoint is an effective tool for transforming ideas into visual narratives, which may be useful for presenting a business proposal, instructing a class, or summarizing the results of research. Additionally, animations and transitions lend a touch of refinement to the design, while its design themes and templates save time. Additionally, the application is capable of supporting multimedia elements like as music and video, which makes it simple to generate material that is not limited to static slides. PowerPoint has, in recent years, incorporated accessibility features and design ideas that are driven by artificial intelligence. These additions have made it easier for anybody to create presentations that are professional looking and connect with audiences.
As well as Email and More, Outlook
Outlook is primarily known as an email client; however, it provides a great deal more than that. Outlook’s calendar helps you keep track of your appointments and deadlines, its task lists assist you in keeping track of your to-do list, and its contact management system ensures that you always have access to the information you need. Outlook helps users maintain their productivity by integrating email, calendar, and task management capabilities into a one interface, eliminating the need to switch between several applications. It is much simpler for teams to organize meetings and manage their hectic schedules when they use shared calendars and scheduling helpers from the same company.
In addition to Access and Publisher, Other Tools
Within Microsoft Office, in addition to the basic apps, there are tools that are specifically designed for particular tasks. It is possible for users to construct and administer databases with the assistance of Access, which may be beneficial for automating processes, organizing big lists, and monitoring goods. Because Publisher is primarily concerned with page layout and style, it makes it much easier to generate flyers, brochures, and newsletters without the need for more specialized graphic design applications. In addition, notes-taking applications like as OneNote and data visualization applications such as Visio are included in some Office subscriptions, which demonstrates how comprehensive the suite has evolved.
Integration of Cloud Computing and Collaboration
The term “Modern Office” refers to more than simply installed applications on your personal computer. Documents may be viewed and changed from any location, including a mobile phone, tablet, or laptop, as a result of our connectivity with cloud storage services such as OneDrive. Additionally, the process of collaboration has been less difficult: several users are now able to work together in real time, offer comments, and monitor changes. Whether you are working together on a project for school, a family budget, or a report for your employer, Office has been transformed from a product designed for a single user into a shared workplace as a result of this change.
When it comes to writing, analyzing, presenting, or planning, Microsoft Office is more than just a collection of tools; it is a platform that can be customized to meet the requirements of its users. Whether you are a student preparing an assignment, a freelancer handling invoicing, or a business professional generating strategy papers, Office provides tools that are both familiar and constantly growing to make day-to-day work simpler.