Importing and exporting DWG files in BricsCAD is crucial for interoperability and collaboration across different CAD platforms. DWG (Drawing) files are the native file format for Autodesk’s AutoCAD software and are widely used in the CAD industry for storing 2D and 3D design data. BricsCAD, being compatible with DWG files, allows users to seamlessly work with drawings created in other CAD applications and share their designs with colleagues and clients. This detailed guide will cover everything you need to know about importing and exporting DWG files in BricsCAD, including the process, best practices, file compatibility, and practical applications.
Table of Contents
- Introduction to DWG Files and BricsCAD
- Importing DWG Files into BricsCAD
- Exporting DWG Files from BricsCAD
- Compatibility and Interoperability
- Best Practices for Importing and Exporting DWG Files
- Applications of Importing and Exporting DWG Files
- Conclusion
1. Introduction to DWG Files and BricsCAD
DWG (Drawing) is a file format native to AutoCAD and is widely used for storing CAD drawings, models, and metadata. BricsCAD, developed by Bricsys (now part of Hexagon AB), is a powerful CAD software that provides full compatibility with DWG files. This compatibility ensures that users can seamlessly open, edit, and save DWG files in BricsCAD, making it a versatile choice for CAD professionals and designers.
2. Importing DWG Files into BricsCAD
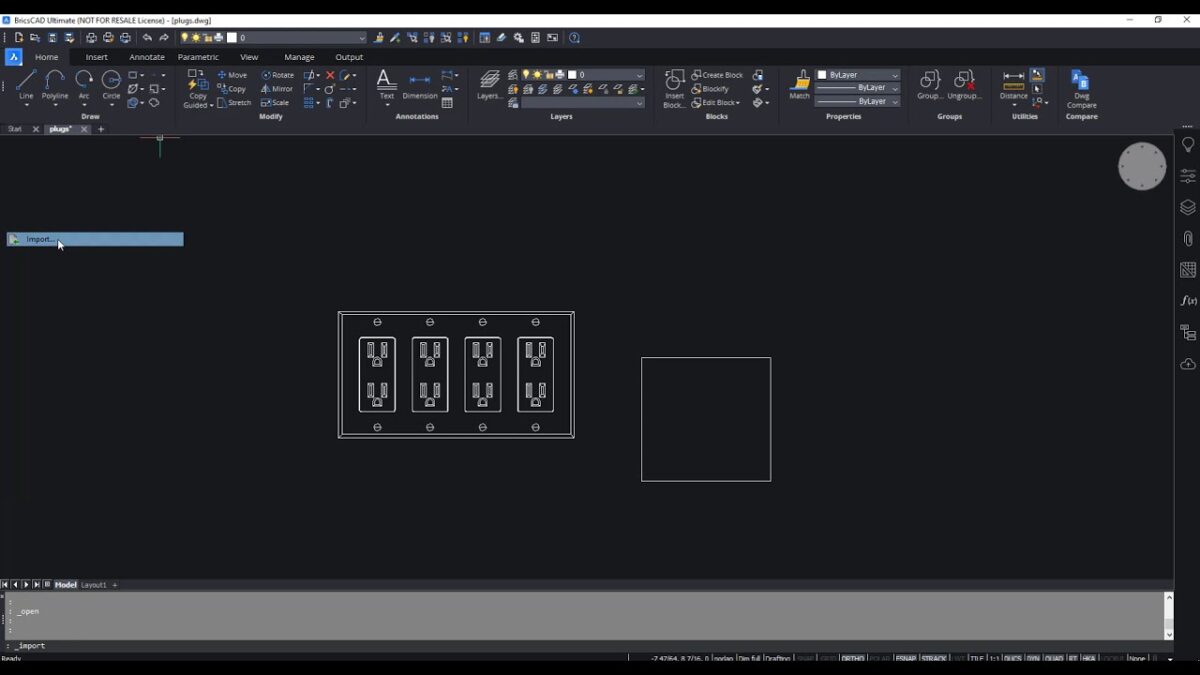
- Using the OPEN Command: Launch BricsCAD and use the
OPENcommand to browse and open DWG files directly. - Drag and Drop: Drag DWG files from Windows File Explorer and drop them into the BricsCAD drawing area to open.
- Inserting DWG Files as References (Xrefs): Use the
XREFcommand to attach DWG files as external references within the current drawing.
3. Exporting DWG Files from BricsCAD
- Using the SAVEAS Command: To export a drawing as a DWG file, use the
SAVEAScommand and select the DWG format. - Export Options: Specify export settings such as DWG version, file location, and compatibility options.
4. Compatibility and Interoperability
- DWG Versions: BricsCAD supports various DWG versions, ensuring compatibility with files created in different versions of AutoCAD.
- Drawing Integrity: Maintain drawing integrity and ensure that entities, layers, and properties are preserved during import and export processes.
5. Best Practices for Importing and Exporting DWG Files
- File Cleanup: Before importing, clean up unnecessary layers, blocks, and entities to streamline the drawing.
- Layer Management: Organize layers and maintain naming conventions to facilitate easier editing and navigation.
6. Applications of Importing and Exporting DWG Files
DWG import and export functionalities in BricsCAD are essential for:
- Collaboration: Sharing drawings with colleagues, clients, and consultants who use different CAD software.
- Data Exchange: Importing reference files (Xrefs) to integrate external designs into current projects.
- Legacy Data Conversion: Converting legacy DWG files into newer versions or different formats for compatibility and archiving.
7. Conclusion
Importing and exporting DWG files in BricsCAD facilitates seamless interoperability and enhances collaboration in CAD projects. By leveraging BricsCAD’s robust import and export functionalities, users can effectively work with DWG files created in AutoCAD and other CAD software, ensuring smooth data exchange and efficient workflow management. Whether you’re integrating external designs, sharing project updates, or archiving drawings, mastering the import and export processes in BricsCAD contributes to improved productivity, enhanced design communication, and successful project outcomes in various industries and disciplines. Continuous exploration of advanced features, adherence to best practices, and adoption of industry standards ensure that DWG file management in BricsCAD aligns with professional CAD workflows and supports innovative design practices.