Introduction: In the dynamic realm of social media, fostering a safe and respectful environment is paramount for the well-being of users and the integrity of the platform. Instagram, as one of the leading social media platforms, provides users with tools and resources to report accounts that engage in inappropriate behavior, violate community guidelines, or pose a threat to the safety and well-being of others. Reporting an account on Instagram is a proactive step towards upholding community standards, combating online abuse, and contributing to a positive online environment. In this comprehensive guide, we’ll delve into everything you need to know about reporting an account on Instagram, from understanding when to report to step-by-step instructions for filing a report, as well as tips for navigating the reporting process effectively and promoting a safer online community.
Understanding When to Report an Account on Instagram
Reporting an account on Instagram is a responsibility that should be exercised thoughtfully and in accordance with community guidelines. You may choose to report an account if:
- It engages in harassment, bullying, or hate speech directed towards individuals or groups based on factors such as race, ethnicity, gender, religion, or sexual orientation.
- It promotes violence, self-harm, or dangerous behavior that poses a risk to the safety or well-being of others.
- It engages in spamming, phishing, or other forms of fraudulent or deceptive behavior.
- It infringes on intellectual property rights, such as copyright or trademark violations.
- It impersonates someone else or violates Instagram’s terms of service in any other way.
Reporting an account on Instagram is an important mechanism for flagging inappropriate or harmful behavior and helping to maintain a positive and respectful online community.
How to Report an Account on Instagram
Reporting an account on Instagram is a straightforward process that can be done in a few simple steps:
- Open the Instagram App: Launch the Instagram app on your mobile device and log in to your account if you haven’t already done so.
- Navigate to the Account: Find the account you want to report. You can do this by searching for the username in the search bar or visiting the profile directly if you encounter their content in your feed or explore page.
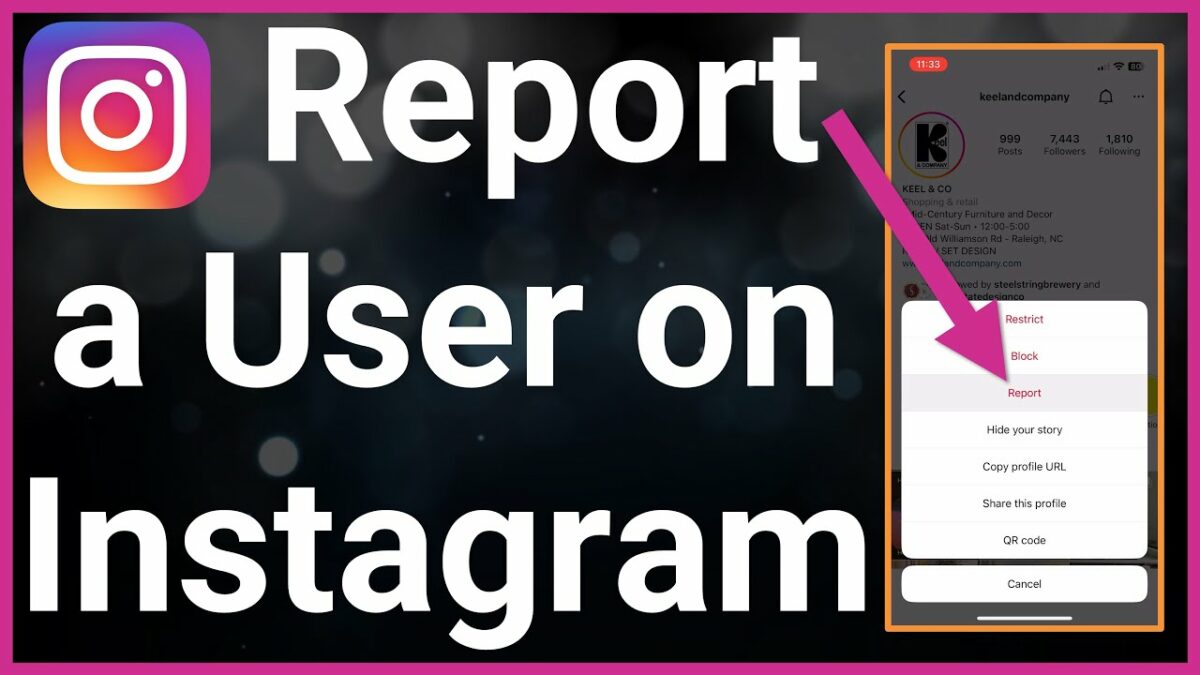
- Access the Options Menu: Tap on the three dots (ellipsis) in the top right corner of the account’s profile. This will open a menu of options for interacting with the account.
- Select “Report”: From the menu of options, tap on “Report.” Instagram will prompt you to select the reason for your report from a list of options.
- Choose a Reason: Select the reason that best describes why you’re reporting the account. Options may include “It’s spam,” “It’s inappropriate,” “It’s abusive or harmful,” or “It’s pretending to be someone else.”
- Provide Additional Details (Optional): If desired, you can provide additional information or context to support your report. This may include specific details about why the account violates community guidelines or poses a risk to users.
- Submit the Report: After selecting the reason for your report and providing any additional details, tap on “Submit Report” to file your report with Instagram.
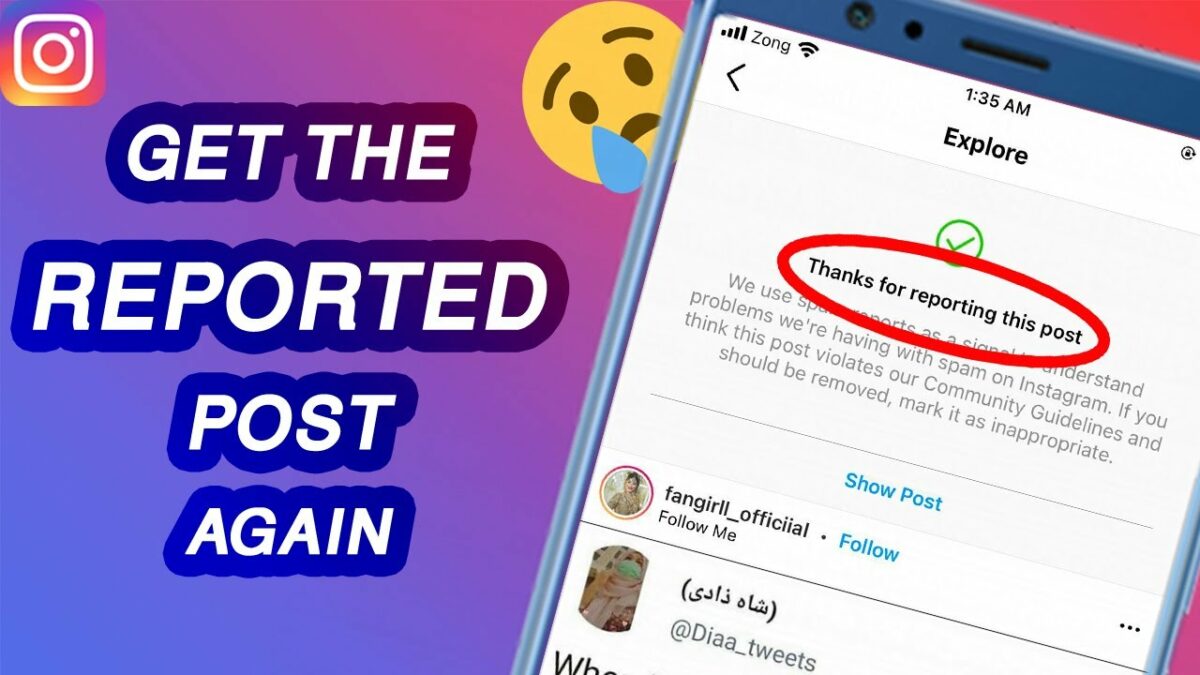
- Confirmation Message: Instagram will display a confirmation message indicating that your report has been submitted. You may also receive a follow-up notification if Instagram takes action based on your report.
Tips for Navigating the Reporting Process on Instagram
- Understand Community Guidelines: Familiarize yourself with Instagram’s community guidelines to ensure that your report aligns with platform standards and policies.
- Be Specific and Detailed: Provide specific details and examples to support your report, including screenshots or URLs if necessary. This will help Instagram moderators understand the nature of the violation and take appropriate action.
- Use the Right Reporting Option: Instagram offers different reporting options for various types of account violations, such as reporting for spam, harassment, or impersonation. Choose the reporting option that best matches the nature of the violation.
- Monitor Reporting Outcomes: After filing a report, monitor the outcome to see if Instagram takes action, such as removing the reported account or taking disciplinary action against the account owner.
- Continue to Report Unacceptable Behavior: Reporting inappropriate or harmful accounts on Instagram is an ongoing effort to maintain a safe and respectful online community. Don’t hesitate to report any accounts that violate community guidelines or pose a risk to users.
Conclusion
Reporting an account on Instagram is a proactive step towards upholding community standards, promoting safety, and fostering a positive online environment. By understanding when to report, following the step-by-step instructions for filing a report, and implementing tips for navigating the reporting process, you can contribute to a safer and more respectful community on Instagram. So, if you encounter an account that engages in inappropriate behavior, violates community guidelines, or poses a threat to users, don’t hesitate to speak up and report it. Together, we can work towards creating a digital space where everyone feels safe, respected, and valued.