Introduction:
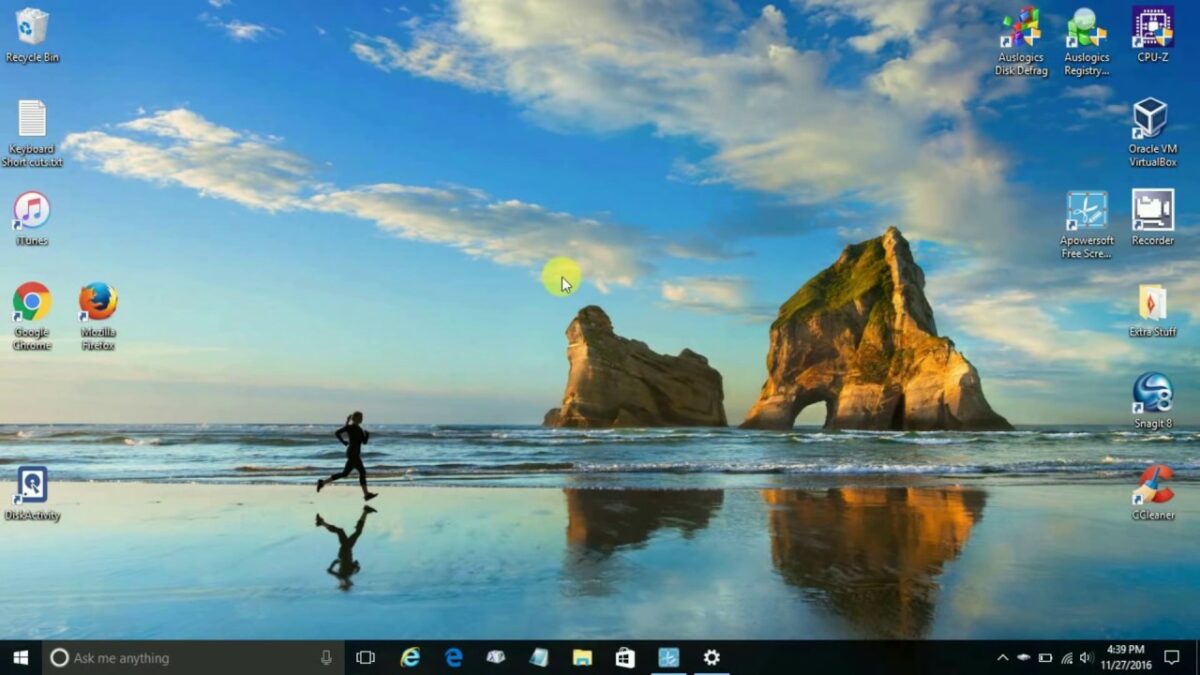
Windows 10, Microsoft’s robust operating system, offers users a plethora of customization options to personalize their digital workspace. Among the most impactful and visually striking changes one can make is altering the desktop background. In this extensive guide, we will delve into the intricacies of changing your desktop background in Windows 10, providing users with a step-by-step walkthrough, insights into the benefits of background customization, and tips for creating a visually appealing and personalized desktop experience.
Understanding the Importance of Desktop Background Customization:
The desktop background is the canvas upon which your digital journey unfolds. Customizing this backdrop goes beyond aesthetics; it influences your mood, productivity, and overall computing experience. Here are some reasons why changing your desktop background is a meaningful customization:
- Personal Expression:
- Your desktop background serves as a reflection of your personality, interests, and aesthetic preferences. Customizing it allows for a unique and personalized computing experience.
- Visual Comfort:
- A carefully chosen desktop background can contribute to visual comfort, reducing eye strain and creating a more enjoyable environment for extended computer use.
- Inspiration and Motivation:
- Whether it’s a scenic landscape, motivational quote, or artwork, your desktop background can inspire and motivate you each time you interact with your computer.
- Aesthetics and Cohesiveness:
- Matching your desktop background with your preferred color scheme and overall theme enhances the aesthetics and cohesiveness of your desktop environment.
- Seasonal and Holiday Themes:
- Changing your desktop background with the seasons or during holidays adds a festive touch, keeping your digital space dynamic and engaging.
Methods to Change Your Desktop Background in Windows 10:
Windows 10 provides users with multiple pathways to change their desktop background, offering flexibility based on individual preferences. The following methods outline how to customize your desktop background seamlessly:
Method 1: Using Settings
- Open Settings:
- Press “Windows key + I” to open the Settings app.
- Navigate to Personalization:
- In the Settings app, select “Personalization.”
- Choose Background:
- In the left sidebar, click on “Background.”
- Select a Background Image:
- Choose a background image from the provided options, or click “Browse” to select an image from your own collection.
- Adjust Background Settings:
- Customize additional settings such as picture position, slideshow options, or color filters.
- Preview and Apply Changes:
- Preview your chosen background and click “Choose your picture” or “Choose a fit” to apply the changes.
Method 2: Using Context Menu
- Right-Click on the Desktop:
- Right-click on an empty space on your desktop to open the context menu.
- Choose Personalize:
- Select “Personalize” from the context menu to open the Settings app.
- Navigate to Background:
- Follow steps 3 to 6 from Method 1 to customize your desktop background.
Method 3: Using File Explorer
- Open File Explorer:
- Open File Explorer by clicking on the File Explorer icon in the taskbar or pressing “Windows key + E.”
- Navigate to an Image:
- Locate an image you want to set as your desktop background.
- Right-Click and Choose Set as Desktop Background:
- Right-click on the image and select “Set as desktop background.”
- Adjust Settings (Optional):
- Follow steps 5 and 6 from Method 1 if you wish to further customize background settings.
Considerations and Additional Tips:
- Slideshow Backgrounds:
- Experiment with using a slideshow of multiple images as your background for dynamic and changing visuals.
- Picture Positioning:
- Choose the appropriate picture positioning option (Fill, Fit, Stretch, Tile, or Center) to optimize the display of your chosen background.
- Color Filters:
- Explore color filters to enhance or modify the colors of your background image according to your preferences.
- Themes and Accent Colors:
- Consider adjusting your desktop background in coordination with Windows 10 themes and accent colors for a more cohesive look.
- Online Wallpaper Resources:
- Explore online wallpaper resources that offer a wide variety of high-quality and thematic images for your desktop background.
- Community Forums and Discussions:
- Engage with Windows 10 community forums and discussions to share your favorite desktop backgrounds, discover new sources, and exchange ideas for creative customization.
Conclusion:
Changing your desktop background in Windows 10 is a simple yet impactful customization that transforms your digital canvas into a reflection of your personality and style. By following the comprehensive methods outlined in this guide, users can effortlessly create a visually appealing and personalized desktop environment that enhances their overall computing experience. Embrace the versatility of Windows 10, curate a desktop background that resonates with you, and immerse yourself in a dynamic and inspiring digital workspace. Windows 10 is not just an operating system—it’s a canvas for personal expression and creativity, and customizing your desktop background is a key step in shaping your digital world.


