Syncing Your Android Phone with Windows: A Step-by-Step Guide
In the fast-paced digital world of today, it is crucial to maintain connectivity across all of your platforms and devices. Setting up a synchronization between your Android phone and your Windows computer can make your day-to-day activities more streamlined and effective. This is true whether you are responding to messages, sharing images, or handling calls. It is now possible to bridge the gap between mobile and desktop devices with the aid of Microsoft’s Phone Link software, which was originally known as “Your Phone.” This program provides a seamless experience that prevents you from continually switching displays, allowing you to maintain your productivity.
The Establishment of the Connection
In order to get started, you will need the Phone Link program installed on your Windows computer and the companion app, Link to Windows, installed on your cellular device. In most recent Windows operating systems, the Phone Link application is already pre-installed; however, if your system does not have it, you can get it for free from the Microsoft Store. Open the application once it has been installed, then sign in using your Microsoft account, and then follow the instructions that appear on the screen.
Launch the Google Play Store on your Android device, and if Link to Windows is not already installed, install it if it is not currently accessible. Launch the application, login in with the same Microsoft account that you use on your personal computer, and then select the Add computer option. It will be necessary for you to either manually pair or scan a QR code that is presented on your computer. When this happens, the two devices will immediately connect to one another and start synchronizing.
Providing Permissions and Creating Device Pairing Records
The permissions to access images, messages, calls, and notifications will be requested by your Android phone when you pair it with another device. By granting these permissions, your personal computer will be able to replicate the primary functions of your mobile device. In a matter of seconds, your devices will be connected, and the information from your phone will be displayed in the window of the Phone Link application that is located on your computer.
When it comes to maintaining consistent performance, it is recommended that both devices remain linked to the same Wi-Fi network. For the operation of calls, Bluetooth is also essential; therefore, make sure that it is turned on for both of your devices.
Managing Notifications, Messages, and Calls among Other Things
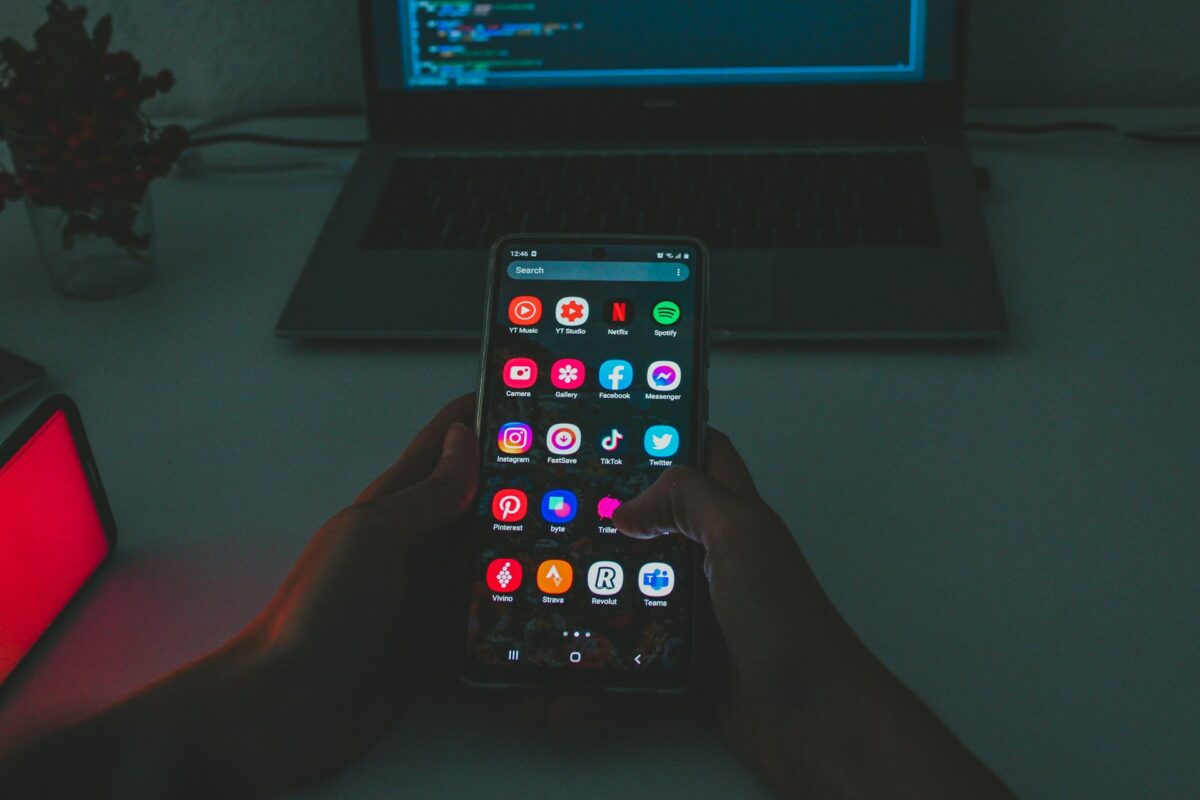
After the connection has been established, your personal computer will function as a command core for your Android phone. Through the use of your keyboard, you are able to view and respond to text messages directly from your computer, which speeds up the communication process. Notifications from your phone will appear on your Windows desktop in real time, giving you the ability to dismiss them or respond to them immediately.
It is also possible to make or receive phone calls without having to manually reach for your telephone if your gadgets are paired with each other using Bluetooth. In order to ensure a seamless hands-free experience, the audio generated by the call is transmitted through the speakers and microphone of your computer.
Allowing for Simple Access to and Transfer of Photographs
In terms of convenience, rapid photo access is among the most advantageous aspects of syncing. When you take a picture using your phone, it will automatically be transferred to your personal computer, eliminating the need for cords or manual transfers. You are able to immediately load photos into documents, emails, or files by dragging and dropping them. Those individuals who utilize their mobile devices for photography, content creation for social media platforms, or business objectives will find this particularly helpful.
Utilizing Android Applications on Your Personal Computer
It is now possible for users of the most recent versions of Windows 11 to open and utilize Android applications directly on their personal computers. By utilizing Phone Link, you will be able to access your preferred applications, such as WhatsApp, Instagram, or mobile banking tools, directly on the screen of your personal computer. It is possible to pin these applications to your taskbar so that you may access them quickly. These applications operate in a separate window, exactly like desktop programs. This is a feature that combines the versatility of mobile applications with the ease of multitasking that is available on desktop computers.
Problems that are Frequently Encountered with Syncing
See to it that both of your devices are running the most recent software version if they are unable to establish a connection. Also, make sure that your Wi-Fi or Bluetooth connection is stable and that your Microsoft account is the same on both ends of the connection. Restarting both devices generally fixes minor connectivity issues that have been occurring. If the issue continues, you will need to disconnect the phone from the computer and redo the procedure of pairing it.
Experience That Is Completely Connected
When you sync your Android phone with Windows, it completely changes the way you work and communicate with others. It consolidates all of your duties into a single location, allowing you to do everything from handling messages and answering calls to sharing media and launching applications. It is a simple step toward a digital experience that is more productive, connected, and stress-free, and once it is set up, you will wonder how you ever worked without it.