Introduction:
In the world of digital design and visual artistry, harnessing the power of light effects adds depth, drama, and a touch of magic to images and compositions. Whether used in graphic design, digital art, or photo manipulation, mastering the creation of brilliant light effects in Adobe Photoshop offers designers and artists a versatile tool for unleashing their creativity and elevating the impact of their work. In this comprehensive guide, we will embark on a journey through step-by-step techniques, expert tips, and creative strategies to master the art of adding brilliant light effects to your work with Photoshop.
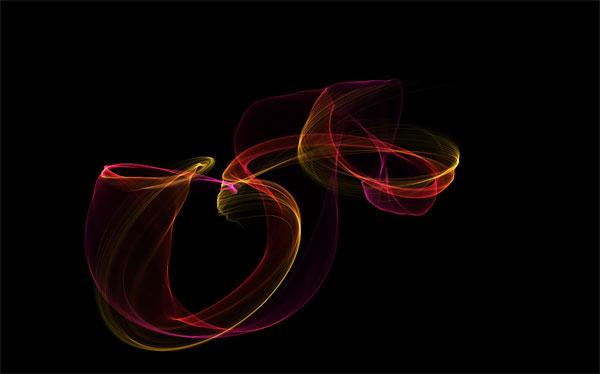
Understanding Brilliant Light Effects:
Brilliant light effects encompass a wide range of techniques for creating luminous, radiant, and captivating visuals. From glowing orbs and shimmering rays to ethereal glows and sparkling particles, these effects enhance compositions, evoke emotion, and captivate viewers’ attention. By leveraging techniques such as layer blending modes, adjustment layers, and custom brushes, designers can achieve stunning results that illuminate their artwork with brilliance and beauty.
Now, let’s delve into the step-by-step process of adding brilliant light effects to your work with Photoshop:
Step 1: Setting Up the Document:
Begin by opening Adobe Photoshop and creating a new document with dimensions suitable for your design project. Choose a resolution and color mode appropriate for your intended output, such as print or digital display.
Step 2: Importing the Base Image:
Import the base image onto which you want to add brilliant light effects. Choose an image with elements that will complement and enhance the light effects, such as a landscape, portrait, or abstract background.
Step 3: Creating a New Layer:
Create a new layer above the base image layer by clicking on the “New Layer” icon at the bottom of the Layers panel. This new layer will serve as the canvas for painting or applying the light effects.
Step 4: Selecting the Brush Tool:
Select the Brush tool (B) from the toolbar and choose a brush preset that emulates the desired light effect, such as a soft round brush for creating glows or a star brush for adding sparkles. Adjust the brush size, opacity, and flow settings as needed.
Step 5: Applying Brush Strokes:
With the new layer selected, begin painting brush strokes onto the canvas layer to create the desired light effects. Experiment with different brush sizes, shapes, and opacities to achieve the desired intensity and style of the light effects.
Step 6: Adjusting Layer Blending Modes:
Experiment with different layer blending modes to blend the light effects with the underlying image layer. Overlay, Screen, and Linear Dodge blending modes often work well for creating luminous and vibrant light effects that simulate glow and illumination.
Step 7: Adding Adjustment Layers:
To further enhance the brilliance and impact of the light effects, consider adding adjustment layers such as Levels, Curves, or Hue/Saturation. These adjustment layers allow you to fine-tune the colors, tones, and contrast of the light effects, adding depth and dimension to the composition.
Step 8: Adding Texture Overlays:
To add depth and visual interest to the light effects, consider incorporating texture overlays or pattern fills. Use texture images or brushes to add elements such as bokeh, lens flares, or abstract patterns to the light effects, enhancing the overall atmosphere and style of the composition.
Step 9: Experimenting with Filters:
Experiment with filters such as Gaussian Blur, Radial Blur, or Lens Blur to soften and enhance the light effects. These filters can help create a sense of depth and movement, adding realism and dynamism to the composition.
Step 10: Final Touches and Refinements:
Once you’re satisfied with the light effects and overall composition, take the time to make any final adjustments or refinements to the design. Fine-tune the colors, contrast, and overall atmosphere to ensure that the light effects enhance the mood and aesthetic of the artwork. Pay attention to details such as blending, texture, and composition to create a cohesive and visually compelling final result.
Advanced Techniques and Tips:
In addition to the basic steps outlined above, consider exploring advanced techniques and tips to further enhance the brilliant light effects:
- Layer Masks and Selections: Use layer masks and selection tools to selectively reveal or conceal parts of the light effects, allowing for precise control over the appearance and blending of the illumination. This technique can be particularly useful for creating smooth transitions and adding depth to the composition.
- Custom Brushes and Shapes: Create custom brushes or shapes to add unique and personalized elements to the light effects. Experiment with brushes that mimic specific light sources, such as lens flares, glowing orbs, or light streaks, to add authenticity and detail to the composition.
- Color Gradients and Blending Modes: Emulate the color blending properties of light by using gradients and blending modes to mix and blend colors within the light effects. Experiment with techniques such as color blending, hue shifting, and color dodge to achieve vibrant and dynamic color transitions.
- Animation and Motion Effects: For multimedia projects or digital artworks, consider adding animation effects to the light effects to create dynamic and interactive visuals. Use keyframes and animation tools in Photoshop or export the design to a video editing software for further customization.
Conclusion:
In conclusion, mastering the art of adding brilliant light effects to your work with Photoshop offers designers and artists a powerful and versatile tool for creating visually striking compositions that command attention and evoke emotion. By following the step-by-step techniques outlined in this guide and exploring advanced techniques and tips, you can illuminate your artwork with brilliance and beauty, creating captivating visuals that inspire and delight viewers. Whether used in graphic design, digital art, or photo manipulation, brilliant light effects offer endless possibilities for expression and experimentation, allowing you to push the boundaries of visual storytelling and unleash your creativity in new and exciting ways.