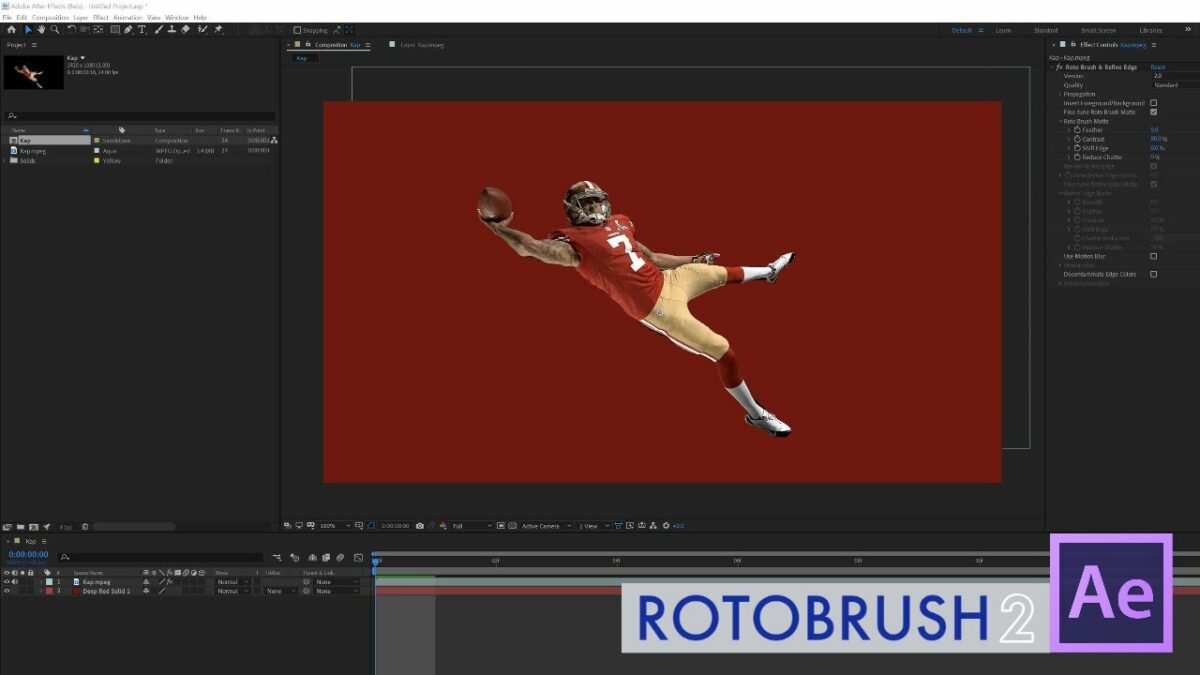
Introduction: Rotobrush 2.0 is a revolutionary tool in Adobe After Effects that empowers creators to quickly and accurately isolate objects or subjects within video footage for compositing, visual effects, and motion graphics. Building upon the foundation of the original Rotobrush tool, Rotobrush 2.0 introduces advanced algorithms and machine learning technology, allowing for faster, more precise, and more intuitive rotoscoping workflows. Whether used for removing backgrounds, isolating characters, or adding visual effects to specific elements, Rotobrush 2.0 offers unparalleled flexibility and control for achieving seamless and professional-looking results. In this comprehensive guide, we’ll delve into the intricacies of using Rotobrush 2.0 in After Effects, covering everything from basic setups to advanced techniques for achieving precise and seamless rotoscoping results.
Understanding Rotobrush 2.0: Rotobrush 2.0 is a powerful tool in Adobe After Effects that utilizes advanced algorithms and machine learning technology to automatically analyze and isolate objects or subjects within video footage. By leveraging the user’s input and guidance, Rotobrush 2.0 is able to generate accurate mattes or masks around the selected elements, allowing for precise compositing, visual effects, and motion graphics. Whether used for extracting foreground elements from complex backgrounds, refining matte edges, or fine-tuning motion tracking, Rotobrush 2.0 offers a versatile toolset for achieving professional-quality rotoscoping results with speed and efficiency.
Getting Started with Rotobrush 2.0 in After Effects: To begin using Rotobrush 2.0 in Adobe After Effects, follow these steps:
Step 1: Import Footage: Open After Effects and create a new composition by selecting “Composition” > “New Composition” from the menu. Import the footage you want to rotoscope by dragging it into the composition timeline or selecting “File” > “Import” from the menu.
Step 2: Select the Rotobrush Tool: With the footage layer selected in the timeline, navigate to the Tools panel and select the Rotobrush tool (the icon resembles a paintbrush with a green tip). Alternatively, you can press the “Alt/Option + W” shortcut to activate the Rotobrush tool.
Step 3: Define the Foreground Object: Using the Rotobrush tool, paint over the foreground object or subject that you want to isolate from the background. Start by painting a rough outline around the edges of the object, ensuring that the entire area of interest is covered by the brush strokes.
Step 4: Refine the Matte: After defining the initial selection, refine the matte using the Refine Edge tool and additional brush strokes. Use the Refine Edge tool to clean up rough edges, fill in missing areas, and adjust the boundary between the foreground and background elements.
Step 5: Preview the Rotoscoping: Preview the rotoscoping result in real-time by pressing the “Spacebar” to play back the footage. Use the playback controls to scrub through the timeline and assess the quality and accuracy of the rotoscoped matte. Make any necessary adjustments to the brush strokes or refine the matte further as needed.
Step 6: Fine-Tune the Motion Tracking (Optional): If the foreground object moves or changes position over time, enable motion tracking to automatically track the object’s movement throughout the footage. Use the Motion Tracking controls in the Composition panel to analyze the motion and apply it to the rotoscoped matte, ensuring that it stays aligned with the object’s movement.
Advanced Techniques and Tips: To take your rotoscoping workflows to the next level, consider exploring the following advanced techniques and tips:
- Matte Refinement: Use the Matte Cleanup tools in the Rotobrush panel to further refine the edges of the rotoscoped matte. Experiment with the Refine Edge Radius, Feather, and Contrast settings to achieve smooth and accurate matte edges that seamlessly blend with the background.
- Color Correction and Light Wrap: After applying the rotoscoped matte to the footage, use color correction and light wrap techniques to integrate the foreground object more convincingly into the background. Apply adjustment layers, blending modes, and light wrap effects to match the color and lighting of the foreground object with the surrounding environment.
- Keyframe Animation: For complex rotoscoping tasks that require precise control over individual frames, use keyframe animation to manually adjust the position, scale, and rotation of the rotoscoped matte over time. Keyframe the Transform properties of the matte layer to animate its movement and ensure accurate alignment with the foreground object.
- Multiple Stages of Rotoscoping: In scenes with multiple foreground objects or complex motion, consider breaking down the rotoscoping process into multiple stages. Rotoscope each object or element separately, then composite them together in the final composition using blending modes, masks, or track mattes.
- Use of Layer Masks: Instead of applying the rotoscoped matte directly to the footage layer, create a separate adjustment layer and apply the matte as a layer mask. This allows for greater flexibility and non-destructive editing, as you can easily modify the mask shape, opacity, and feathering without affecting the underlying footage.
Conclusion: Rotobrush 2.0 in Adobe After Effects offers a powerful tool for quickly and accurately isolating objects or subjects within video footage for compositing, visual effects, and motion graphics. By mastering the techniques and principles outlined in this guide, you’ll be equipped to achieve professional-quality rotoscoping results with speed, efficiency, and precision.
As you embark on your journey to explore Rotobrush 2.0 in After Effects, remember to embrace experimentation, iteration, and innovation. Experiment with different techniques, refine your skills through practice, and let your creativity soar as you craft seamless and immersive visual effects that elevate the quality and impact of your motion graphics and video projects. With dedication, patience, and a willingness to explore new possibilities, you’ll unlock the full potential of Rotobrush 2.0 and create rotoscoping effects that leave a lasting impression on your audience.
