Introduction: Typography is a powerful visual element in motion graphics and video production, capable of conveying emotion, style, and messaging with striking impact. With Adobe After Effects, creators have the tools and capabilities to transform static text into dynamic 3D animations that captivate and engage audiences. Whether used for title sequences, logo reveals, or promotional content, 3D text animations offer endless possibilities for creative expression and visual storytelling. In this comprehensive guide, we’ll delve into the intricacies of creating 3D text animations in After Effects, covering everything from basic setups to advanced techniques for achieving stunning and immersive results.
Understanding 3D Text Animation: 3D text animation in Adobe After Effects involves the creation and manipulation of text layers within a three-dimensional space, allowing for dynamic movement, rotation, and perspective shifts. By extruding text layers into 3D objects, applying materials and textures, and animating properties such as position, rotation, and scale, creators can craft immersive and visually striking text animations that enhance the storytelling and visual impact of their projects. Whether used for adding depth and dimension to on-screen text or integrating text seamlessly into 3D environments, 3D text animations offer a versatile tool for elevating the quality and engagement of motion graphics and video projects.
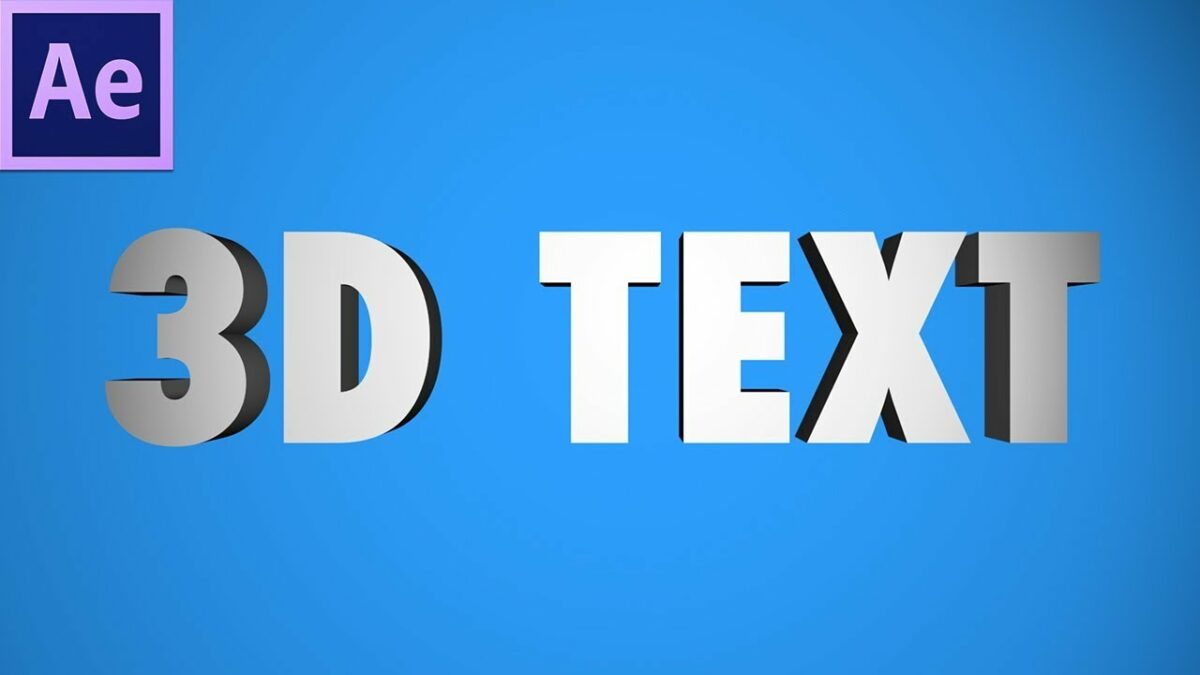
Getting Started with 3D Text Animation in After Effects: To begin creating 3D text animations in Adobe After Effects, follow these steps:
Step 1: Create a New Composition: Open After Effects and create a new composition by selecting “Composition” > “New Composition” from the menu. Set the dimensions, frame rate, and duration of the composition based on your project requirements.
Step 2: Add Text Layer: Create a new text layer in the composition by selecting the Text tool from the toolbar and clicking on the composition window. Type your desired text into the text layer and adjust the font, size, and style as needed using the Character panel.
Step 3: Convert to 3D: With the text layer selected in the timeline, enable 3D properties by clicking the “3D Layer” checkbox in the Layer panel. This converts the text layer into a three-dimensional object, allowing for manipulation within a 3D space.
Step 4: Extrude Text (Optional): To add depth and dimension to the text, enable the “Geometry Options” for the text layer and adjust the “Extrusion Depth” property. Increasing the extrusion depth creates a 3D extrusion effect, giving the text a more pronounced and dynamic appearance.
Step 5: Position and Animate: Use the Transform properties of the text layer, such as Position, Rotation, and Scale, to position and animate the text within the composition. Keyframe these properties over time to create dynamic text animations, such as flying in, rotating, or scaling up from the screen.
Step 6: Customize Materials and Lighting (Optional): For added realism and visual impact, customize the materials and lighting of the text layer. Use effects such as Bevel Alpha and Gradient Ramp to create texture and depth on the text surface. Experiment with different lighting setups, such as spotlights or ambient lighting, to enhance the shading and highlights of the text.
Advanced Techniques and Tips: To take your 3D text animations to the next level, consider exploring the following advanced techniques and tips:
- Camera Animation: Use After Effects’ built-in camera tools to animate the camera within the composition, adding dynamic movement and perspective changes to the 3D text. Experiment with techniques such as dolly, zoom, and pan to create cinematic camera movements that enhance the visual storytelling of the animation.
- Depth of Field: Add depth of field effects to the composition to simulate the focus and blur of a real camera lens. Use the Camera Options to adjust the focus distance and aperture settings, creating a shallow depth of field effect that draws attention to specific areas of the text.
- Particle Effects: Integrate particle effects such as particles, smoke, or fire into the 3D text animation to add visual interest and atmosphere. Use plugins or built-in effects in After Effects to generate particle systems that interact with the text and enhance the overall impact of the animation.
- Texturing and Shading: Experiment with advanced texturing and shading techniques to create realistic and visually appealing text materials. Use texture maps, bump maps, and displacement maps to add surface detail and depth to the text, enhancing its realism and tactile quality.
- Expressions and Scripting: Use expressions and scripting in After Effects to automate and control the animation of the 3D text. Create custom scripts or use pre-built expressions to generate complex animations, procedural effects, or dynamic interactions between text layers and other elements in the composition.
Conclusion: Creating 3D text animations in Adobe After Effects offers a thrilling opportunity to unleash your creativity and bring your typographic designs to life with depth, dimension, and movement. By mastering the techniques and principles outlined in this guide, you’ll be equipped to create immersive and visually stunning text animations that captivate, engage, and inspire audiences with their dynamic and expressive qualities.
As you embark on your journey to explore 3D text animation in After Effects, remember to embrace experimentation, iteration, and innovation. Experiment with different techniques, refine your skills through practice, and let your imagination soar as you craft text animations that leave a lasting impression on your audience. With dedication, patience, and a willingness to explore new possibilities, you’ll unlock the full potential of 3D text animation in After Effects and create animations that elevate the quality and impact of your motion graphics and video projects.