Introduction: Reflection is a powerful transformation technique in graphic design, allowing designers to create symmetrical and balanced compositions. In Adobe Illustrator, the Reflect Tool is a versatile feature that enables users to mirror objects, shapes, and artwork with precision and ease. In this extensive guide, we’ll delve into the intricacies of using the Reflect Tool in Adobe Illustrator, covering its functionalities, techniques, and creative applications.
Part 1: Understanding the Reflect Tool
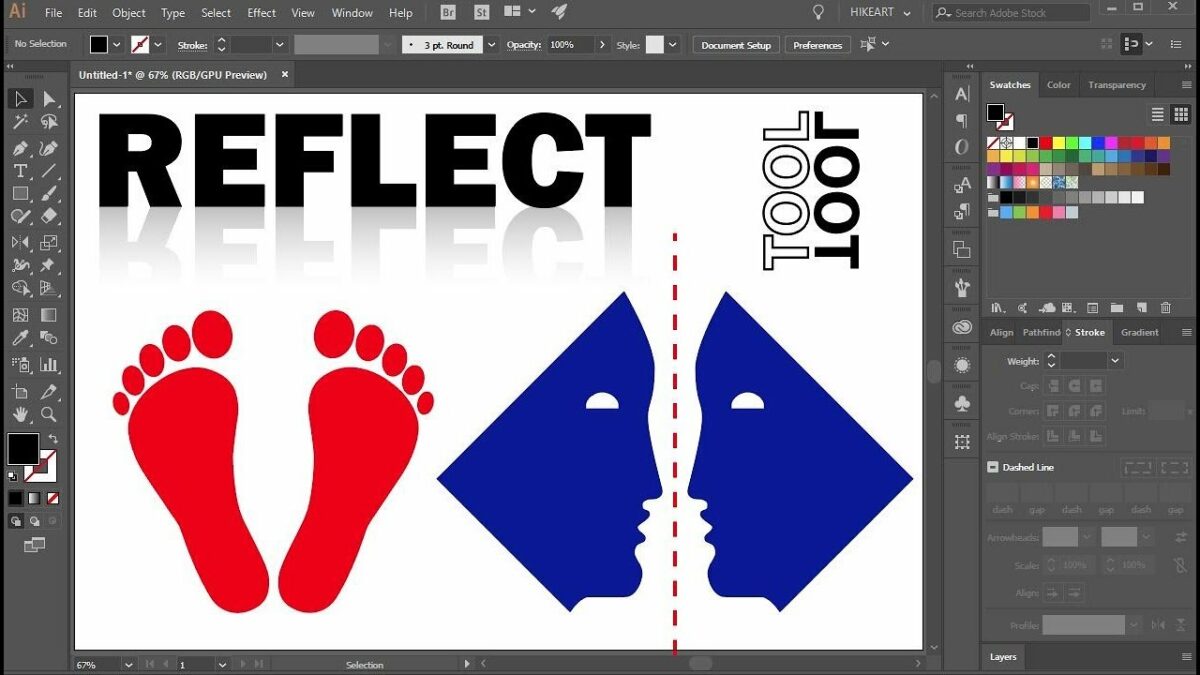
- Introduction to Reflection: The Reflect Tool in Adobe Illustrator allows users to create mirror images of selected objects or artwork. It enables users to reflect objects horizontally, vertically, or along an arbitrary axis, facilitating the creation of symmetrical designs and compositions.
- Accessing the Reflect Tool: The Reflect Tool can be accessed from the Tools panel in Adobe Illustrator or by pressing the “O” key on the keyboard. Once activated, the cursor changes to a reflection icon, indicating that you’re ready to reflect objects.
Part 2: Basic Techniques for Using the Reflect Tool
- Reflecting Objects Horizontally or Vertically: To reflect an object horizontally or vertically using the Reflect Tool, select the object(s) you want to reflect and then click on the Reflect Tool icon. Click on the axis along which you want to reflect the object, and Illustrator will create a mirrored copy.
- Reflecting Objects Along an Arbitrary Axis: For more precise control over the reflection, users can define a custom axis for reflection. Click and drag to draw a line that represents the axis of reflection, and Illustrator will reflect the selected object(s) along that axis.
Part 3: Advanced Techniques and Tips
- Creating Multiple Reflections: Users can create multiple reflections of an object by applying the Reflect Tool multiple times. After reflecting an object once, use the Transform Again command (Ctrl/Cmd + D) to repeat the reflection process.
- Using Smart Guides for Alignment: Enable Smart Guides (View > Smart Guides or Ctrl/Cmd + U) to assist with precise alignment and positioning during reflection. Smart Guides provide visual cues and snap-to guides that help users align objects accurately.
Part 4: Creative Applications of the Reflect Tool
- Creating Symmetrical Designs: The Reflect Tool is ideal for creating symmetrical designs and patterns. Use it to create symmetrical layouts, logos, icons, or illustrations with perfect alignment and balance.
- Designing Decorative Elements: Incorporate reflected objects into decorative elements such as borders, frames, or ornaments. Experiment with different reflection angles and arrangements to create visually appealing and dynamic designs.
Conclusion
The Reflect Tool in Adobe Illustrator is a versatile and indispensable feature that offers endless creative possibilities for designers and artists. By mastering the techniques and tips outlined in this guide, you’ll be able to wield the Reflect Tool with precision and efficiency, unlocking a world of design opportunities. Whether you’re creating symmetrical patterns, designing decorative elements, or experimenting with reflection effects, the Reflect Tool is your trusted companion for achieving perfect symmetry and balance in Adobe Illustrator. So, dive in, experiment fearlessly, and let your creativity reflect new dimensions!