AutoCAD, the flagship computer-aided design (CAD) software developed by Autodesk, provides a multitude of tools and commands for creating and managing complex drawings. Among these tools, the BLOCK command stands out as a powerful feature for creating reusable and efficient components within drawings. In this comprehensive guide, we will delve deep into the intricacies of using the BLOCK command in AutoCAD, exploring various methods, techniques, and best practices for optimal utilization.
Understanding the BLOCK Command in AutoCAD:
The BLOCK command in AutoCAD enables users to create blocks, also known as symbols or components, which are collections of geometry, text, and attributes that can be reused throughout a drawing or across multiple drawings. Blocks offer numerous benefits, including improved drawing organization, reduced file size, and increased drawing efficiency. By creating blocks, users can streamline the drawing process, maintain consistency, and facilitate collaboration by using standardized components.
Using the BLOCK Command:
AutoCAD offers multiple methods for creating blocks using the BLOCK command:
1. Command Line Input:
The most direct method for creating blocks is through command line input. To create a block using the command line, follow these steps:
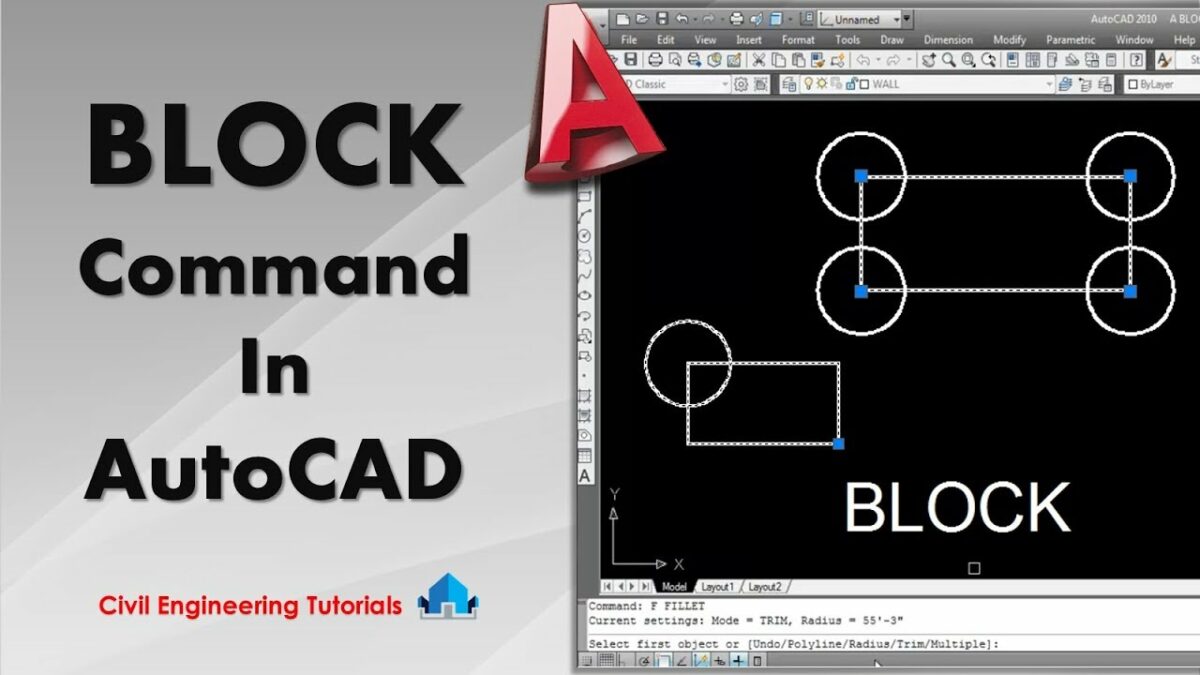
- Type “BLOCK” in the command line and press Enter to activate the BLOCK command.
- Specify a name for the block.
- Select the objects you want to include in the block.
- Choose a base point for insertion.
- Optionally, specify other block properties such as scale, rotation, and visibility.
- Press Enter to create the block.
2. Ribbon Interface:
AutoCAD’s Ribbon interface provides a graphical user interface for accessing commands and tools. To create a block using the Ribbon interface, follow these steps:
- Navigate to the Home tab on the Ribbon.
- Click on the Block panel to expand it.
- Click on the Create Block icon to activate the BLOCK command.
- Follow the prompts to specify the block name, select objects, and set block properties.
- Click OK or press Enter to create the block.
3. Toolbar or Tool Palette:
Users can also access the BLOCK command from toolbars or tool palettes for quick access and convenience. Simply click on the Block tool icon in the toolbar or tool palette to activate the BLOCK command and follow the prompts to create the block.
Key BLOCK Command Options:
When using the BLOCK command in AutoCAD, users can specify various options and parameters to customize the block creation process. Key options include:
- Base Point: Specify the base point for the block, which defines the insertion point when the block is inserted into a drawing.
- Name: Provide a unique name for the block, which serves as an identifier when inserting and managing blocks.
- Scale: Optionally, specify a scale factor to resize the block during insertion.
- Rotation: Optionally, specify a rotation angle for the block during insertion.
- Visibility: Choose whether the block’s entities are visible or hidden when the block is inserted.
Advanced Techniques:
In addition to basic block creation methods, AutoCAD offers advanced techniques and tools for enhancing the BLOCK command:
- Dynamic Blocks: Create dynamic blocks with custom properties and parameters that allow for dynamic manipulation and variation of block geometry.
- Attribute Definitions: Define attributes within blocks to embed metadata or user-defined information that can be extracted or edited when the block is inserted.
- Block Libraries: Organize blocks into libraries or catalogs for easy access and reuse across multiple projects, promoting standardization and consistency in drawing elements.
Best Practices:
To achieve optimal results when using the BLOCK command in AutoCAD, it’s essential to follow these best practices:
- Plan Ahead: Before creating blocks, plan the structure and organization of your drawing to identify reusable components and establish naming conventions.
- Use Descriptive Names: Assign meaningful names to blocks to facilitate easy identification and retrieval when inserting or managing blocks.
- Standardize Attributes: If using attributes within blocks, establish and adhere to standards for attribute definitions, ensuring consistency and interoperability.
- Maintain Libraries: Regularly update and maintain block libraries to add new blocks, remove obsolete blocks, and ensure that libraries are organized and up-to-date.
Conclusion:
In conclusion, mastering the BLOCK command in AutoCAD empowers designers and drafters to create reusable and efficient components that enhance productivity and maintain drawing consistency. By understanding the various methods, options, and best practices for using the BLOCK command, users can streamline the drawing process, improve collaboration, and create more organized and efficient drawings. With AutoCAD’s versatile tools and features, designers can leverage the power of blocks to optimize workflows and achieve superior results in their projects.