Introduction:
In the realm of graphic design, the page background plays a crucial role in setting the tone, enhancing aesthetics, and creating a cohesive visual experience. CorelDRAW, a versatile vector graphics editor, provides designers with robust tools to manipulate and customize page backgrounds. This comprehensive guide explores the intricate world of page backgrounds in CorelDRAW, covering key concepts, tools, techniques, and advanced features to empower designers in creating captivating and well-designed backgrounds for their projects.
Section 1: Understanding the Significance of Page Backgrounds
1.1 The Visual Impact of Backgrounds: Delve into the visual impact that backgrounds have on design. Understand how the choice of a background can influence the overall mood, readability, and aesthetic appeal of a document, whether in print or digital formats.
1.2 Cohesive Design Language: Explore how page backgrounds contribute to establishing a cohesive design language. Whether unifying brand elements, enhancing thematic consistency, or creating a visually pleasing backdrop, the background is a critical component of design harmony.
Section 2: Navigating CorelDRAW’s Page Background Tools
2.1 The Role of the Background Tool: Familiarize yourself with the dedicated background tool in CorelDRAW. Understand how this tool enables designers to manipulate and customize the page background with precision, providing a versatile canvas for creative expression.
2.2 Accessing the Background Tool: Explore the various methods for accessing the background tool in CorelDRAW. Whether through the toolbar, menu options, or docker, designers can easily navigate to the background tool to initiate the customization process.
Section 3: Setting Up Page Backgrounds
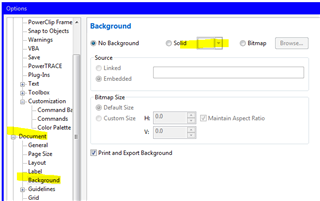
3.1 Choosing Background Types: Begin the customization process by choosing the type of background for your document. CorelDRAW offers options such as solid colors, gradients, patterns, textures, and even imported images, allowing for diverse and creative background choices.
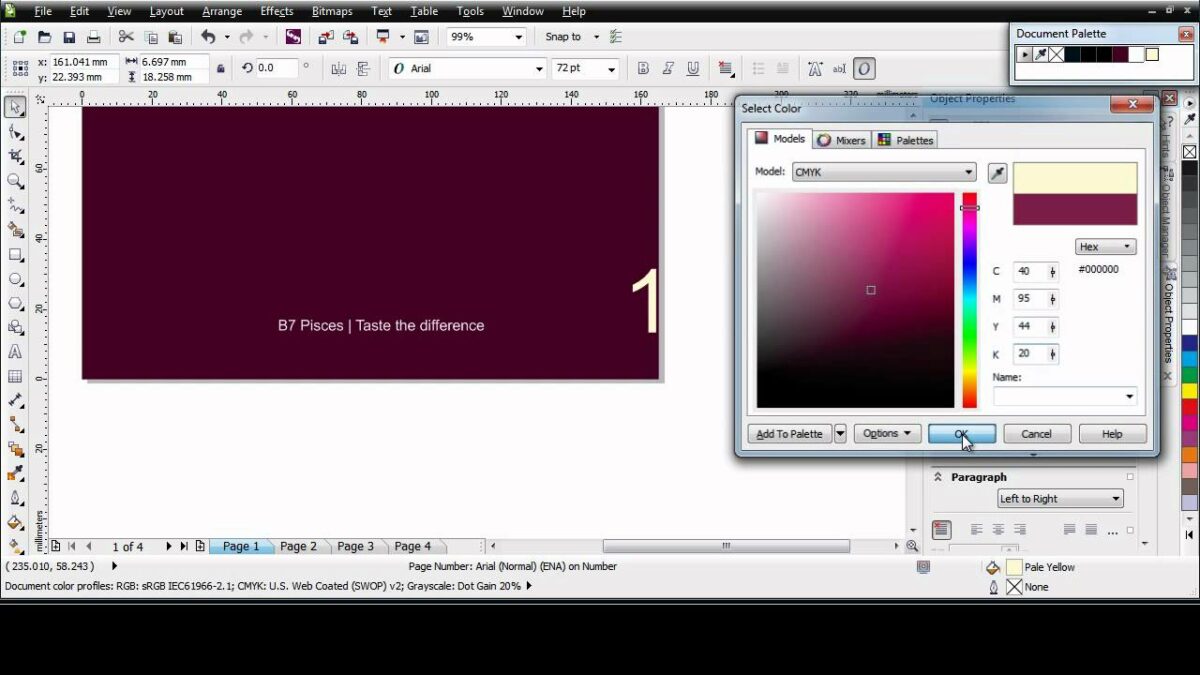
3.2 Solid Color Backgrounds: Explore the simplicity and elegance of solid color backgrounds. Learn how to choose and apply solid colors to your page, creating a clean and unobtrusive backdrop that complements your design elements.
3.3 Gradient Backgrounds: Dive into the dynamic world of gradient backgrounds. CorelDRAW provides tools for creating and customizing gradients, allowing designers to craft backgrounds that transition seamlessly between colors, adding depth and visual interest.
3.4 Pattern and Texture Backgrounds: Explore the use of patterns and textures to add dimension to your page backgrounds. CorelDRAW’s extensive library of patterns and the ability to import custom textures provide designers with a wide range of options for creating unique and textured backgrounds.
3.5 Image Backgrounds: Learn how to incorporate images into your page backgrounds. CorelDRAW allows designers to import images, resize, position, and customize them to serve as captivating backgrounds, adding a layer of visual richness to the overall design.
Section 4: Customizing Page Background Elements
4.1 Adjusting Transparency and Opacity: Delve into the customization of transparency and opacity in page backgrounds. CorelDRAW’s tools allow designers to create subtle and nuanced background effects by adjusting the transparency of colors, gradients, or images.
4.2 Blurring and Sharpening Effects: Explore advanced techniques such as blurring and sharpening to enhance the visual appeal of page backgrounds. CorelDRAW’s effects options enable designers to apply blur for a soft focus or sharpen for added clarity, contributing to a more refined design.
4.3 Creating Seamless Patterns: Understand how to create seamless patterns for repetitive backgrounds. CorelDRAW provides tools for designing seamless patterns that can be tiled across the page, ensuring a cohesive and visually pleasing background design.
Section 5: Adding Special Effects to Page Backgrounds
5.1 Using Filters and Effects: Dive into the creative possibilities of filters and effects in CorelDRAW. Learn how to apply artistic effects, distortions, and other creative filters to your page backgrounds, adding a touch of uniqueness to your design.
5.2 Transparency Masks: Explore the use of transparency masks to create intricate background effects. CorelDRAW’s transparency mask feature allows designers to blend colors, textures, or images seamlessly, producing captivating and layered background designs.
Section 6: Dynamic Backgrounds and Interactive Elements
6.1 Animating Backgrounds for Digital Media: Delve into the realm of dynamic backgrounds for digital media. Explore techniques for animating backgrounds, creating visually engaging designs for presentations, websites, or other interactive formats using CorelDRAW.
6.2 Integrating Hyperlinks and Interactive Elements: Learn how to integrate hyperlinks and interactive elements into your background design. CorelDRAW allows designers to add clickable links, buttons, or interactive components, enhancing the user experience in digital documents.
Section 7: Troubleshooting and Tips for Effective Background Customization
7.1 Resolving Background Compatibility Issues: Understand how to troubleshoot compatibility issues related to background elements. Explore tips for ensuring that your chosen background types, effects, and styles are compatible with different output formats and devices.
7.2 Optimizing Performance for Complex Backgrounds: Learn strategies for optimizing performance when working with complex backgrounds in CorelDRAW. From managing layers to using linked images, discover techniques that enhance efficiency in handling extensive background designs.
Section 8: Collaborative Workflows and Background Customization
8.1 Sharing Background Styles with Team Members: In a collaborative design environment, explore methods for sharing background styles and designs with team members. Learn how to export and import background settings to maintain consistency across projects and streamline collaborative workflows.
8.2 Establishing Background Design Guidelines: Enhance collaborative workflows by establishing guidelines for background design within your design team. Communicate best practices and conventions to ensure a unified approach to background customization, fostering efficient collaboration.
Conclusion:
In conclusion, the ability to craft captivating and well-designed page backgrounds in CorelDRAW is a fundamental skill for designers seeking to create visually impactful documents. Whether you are a seasoned professional or a newcomer to the world of graphic design, this comprehensive guide equips you with the knowledge and techniques needed to harness the power of CorelDRAW for effective background customization. By understanding the significance of page backgrounds, navigating CorelDRAW’s background tools, setting up diverse backgrounds, customizing background elements, adding special effects, exploring dynamic and interactive backgrounds, troubleshooting common challenges, and implementing collaborative workflows, designers can unlock the full potential of CorelDRAW for crafting professional, polished, and visually appealing page backgrounds that enhance the overall design experience.