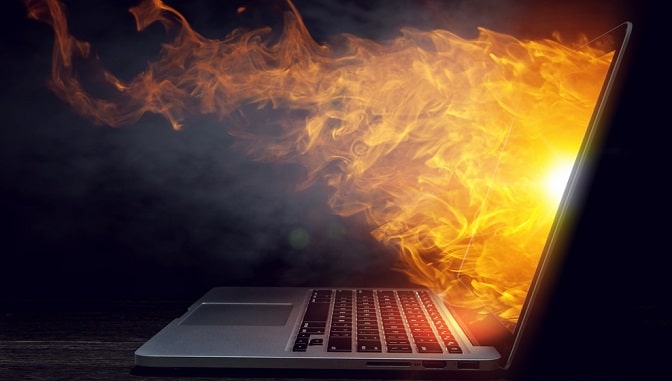
Troubleshooting overheating issues in electronic devices, particularly in computers and laptops, is crucial to maintaining their performance and longevity. Overheating can lead to reduced performance, system instability, and even permanent damage to components if not addressed promptly. This comprehensive guide covers everything you need to know about identifying, diagnosing, and resolving overheating issues in computers and laptops.
Table of Contents
- Introduction to Overheating Issues
- Importance of Temperature Management
- Common Symptoms of Overheating
- Causes of Overheating
- Insufficient Cooling
- Dust Buildup
- Overclocking
- External Factors
- Preventive Measures
- Proper Ventilation
- Regular Cleaning
- Avoiding Overclocking
- Monitoring Software
- Diagnosing Overheating Issues
- Checking Internal Temperatures
- Monitoring Performance
- Identifying Hotspots
- Troubleshooting Overheating Issues
- Cleaning Dust and Debris
- Improving Airflow
- Adjusting Fan Speeds
- Applying Thermal Paste
- Advanced Troubleshooting
- BIOS Settings
- Hardware Upgrades
- Professional Maintenance
- Testing and Monitoring
- Stress Testing
- Temperature Monitoring Tools
- Conclusion
1. Introduction to Overheating Issues
Importance of Temperature Management
Proper temperature management is essential for electronic devices, especially computers and laptops, to ensure optimal performance and longevity of hardware components. Overheating can cause system slowdowns, unexpected shutdowns, and in severe cases, permanent damage to the CPU, GPU, or other critical components.
Common Symptoms of Overheating
- Fan Noise: Increased fan speed to dissipate heat.
- Performance Issues: Slower performance or system lag.
- Random Shutdowns: Computer shuts down unexpectedly to prevent damage.
- Hot Surface: Noticeably hot surfaces, especially near vents or heatsinks.
2. Causes of Overheating
Insufficient Cooling
- Inadequate Airflow: Blocked vents or insufficient case fans.
- Heat Sink Issues: Improperly seated or malfunctioning heat sinks.
Dust Buildup
- Clogged Vents: Accumulation of dust and debris blocking airflow.
- Heat Sink Blockage: Dust on heat sinks reducing heat dissipation.
Overclocking
- Increased Heat Output: Overclocking components beyond recommended limits.
- Insufficient Cooling Solutions: Stock coolers unable to handle increased heat.
External Factors
- Ambient Temperature: High room temperatures affecting internal cooling.
- Improper Placement: Placing laptops on soft surfaces obstructing vents.
3. Preventive Measures
Proper Ventilation
- Open Space: Place desktops in well-ventilated areas.
- Elevated Position: Elevate laptops to allow airflow underneath.
Regular Cleaning
- Compressed Air: Use canned air to blow dust out of vents and components.
- Soft Brush: Gently brush away dust from heat sinks and fans.
Avoiding Overclocking
- Stock Settings: Maintain components at manufacturer-recommended speeds.
- Aftermarket Cooling: Use adequate cooling solutions for overclocked setups.
Monitoring Software
- Temperature Monitoring Tools: Install software to monitor CPU and GPU temperatures.
- Fan Control Software: Adjust fan speeds manually for better cooling.
4. Diagnosing Overheating Issues
Checking Internal Temperatures
- BIOS Monitoring: Access BIOS to check CPU temperatures.
- Software Tools: Use third-party temperature monitoring software (e.g., HWMonitor, Core Temp).
Monitoring Performance
- Task Manager: Monitor CPU and GPU usage under load.
- Benchmarking Tools: Run benchmarks to stress test components and observe temperatures.
Identifying Hotspots
- Touch Test: Carefully touch components to identify hot spots (with caution to avoid burns).
- Infrared Thermometer: Use an infrared thermometer for precise temperature readings.
5. Troubleshooting Overheating Issues
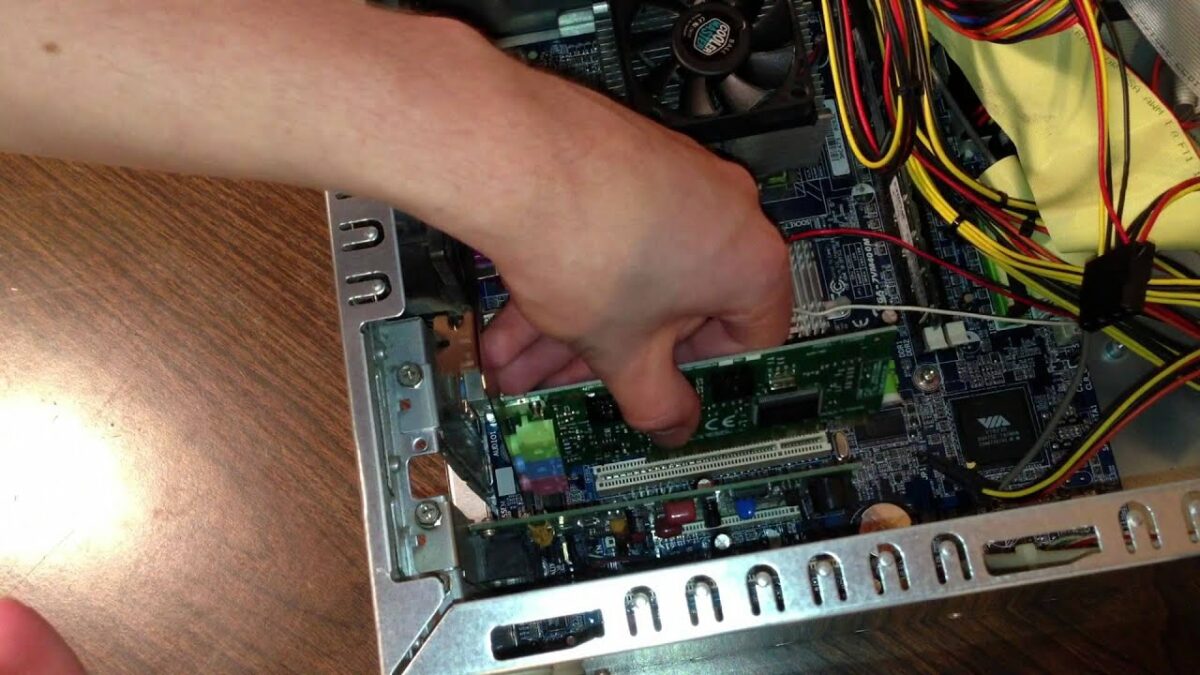
Cleaning Dust and Debris
- Shutdown and Unplug: Power off the computer and disconnect from power source.
- Remove Panels: Open the case or access panels to expose internal components.
- Use Compressed Air: Blow out dust from vents, fans, and heat sinks.
- Brush Carefully: Gently brush away stubborn dust buildup on heat sinks and fans.
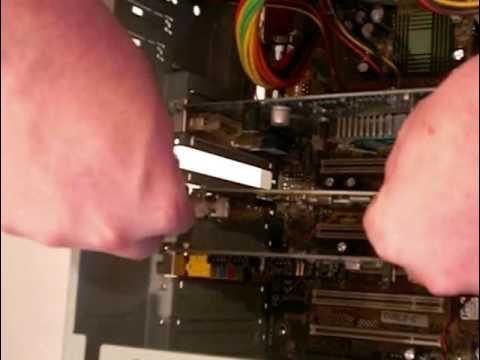
Improving Airflow
- Cable Management: Arrange cables to optimize airflow within the case.
- Additional Fans: Install extra case fans for better airflow direction.
- Upgraded Heat Sinks: Replace stock heat sinks with more efficient models.
Adjusting Fan Speeds
- BIOS Settings: Access BIOS to adjust fan curves and speeds.
- Fan Control Software: Use software utilities to manually adjust fan speeds based on temperature thresholds.
Applying Thermal Paste
- Clean Surfaces: Remove old thermal paste using isopropyl alcohol and lint-free cloth.
- Apply New Paste: Apply a small amount of high-quality thermal paste evenly on CPU and GPU surfaces.
- Reassemble: Reattach heat sinks and ensure proper seating.
6. Advanced Troubleshooting
BIOS Settings
- Undervolting: Adjust CPU voltage settings to reduce heat output.
- Power Management: Enable power-saving features to reduce heat generation.
Hardware Upgrades
- Cooling Solutions: Upgrade to larger heat sinks or liquid cooling systems.
- Case Modification: Modify case for improved airflow with additional vents or ducts.
Professional Maintenance
- Service Centers: Consult professional technicians for deep cleaning and maintenance.
- Component Inspection: Have components inspected for damage or malfunction.
7. Testing and Monitoring
Stress Testing
- Benchmark Tools: Run stress tests to simulate heavy usage and monitor temperatures.
- Prime95: Use for CPU stress testing.
- FurMark: Use for GPU stress testing.
Temperature Monitoring Tools
- Real-Time Monitoring: Keep temperature monitoring tools open during stress tests.
- Alerts and Notifications: Set up alerts for critical temperature thresholds.
8. Conclusion
Troubleshooting overheating issues requires a systematic approach to identify causes, implement preventive measures, and perform corrective actions. By understanding the importance of temperature management, recognizing common symptoms of overheating, and following the steps outlined in this guide—preventing overheating, diagnosing issues, troubleshooting methods, and advanced techniques—you can effectively maintain optimal performance and prolong the lifespan of your computer or laptop. Regular maintenance, proper ventilation, and monitoring temperatures are key practices to prevent overheating and ensure reliable operation. If issues persist or require professional attention, consult with qualified technicians or service centers for further assistance.