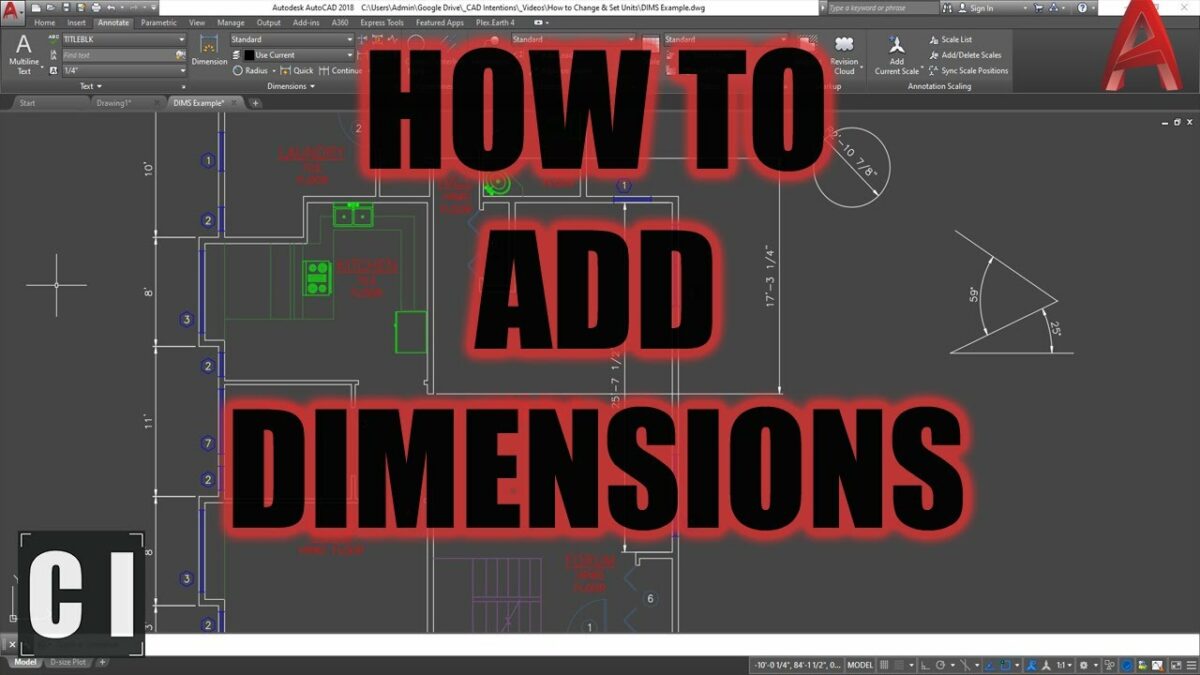
In the realm of computer-aided design (CAD), dimensions serve as critical elements for communicating size, distance, and scale within drawings. Mastering the techniques for adding dimensions in AutoCAD is essential for accurately conveying design intent, specifying critical measurements, and facilitating collaboration among project stakeholders. Whether you’re an architect, engineer, designer, or drafting professional, understanding how to effectively add dimensions empowers you to create clear, comprehensive, and professional-quality designs. In this comprehensive guide, we’ll explore the tools and techniques for adding dimensions in AutoCAD, discuss their applications and functionalities, and provide step-by-step instructions to help you refine your drafting skills and unlock new possibilities in your design projects.
Understanding Dimensions in AutoCAD:
Before delving into the specifics of adding dimensions in AutoCAD, it’s essential to grasp the concepts and functionalities of dimensions:
- Dimension Objects: In AutoCAD, dimension objects are graphical entities that indicate the size, distance, and scale of geometric elements within a drawing. These dimension objects include linear dimensions, aligned dimensions, angular dimensions, radial dimensions, and more.
- Dimension Styles: Dimension styles in AutoCAD define the appearance and formatting of dimension objects, including text style, arrowhead style, dimension lines, and units. Dimension styles allow users to maintain consistency across drawings and customize the appearance of dimensions to suit specific project requirements.
Adding Dimensions in AutoCAD:
AutoCAD provides a variety of tools and commands for adding dimensions to drawings, allowing users to specify and annotate critical measurements accurately. Here’s how to add dimensions in AutoCAD:
- Using Linear Dimensions:
- To add linear dimensions in AutoCAD, use the Linear Dimension tool by typing “DIMLINEAR” in the command line or clicking on the Linear Dimension tool in the Dimension panel on the Annotate tab of the Ribbon.
- Specify the first and second extension line origin points, and then click to place the dimension line. AutoCAD will automatically insert the dimension text and dimension lines.
- Customize the dimension style, precision, and other properties as needed.
- Click to place the linear dimension in the drawing.
- Using Aligned Dimensions:
- To add aligned dimensions in AutoCAD, use the Aligned Dimension tool by typing “DIMALIGNED” in the command line or clicking on the Aligned Dimension tool in the Dimension panel.
- Specify the first and second extension line origin points, and then specify the dimension line location. AutoCAD will automatically insert the dimension text and dimension lines aligned with the specified dimension line.
- Customize the dimension style, precision, and other properties as needed.
- Click to place the aligned dimension in the drawing.
- Using Angular Dimensions:
- To add angular dimensions in AutoCAD, use the Angular Dimension tool by typing “DIMANGULAR” in the command line or clicking on the Angular Dimension tool in the Dimension panel.
- Specify the vertex point for the angle and then specify two points to define the dimension lines. AutoCAD will automatically insert the dimension text and arc symbol indicating the angle.
- Customize the dimension style, precision, and other properties as needed.
- Click to place the angular dimension in the drawing.
- Using Radial and Diameter Dimensions:
- To add radial or diameter dimensions in AutoCAD, use the Radial or Diameter Dimension tools by typing “DIMRADIUS” or “DIMDIAMETER” in the command line or clicking on the respective Dimension tools in the Dimension panel.
- Specify the center point of the arc or circle, and then specify a point to indicate the dimension line location. AutoCAD will automatically insert the dimension text and dimension lines.
- Customize the dimension style, precision, and other properties as needed.
- Click to place the radial or diameter dimension in the drawing.
Editing Dimensions:
Once dimensions are added to your drawing, AutoCAD offers a range of tools and commands for editing and formatting these dimension objects to meet specific design requirements. Here’s how to edit dimensions in AutoCAD:
- Adjusting Dimension Properties:
- To modify existing dimensions in AutoCAD, use the Dimension Edit commands (such as Dimedit or Ddim) to adjust dimension properties, text placement, and other settings.
- Select the dimension object you wish to edit and use the dimension editing tools to make the desired changes.
- Click “OK” to apply the changes to the dimension object.
- Changing Dimension Style:
- To change the dimension style of existing dimensions in AutoCAD, use the Dimension Style Manager by typing “DIMSTYLE” in the command line or clicking on the Dimension Style tool in the Dimension panel.
- Select the dimension style you wish to use and apply it to the selected dimension objects. AutoCAD will automatically update the appearance of the dimensions according to the selected style.
Advanced Techniques for Adding Dimensions:
In addition to basic dimension tools and commands, AutoCAD offers advanced techniques for optimizing dimension usage and enhancing productivity:
- Annotative Dimensions: Utilize annotative dimension styles to automatically adjust dimension size and scale based on annotation scale settings, ensuring that dimensions remain legible and proportional at different viewport scales.
- Dimension Overrides: Override dimension properties within specific objects or blocks using the “Match Properties” or “Dimension Properties Override” commands, enabling greater flexibility and control over dimension appearance and behavior.
- Dimension Standards: Establish and enforce dimension standards within your drawings by defining and managing dimension styles, dimension units, and precision settings to ensure consistency and compliance with industry standards.
- Dimension Layers: Organize dimension objects on separate layers to control visibility, editing properties, and plotting settings. Use layer properties to manage dimension layer configurations and enforce layer standards within your drawings.
Best Practices for Adding Dimensions:
To maximize efficiency and maintain consistency when adding dimensions in AutoCAD, consider implementing the following best practices:
- Plan Dimension Placement: Before adding dimensions to your drawing, plan the placement and alignment of dimension objects to ensure clarity, readability, and accuracy in conveying critical measurements.
- Use Descriptive Dimension Styles: Create and use descriptive dimension styles that reflect the intended purpose and formatting of dimension objects, such as architectural dimensions, engineering dimensions, or general dimensions.
- Avoid Overcrowding: Avoid overcrowding your drawing with excessive dimensions, and prioritize critical measurements that are essential for understanding the design intent and construction requirements.
- Review and Verify: Review and verify dimension accuracy and consistency against design specifications and project requirements before finalizing drawings for distribution or publication.
Conclusion:
Mastering the techniques for adding dimensions in AutoCAD is essential for creating clear, comprehensive, and professional-quality drawings in various industries and applications. By understanding the functionalities of dimension objects, practicing their use in different design scenarios, and implementing best practices for efficiency and consistency, you can elevate your drafting skills and unlock new possibilities in your design projects. Whether you’re annotating architectural plans, engineering drawings, or mechanical diagrams, knowing how to add dimensions effectively will enable you to produce high-quality drawings with confidence and precision. With dedication, practice, and a commitment to continuous learning, you’ll become proficient in adding dimensions in AutoCAD and excel in your CAD design endeavors.


